Here we are, that odd space between Christmas and New Years, when I have some breathing room to really think about gardening and both process the past year whilst planning and anticipating the next. If I just focus on gardening goals and resolutions, I feel only excitement.
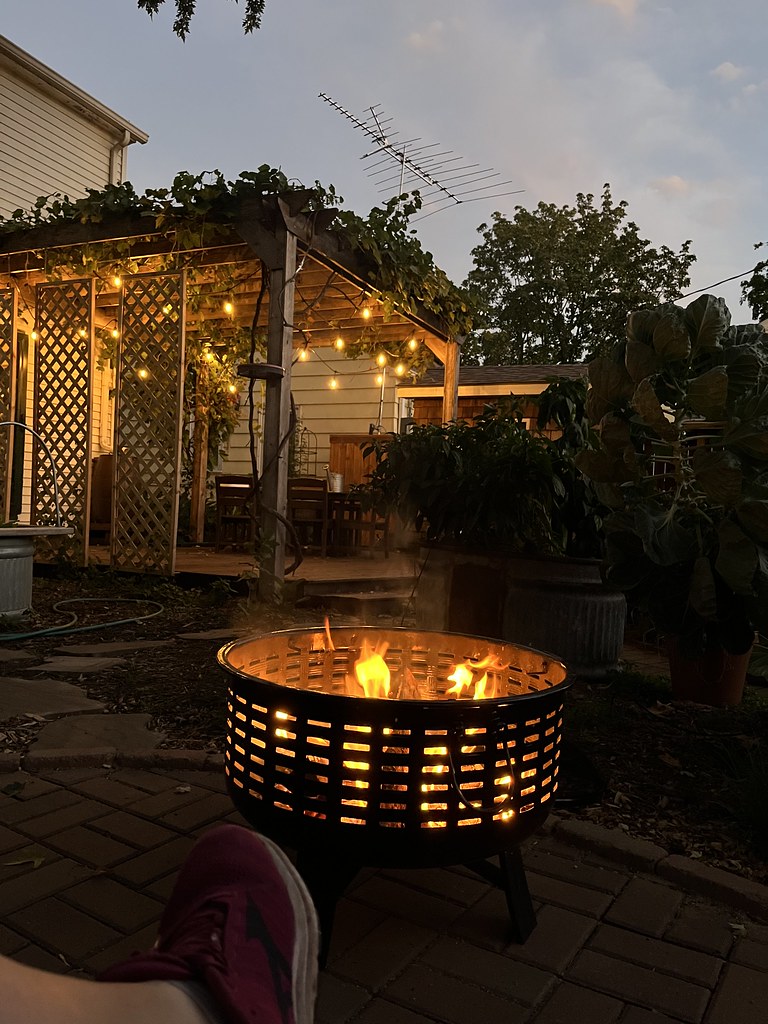
2023 was a heavy year—I lost my big sister to cancer in September—her illness and death was top of mind this entire year (and most of 2022, really). So other things tend to fall by the wayside, or perhaps we simply gain perspective on their relative importance. A crop failure? Something to brush off with nary a second thought. An opportunity to lead a bunch of boomers on a bus tour of Twin Cities-area gardens? One of the best days of my year.
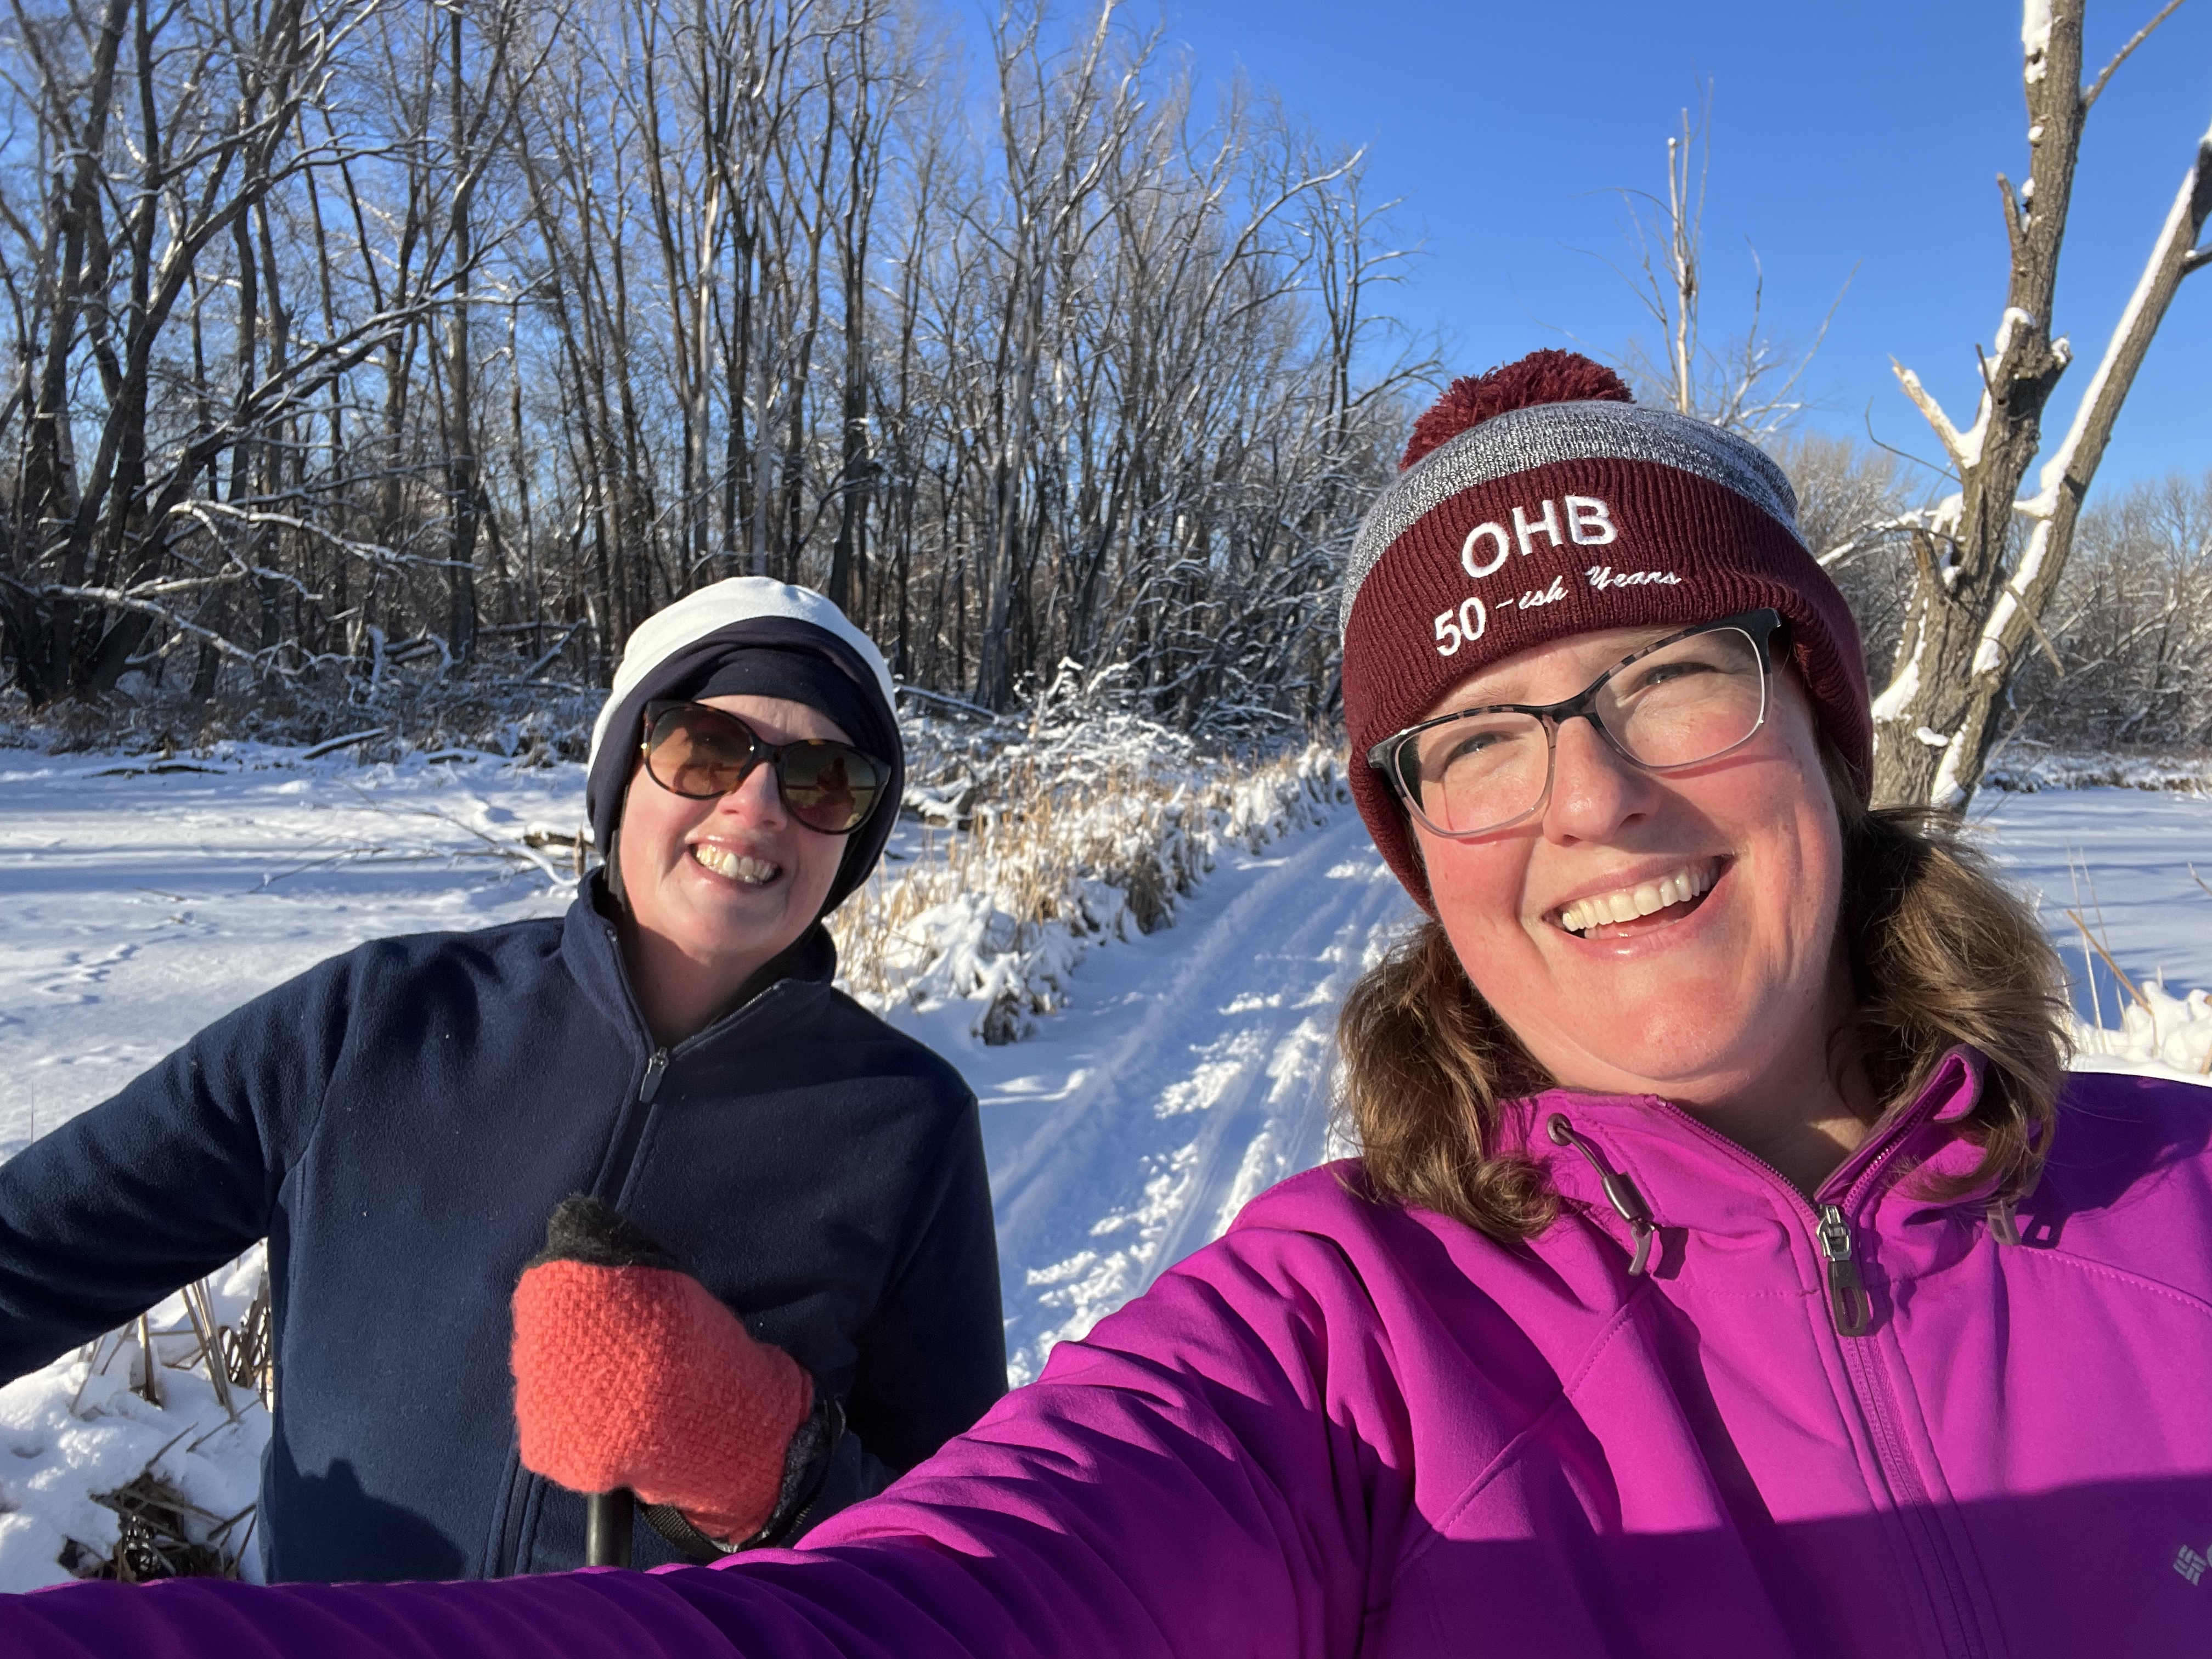
Cross-country skiing with Lisa (left) a little over a year ago.
But let’s get down to specifics, since that’s what this post is about. Here are some of my findings from the garden year that was, 2023. These are in no particular order, they’re just various AHA moments that I happened to remember to write down.
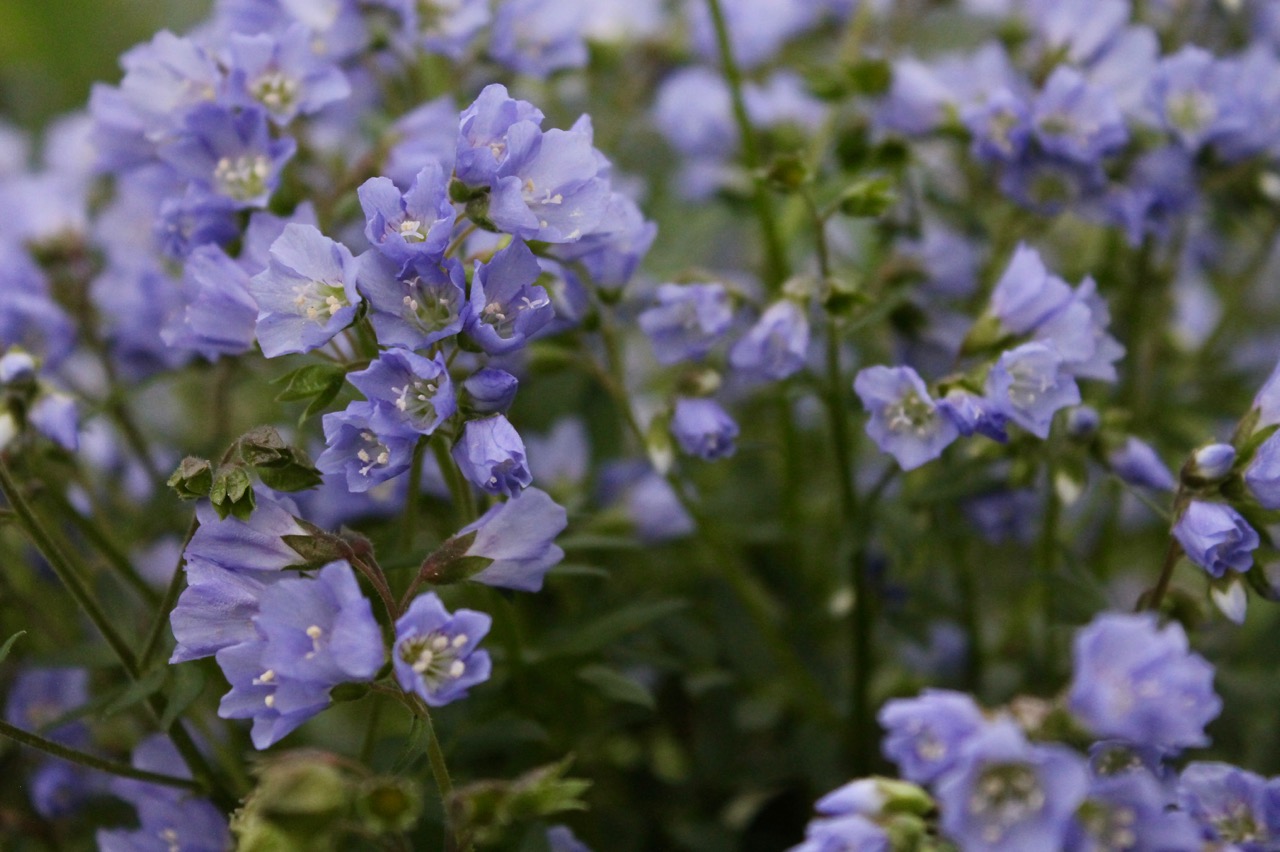
Flowering tobacco is not a container plant
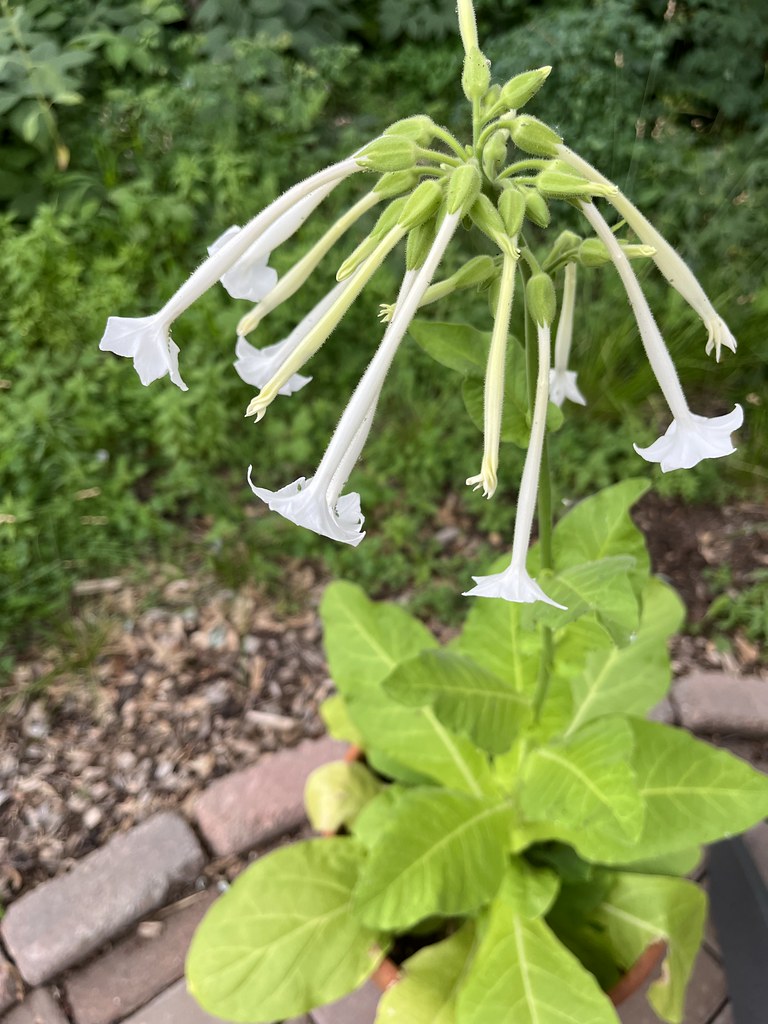
I purchased “wild” flowering tobacco annuals this spring. I like the look of flowering tobacco flowers in general, and also like that they attract hummingbirds. The woodland variety, Nicotiana sylvestris, is the only one that tolerates shade, so that’s what I went with. As promised, the flowers are very pretty! But the foliage is nothing to write home about, and it just didn’t look right in a container—it was also unpleasantly sticky. Mixed with other plants in a part-shade border, heck yes. But on its own as a showstopper, not so much.
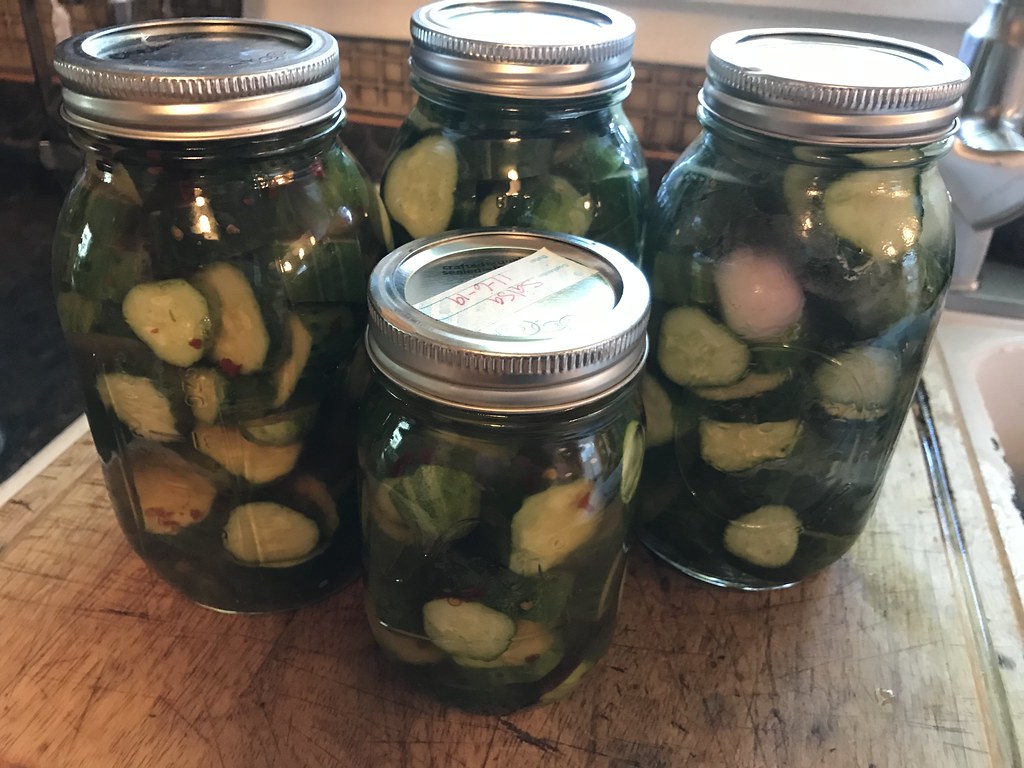
Someday I’ll learn about plant spacing
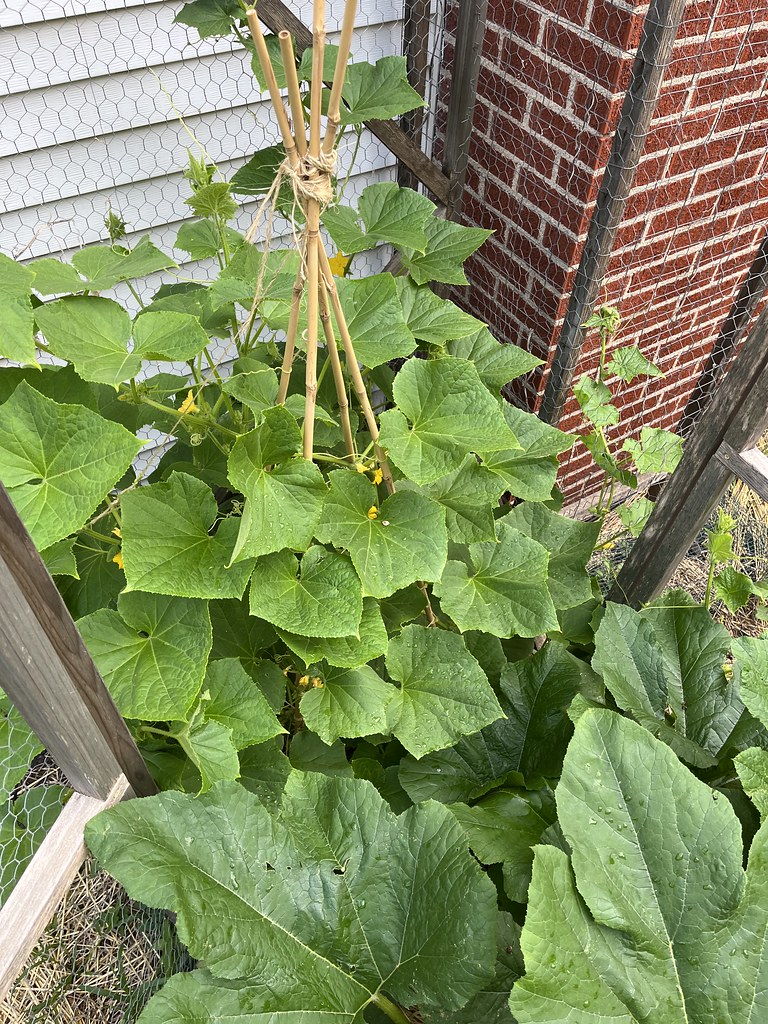
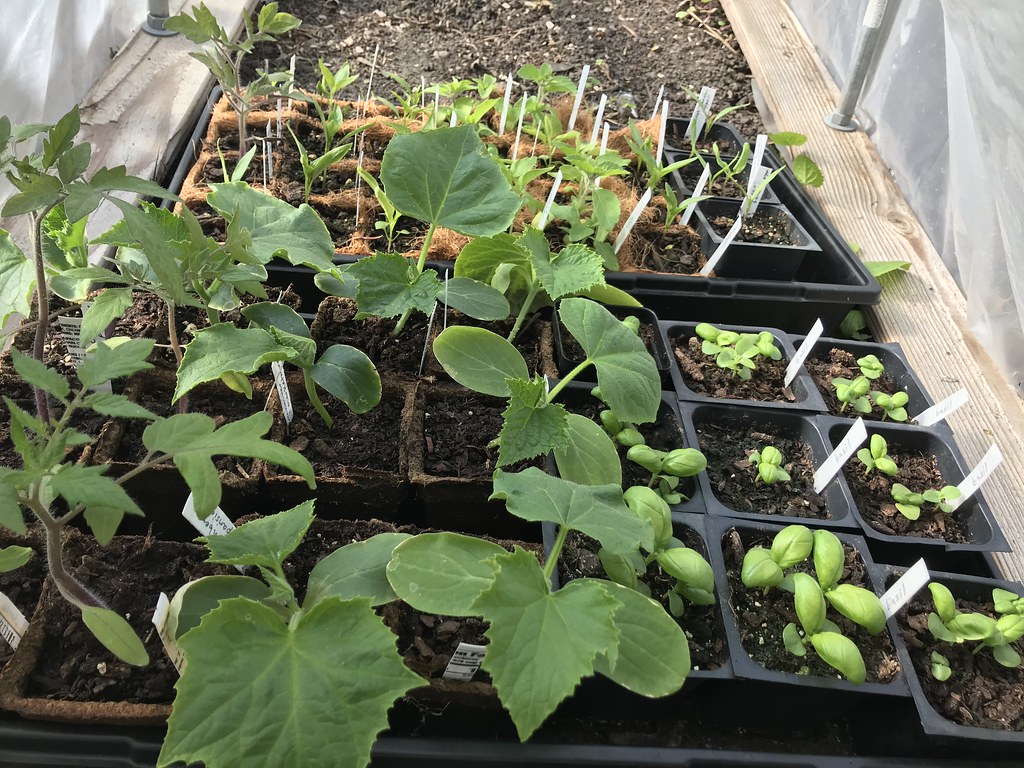
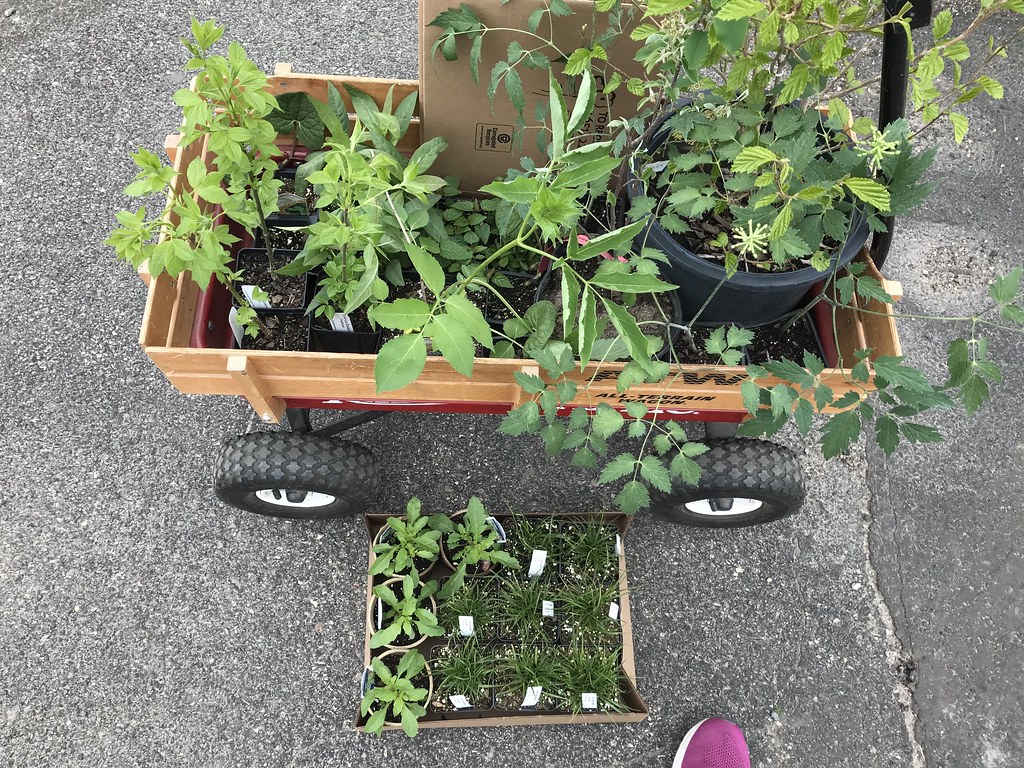
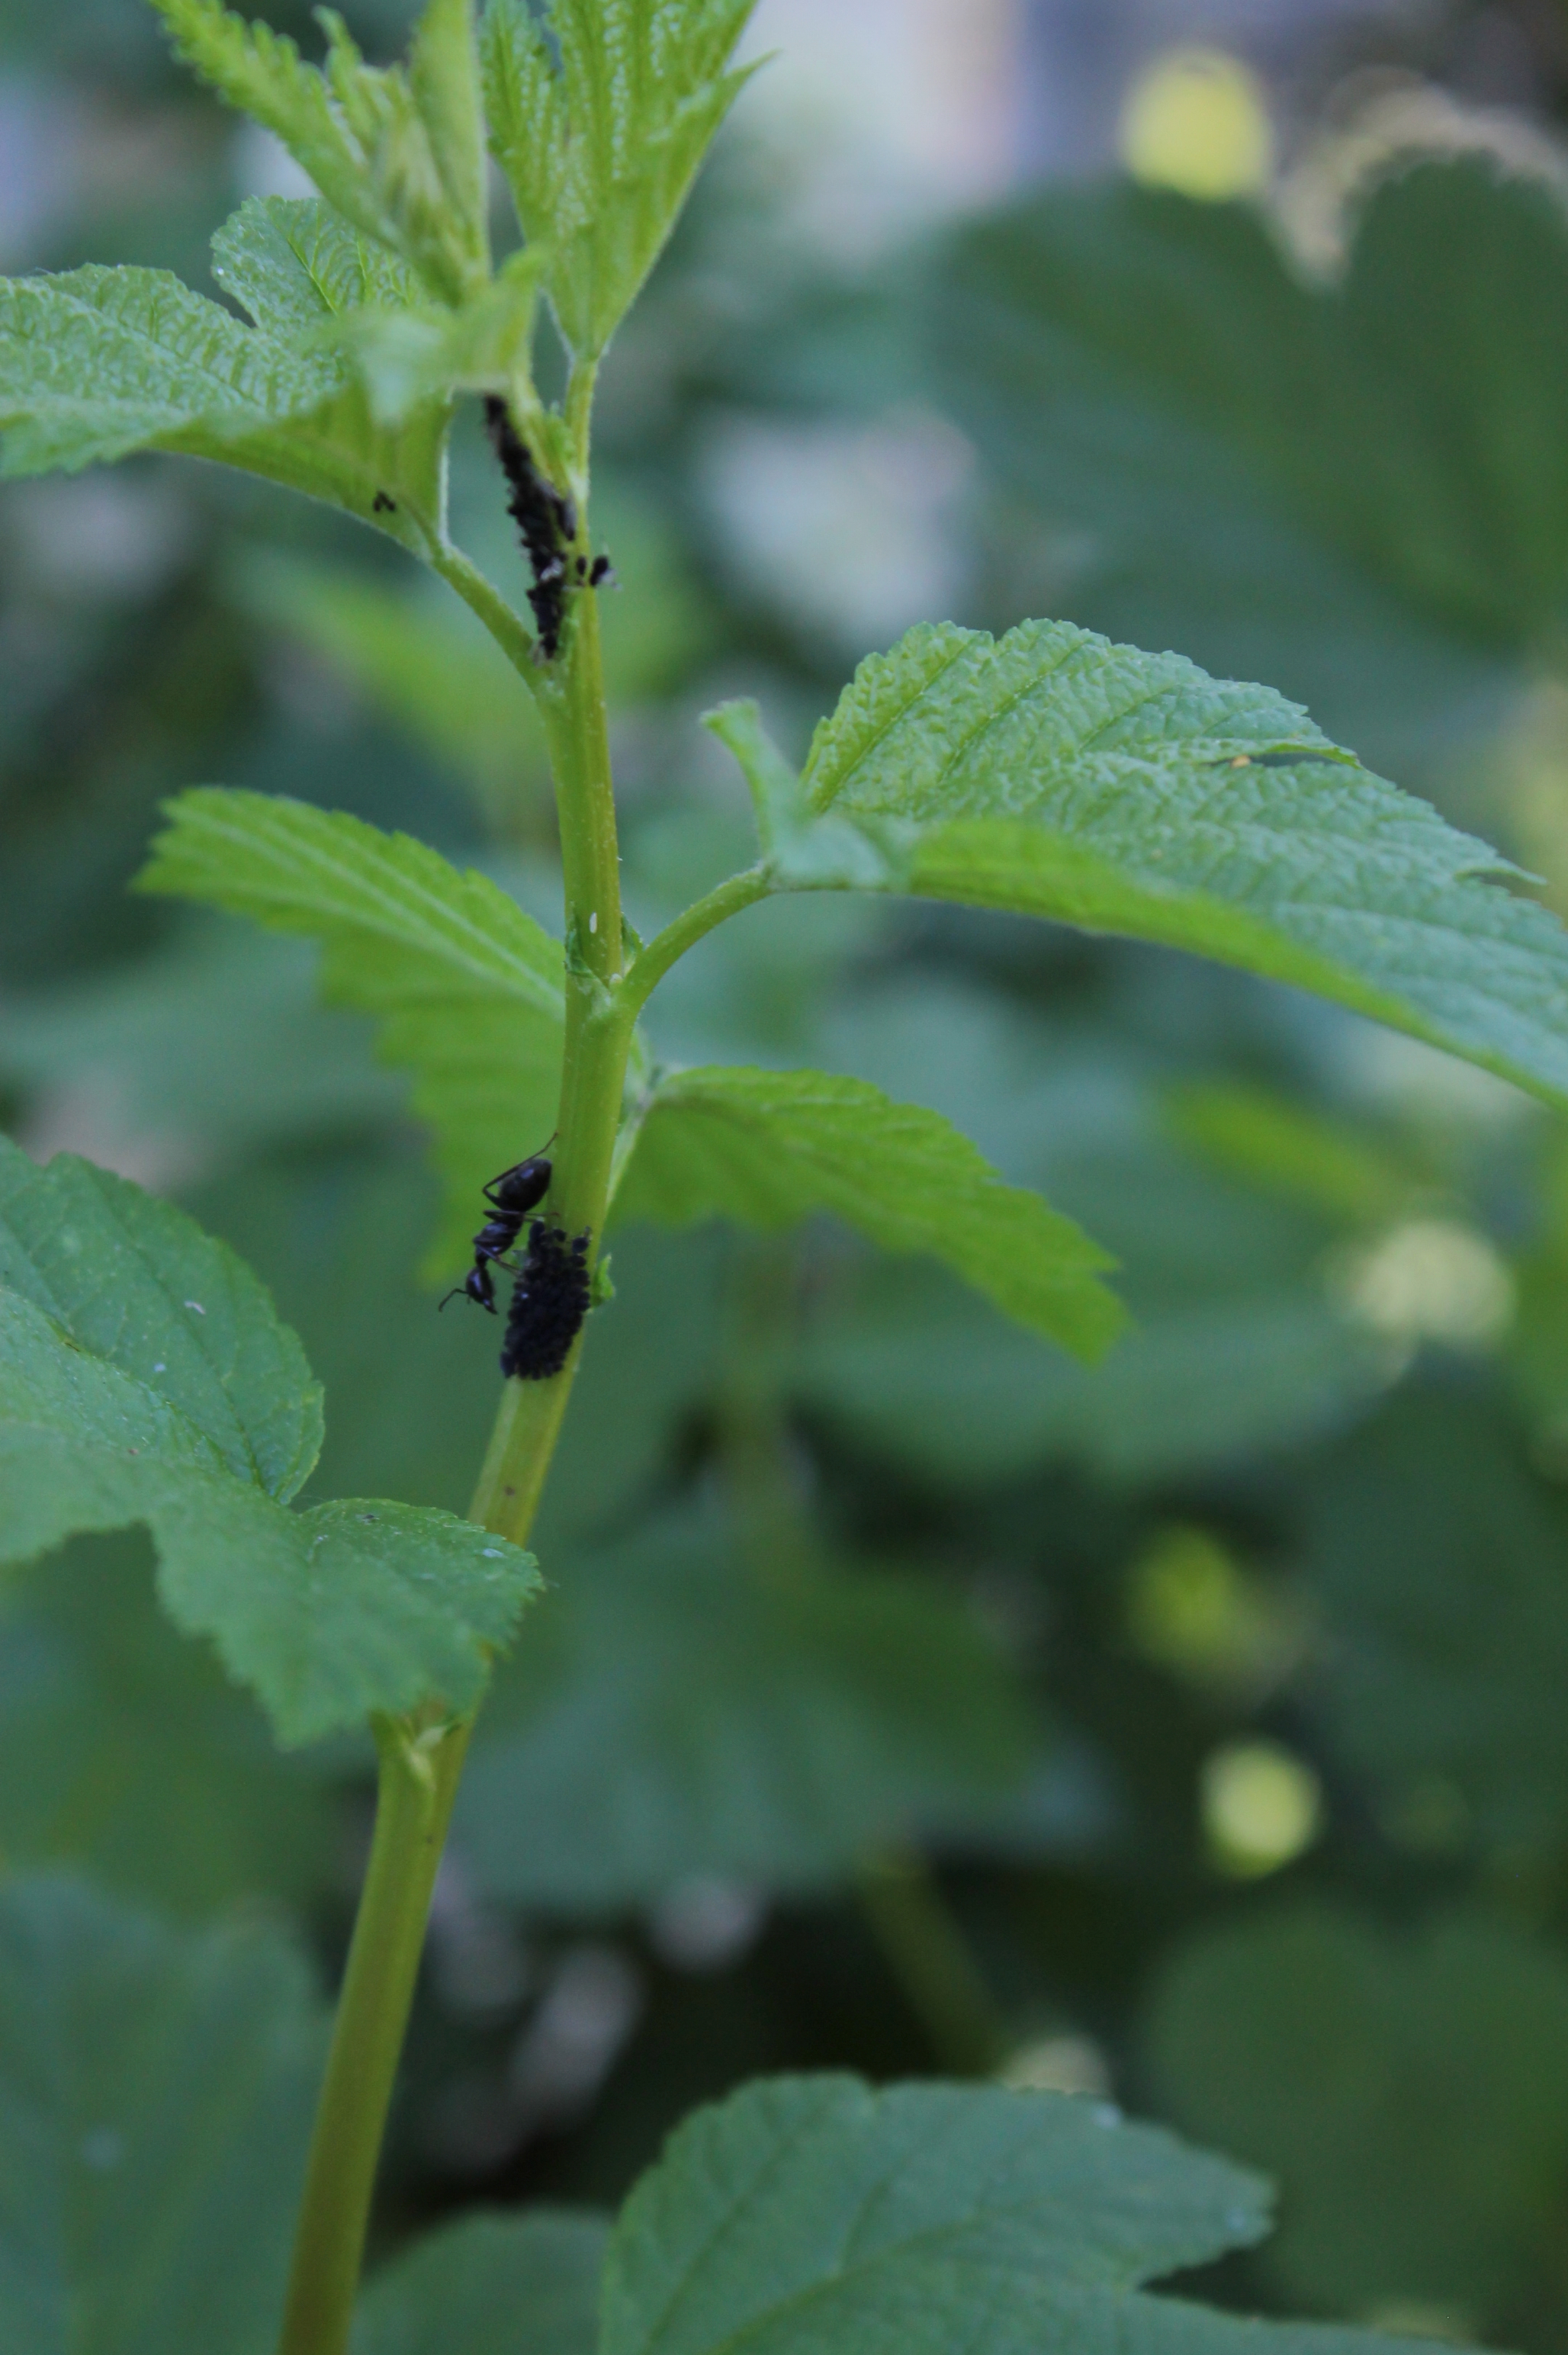
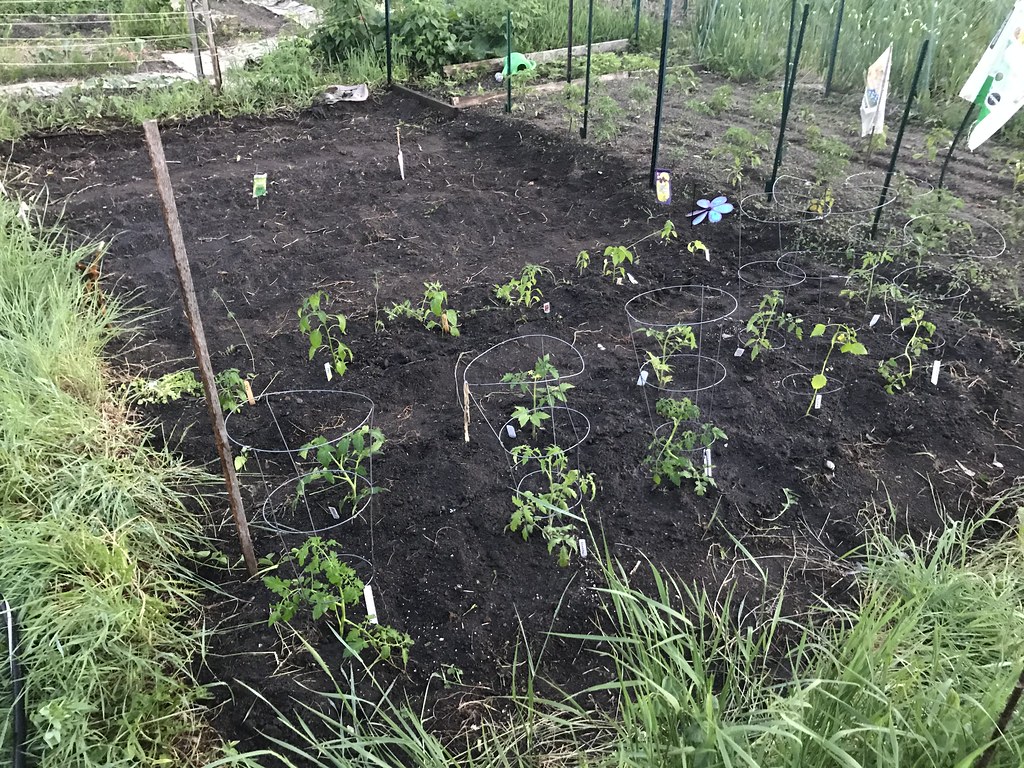
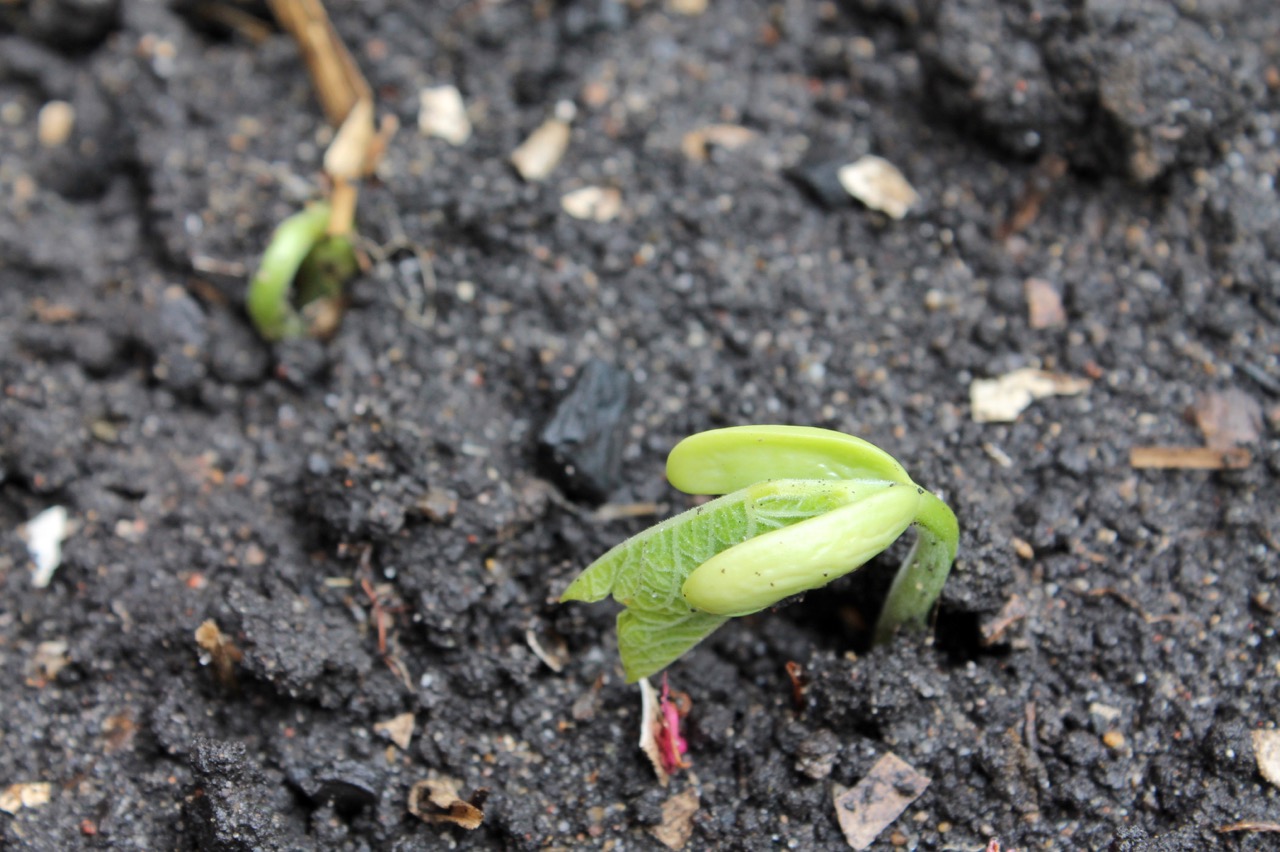
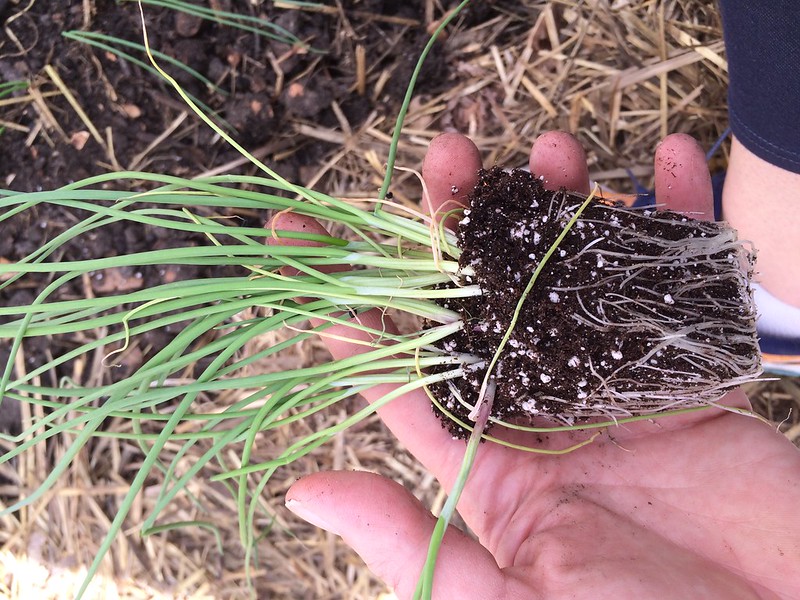
But it is not this day, nor this year. Now that I start many of my own seeds, I always have some extra seedlings in the spring. The temptation to “just squeeze them in somewhere” is very strong. I placed 4 cucumber plants (top of picture) where 2 would have been great plenty, and ended up with a cucumber jungle that quickly got away from me. The plants competed with each other and died out sooner than they should have. Cucumbers in particular are allelopathic even with each other, so they don’t take well to crowding.
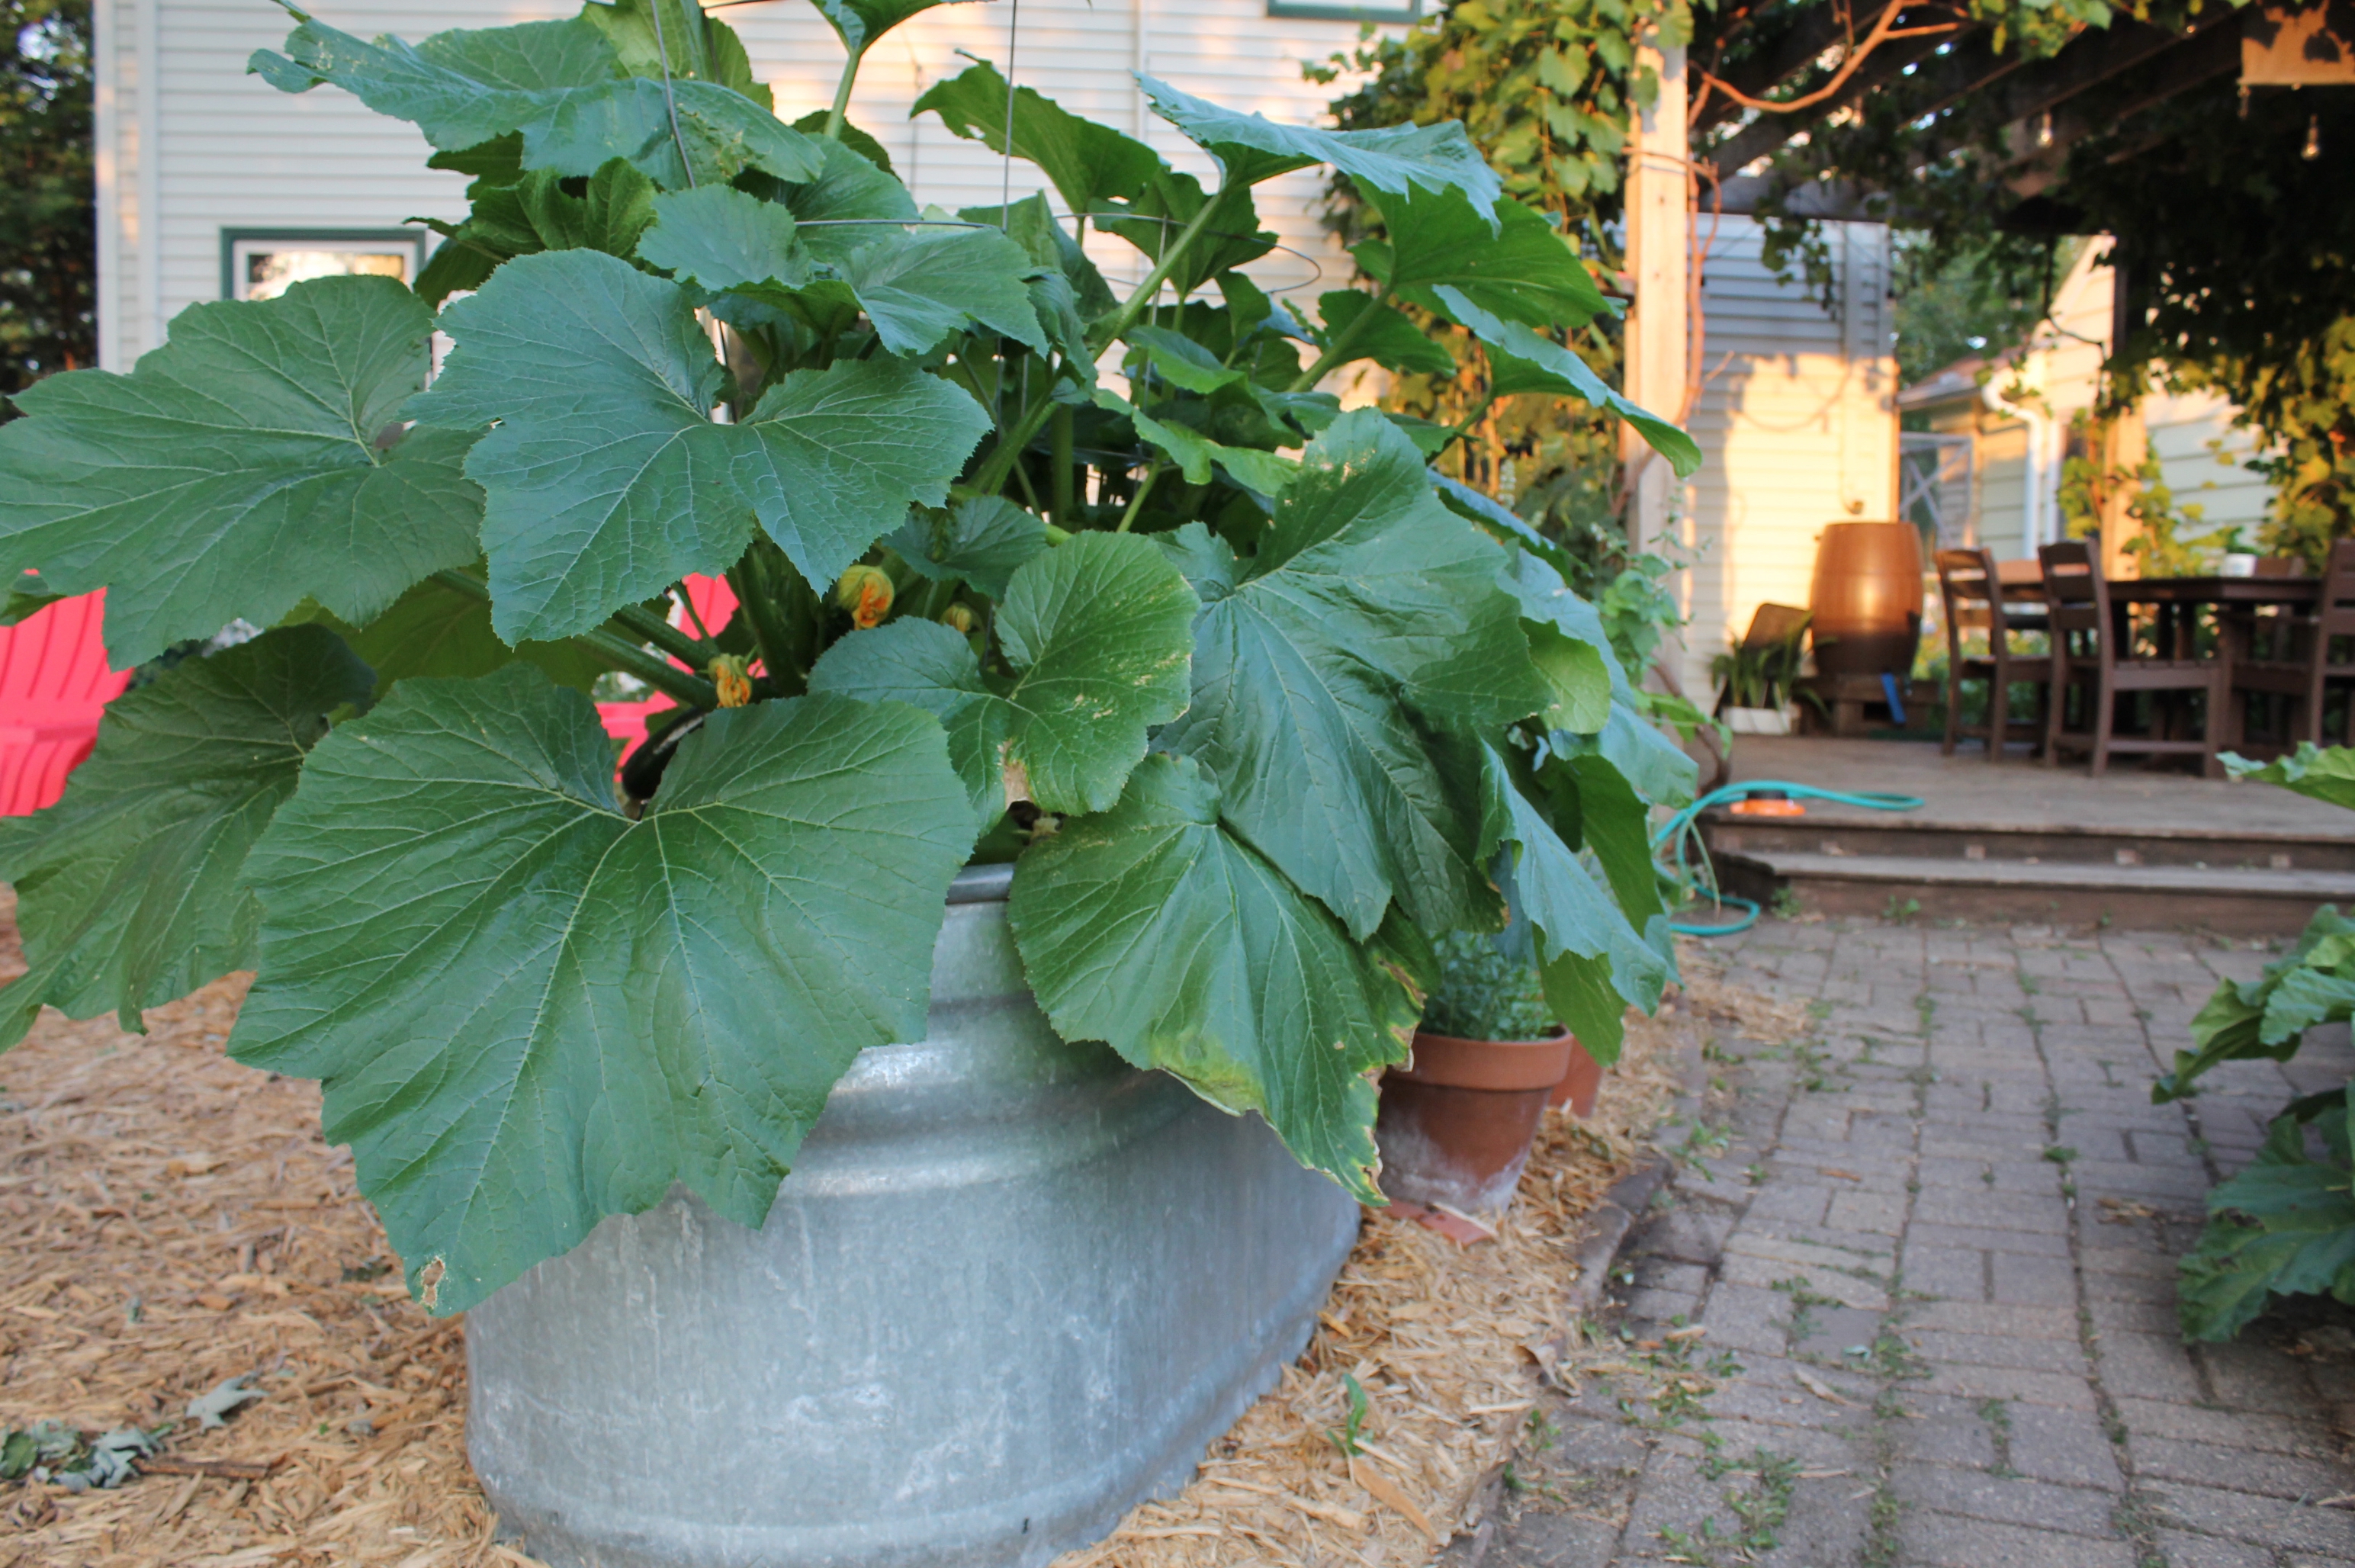
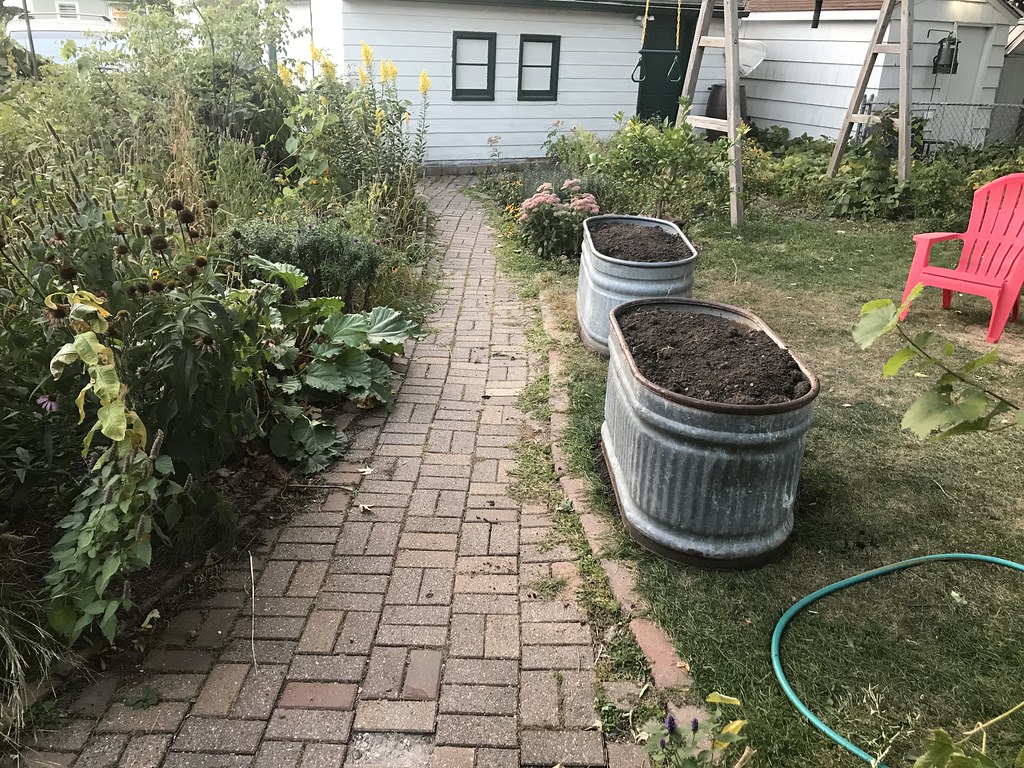
Sometimes a gamble pays off
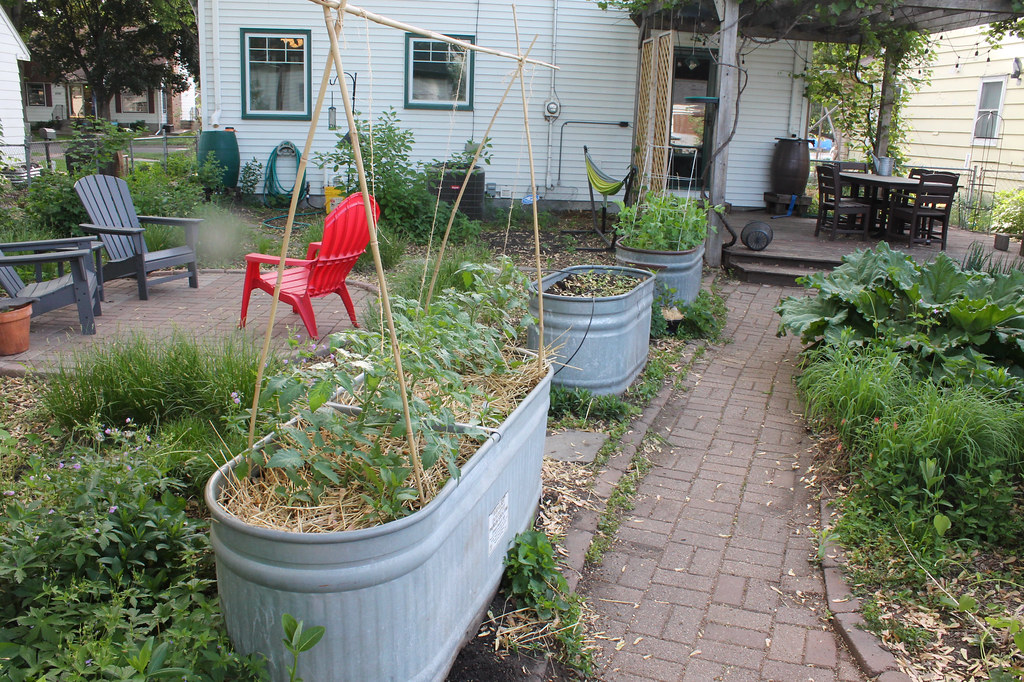
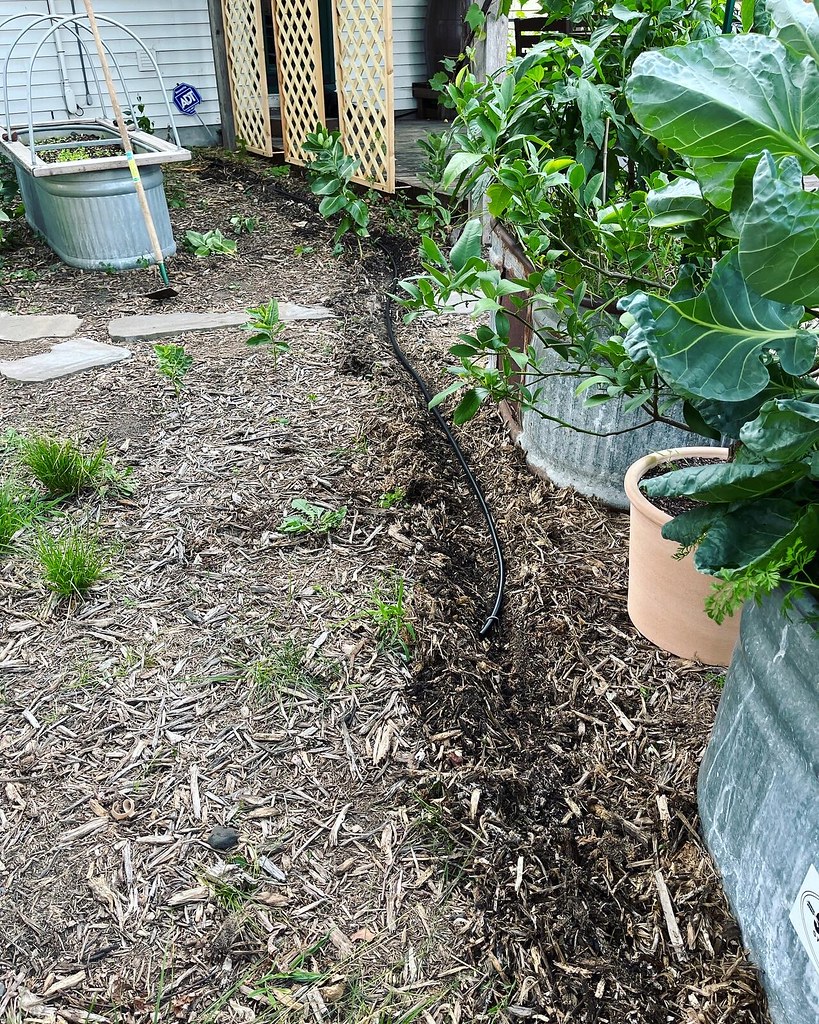
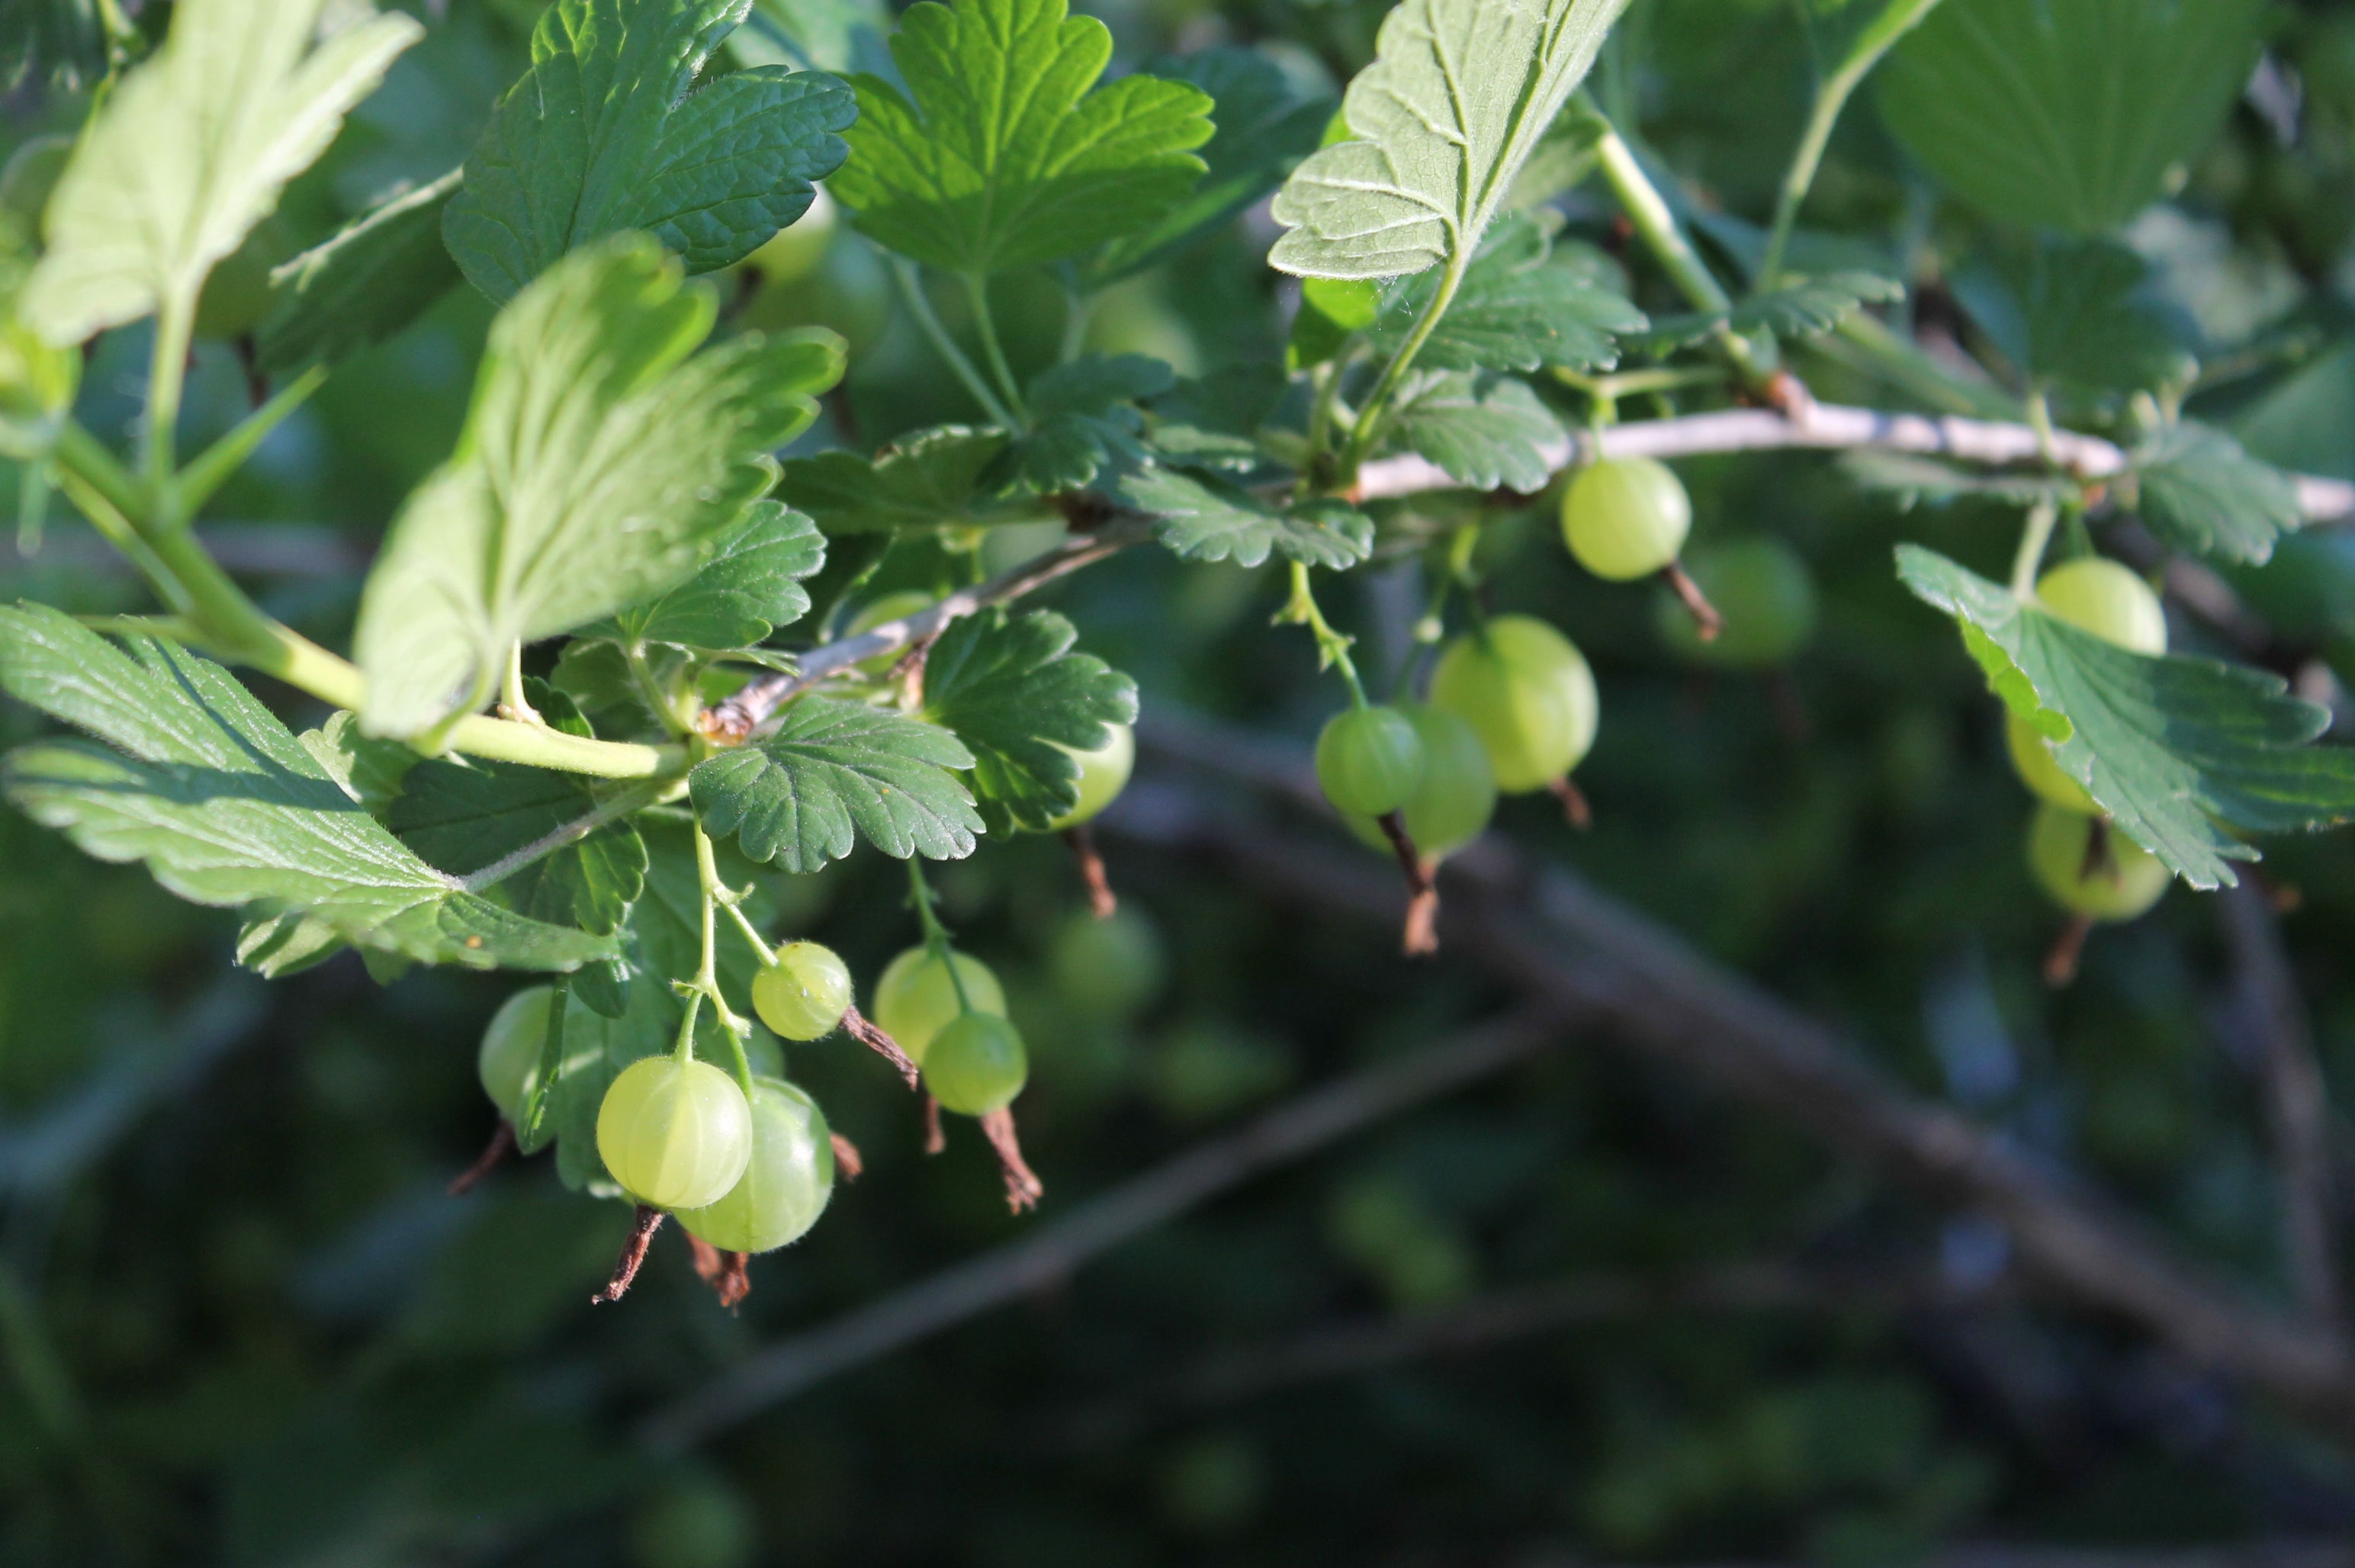
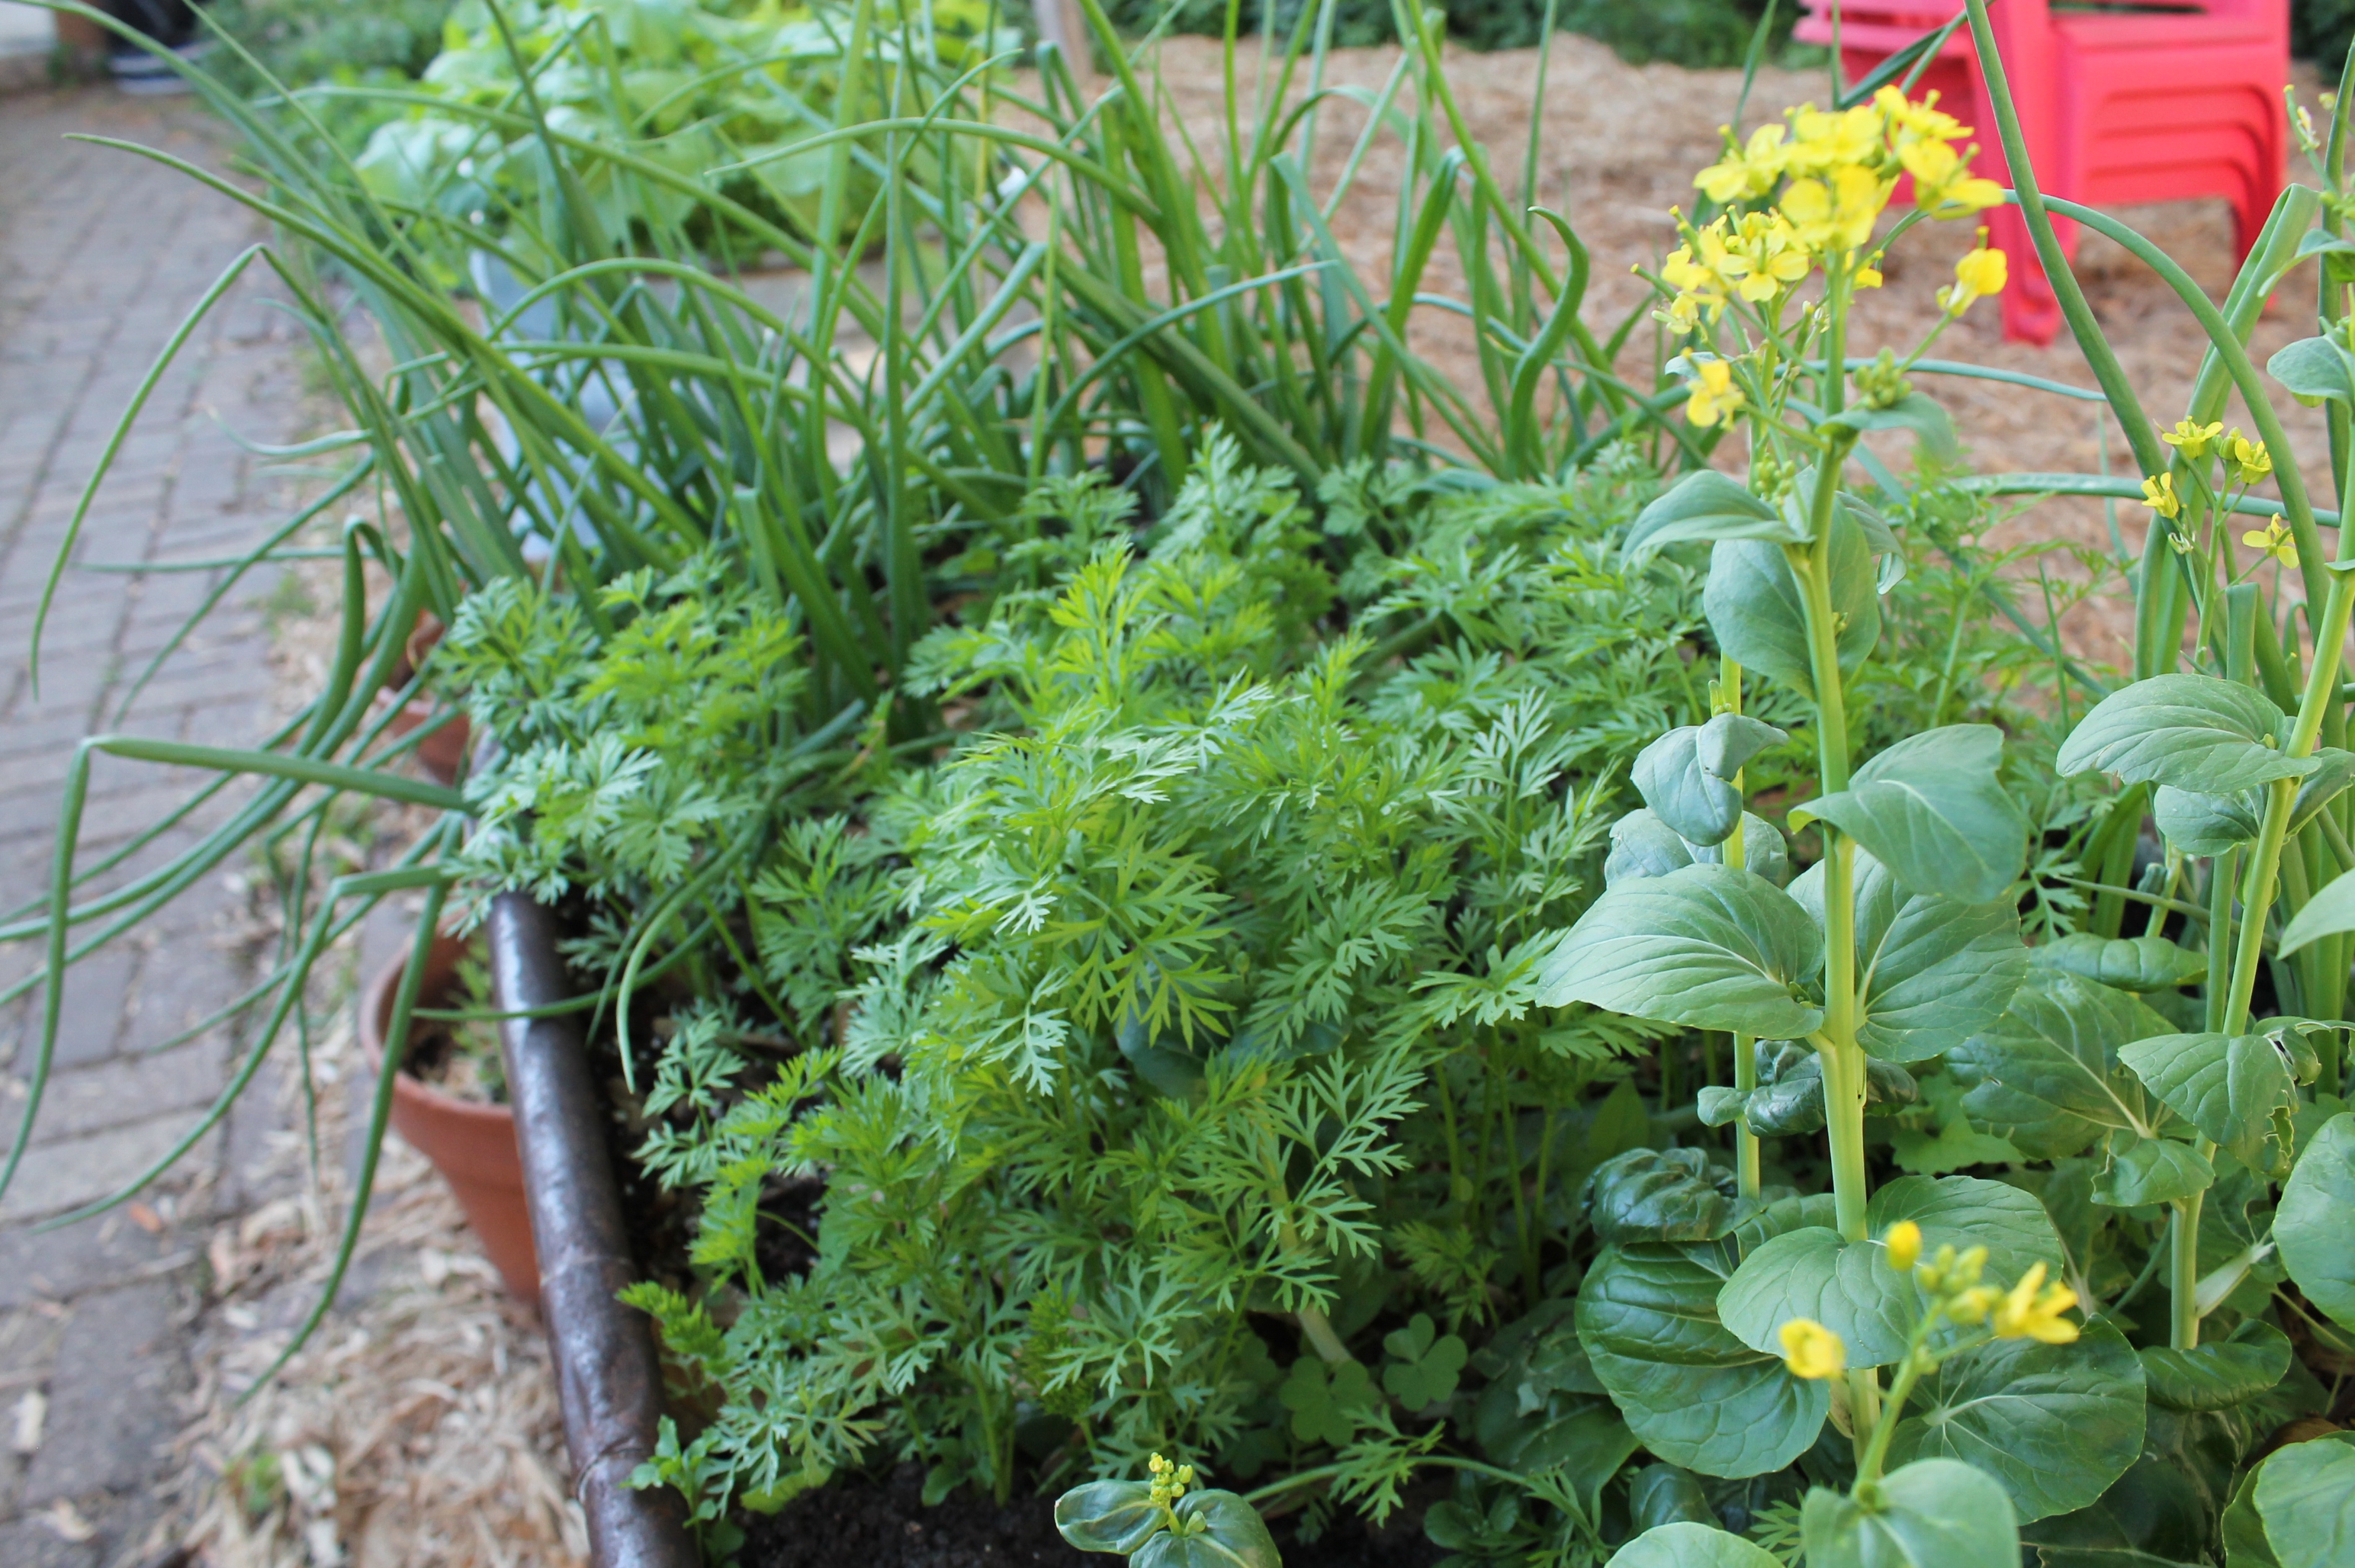
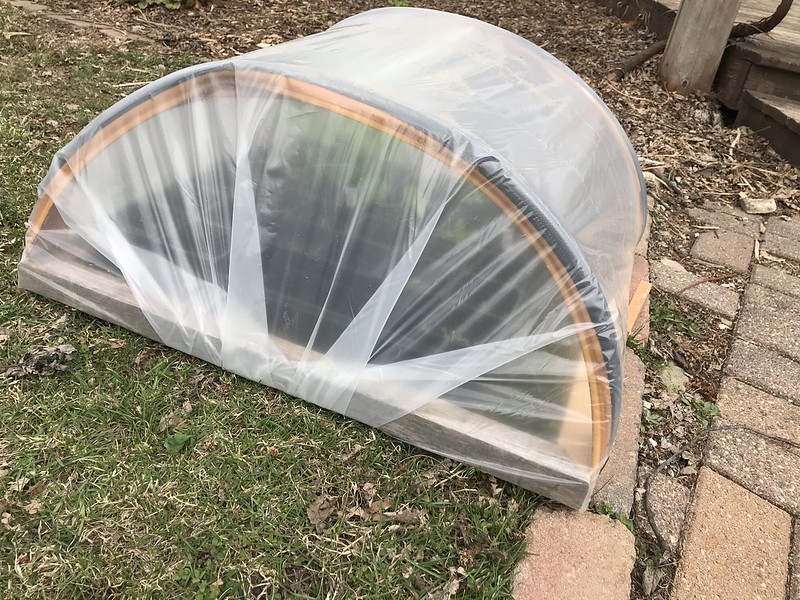
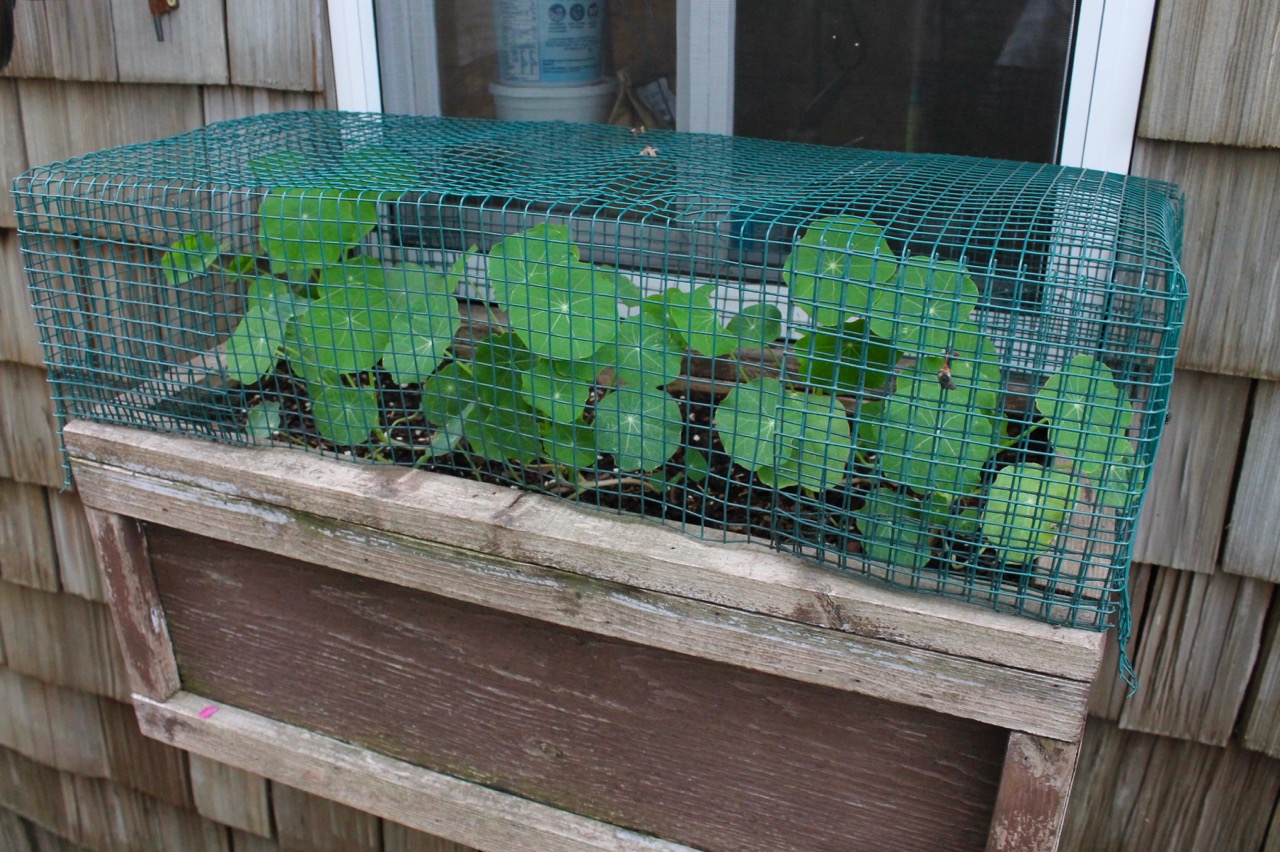
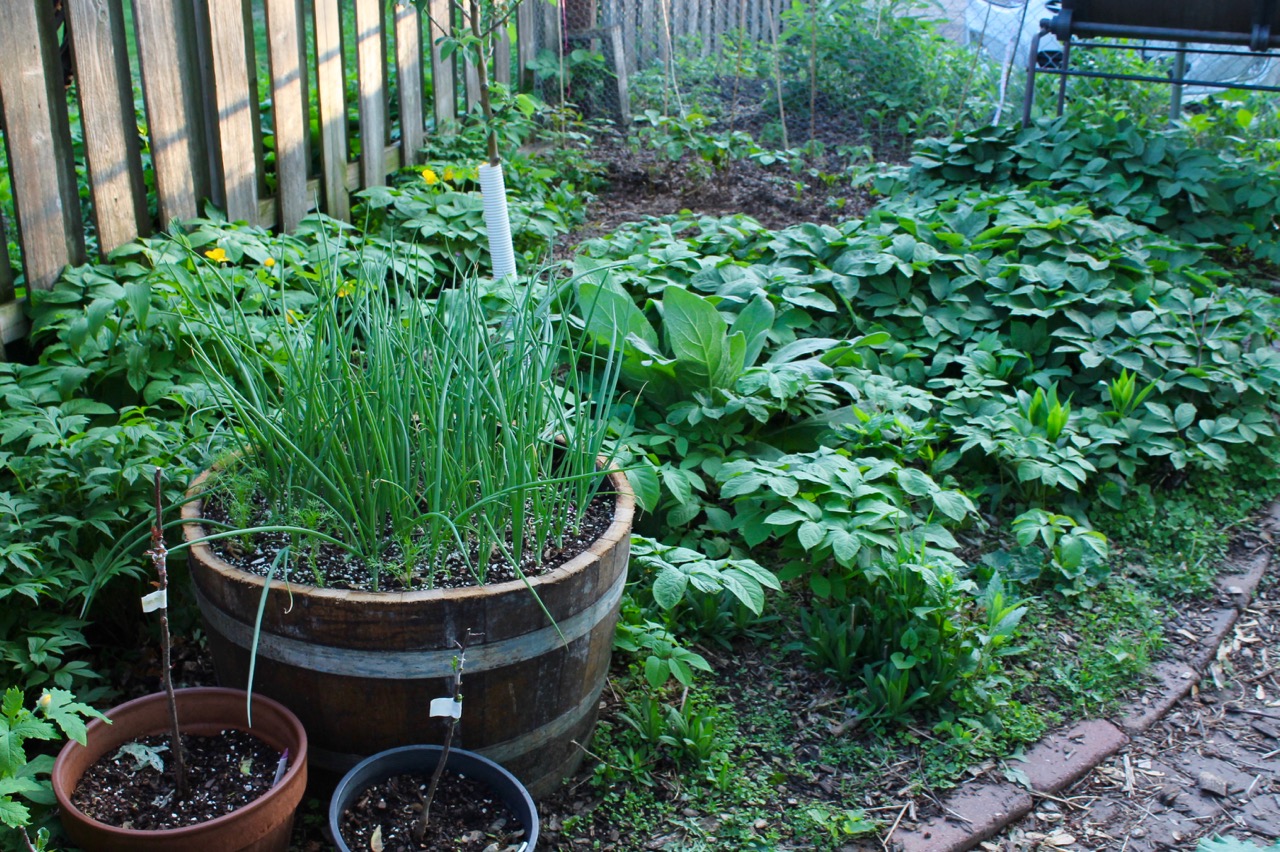
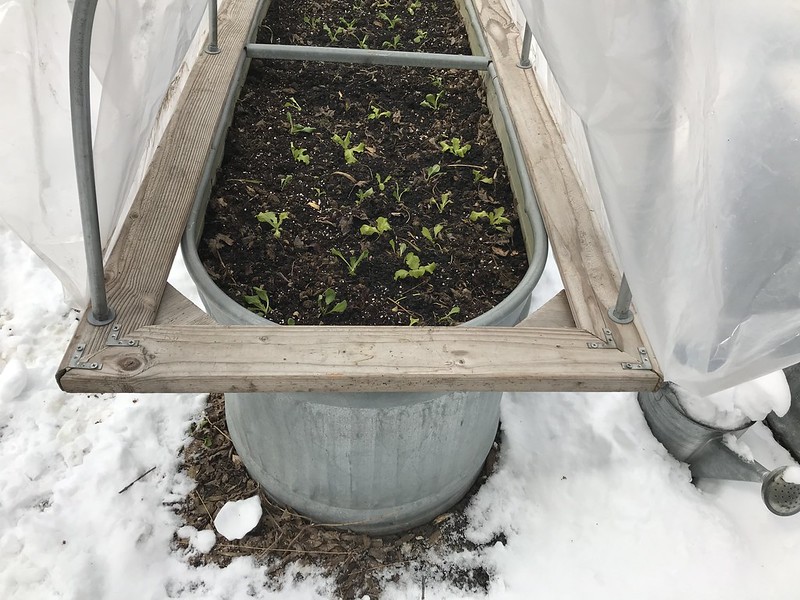
I’ve had these three tanks for many years now, and over the course of the last couple years, gradually moved them to this new location directly along our back path—this is the path from our back door to the garage / driveway area and we walk it many times each day. It’s also one of the few areas in the yard that is sunny. I wasn’t sure if it was sunny enough for vegetables but gave it a try. I’m happy to report that a wide variety of vegetables are thriving quite well in these containers, after a few years of experimentation. Hurray! Now we’ll see how long it lasts as other trees and plants grow and fill in.
Someday I’ll figure out what to do with these darn strawberries
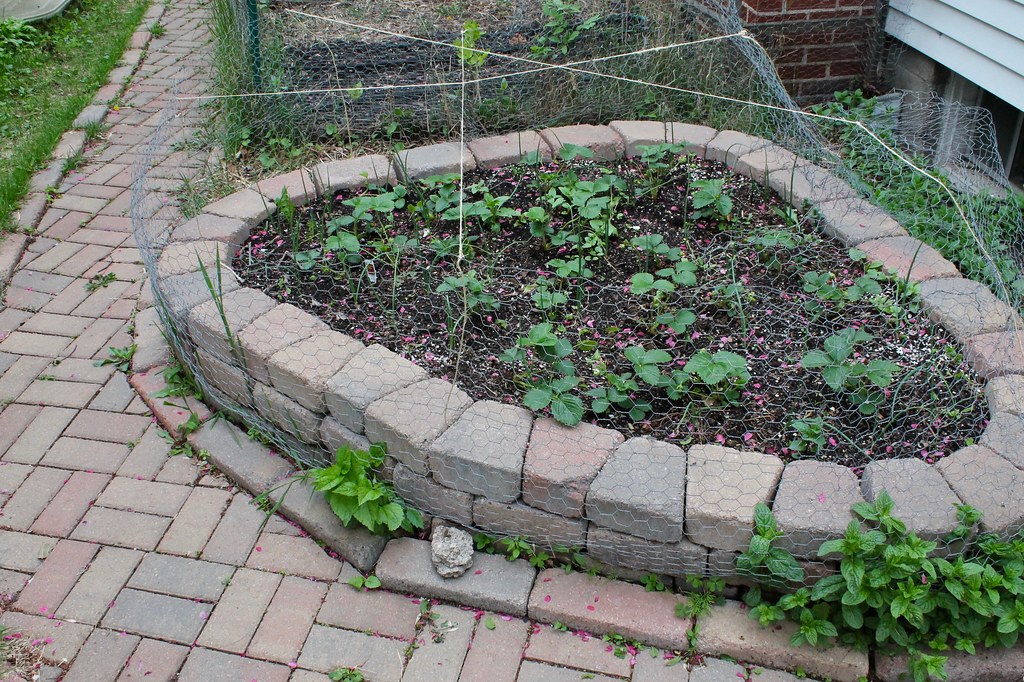
My strawberry area is a big headache. It could use just a tiny bit more sun for the plants to really thrive, and on top of that it’s adjacent to a rabbit and chipmunk thoroughfare, so the plants get mowed down and the fruit sampled as soon as they are unprotected for more than 5 minutes. But wait, there’s more! It’s also infested with creeping bellflower. What to do? I’m honestly considering giving up on strawberries. What could I plant here that is part-shade tolerant and rabbit resistant? Please leave me your suggestions! One possible idea I have is poppies.
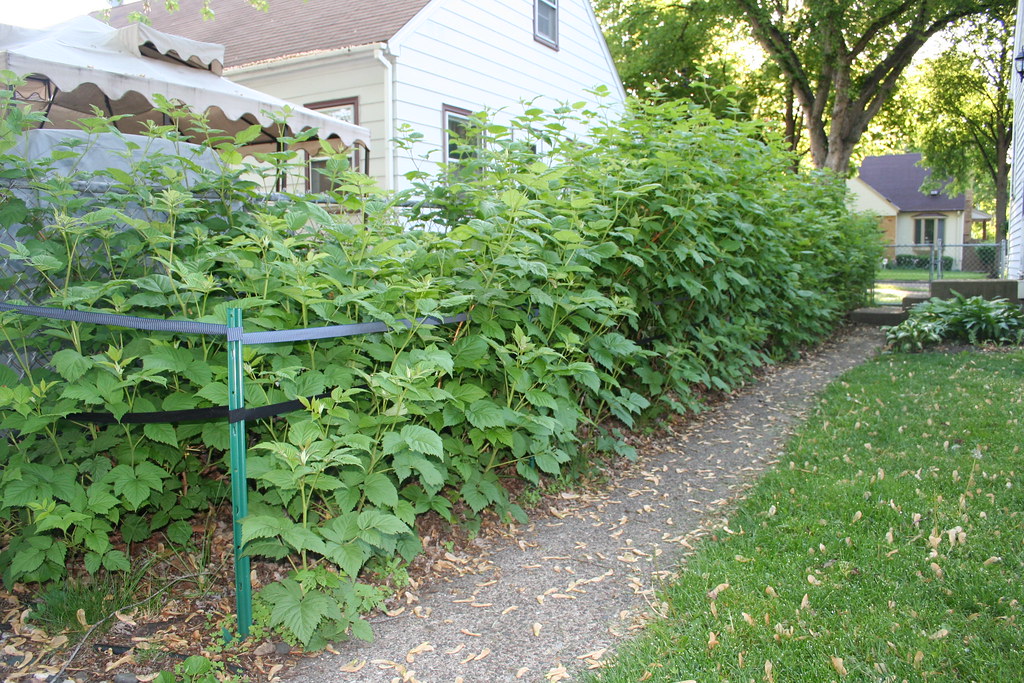
Phlox is rather invasive, honestly
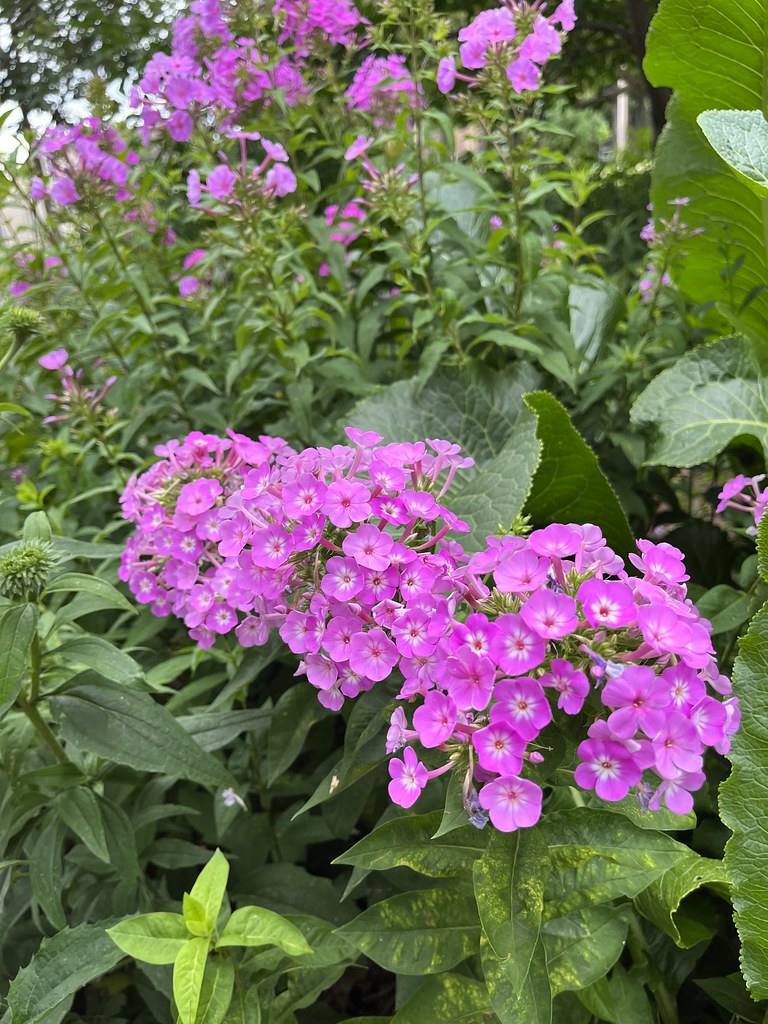
My house came with a patch of good old fashioned pink garden phlox. It’s so easy to grow. It blooms for a long time! And holy hannah after 15 years it is everywhere. I declared war on it a few years ago, starting by removing spent flowers to make sure they didn’t go to seed. To my horror, the plants just kept reblooming, every time I lopped their heads off. So the last two years I’ve resorted to digging up at least 50 or 60 of the plants and composting them every spring. By July it really doesn’t look any different. Phlox. Plant it with caution.
Trellises can be a pain
Wanting some privacy on our deck, I successfully lobbied Adam to add these cute panel trellises to the north side a couple summers ago (upper left in picture). Welp. One fell down in a windstorm, and the others are not standing the test of time real well, either. Nothing is permanent, I guess. Struggling with finding a low-cost solution here. I’ve got Virgin’s bower vines thriving all over the ground in the area, so hopefully I will figure something out and give them something new to climb on.
LOL bamboo tomato support
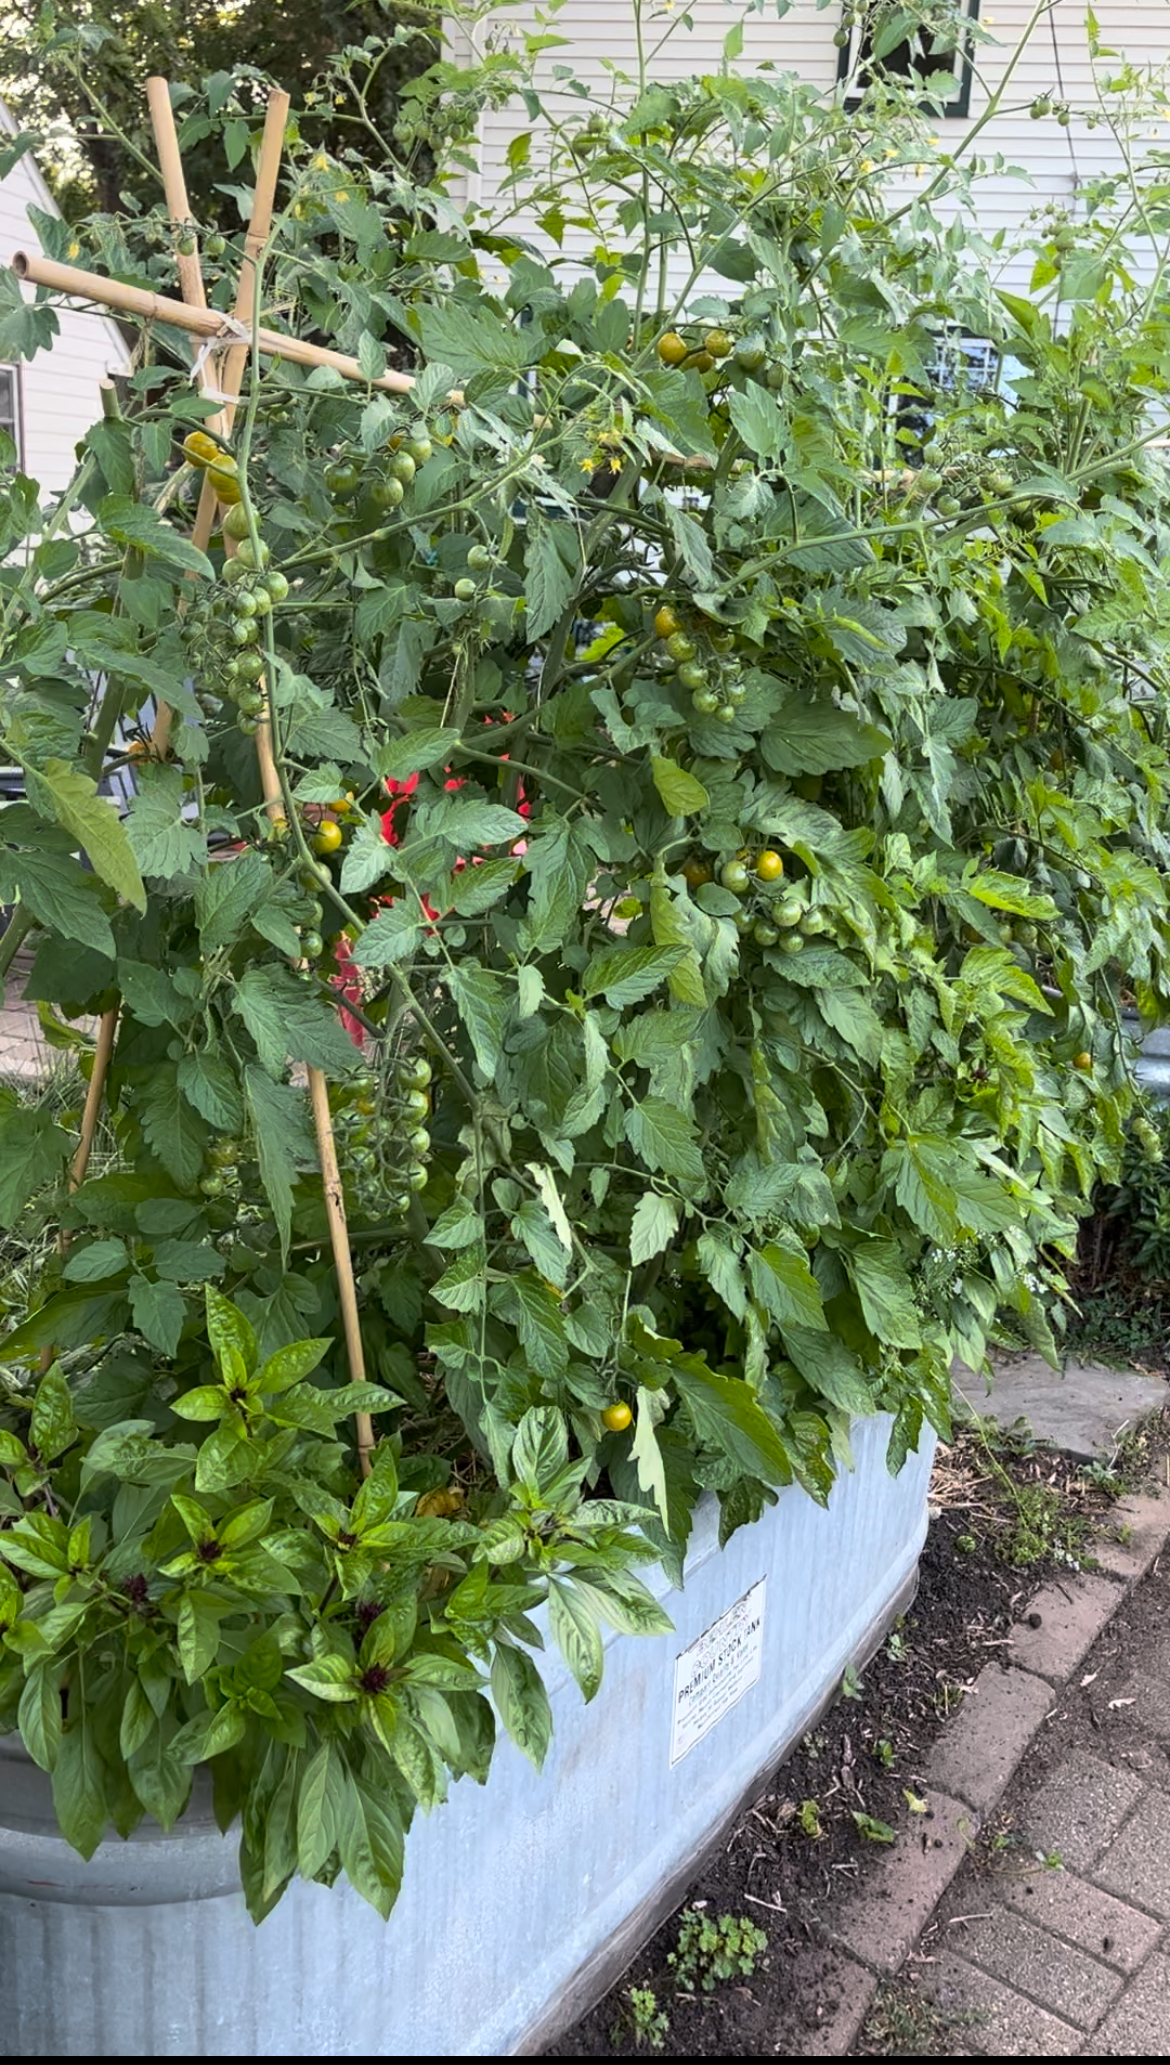
Bamboo is very tough! This simple trellis system looked like it would be sturdy enough when I first put it up in May (see earlier picture a few paragraphs above), but by late August it had a very large dip in the middle. Somehow, SOMEHOW, it lasted until the end. Phew. It didn’t help that I basically gave up on pruning suckers off my tomatoes somewhere in July. This happens almost every year, but especially when I grow cherry tomatoes.
Nature finds a way
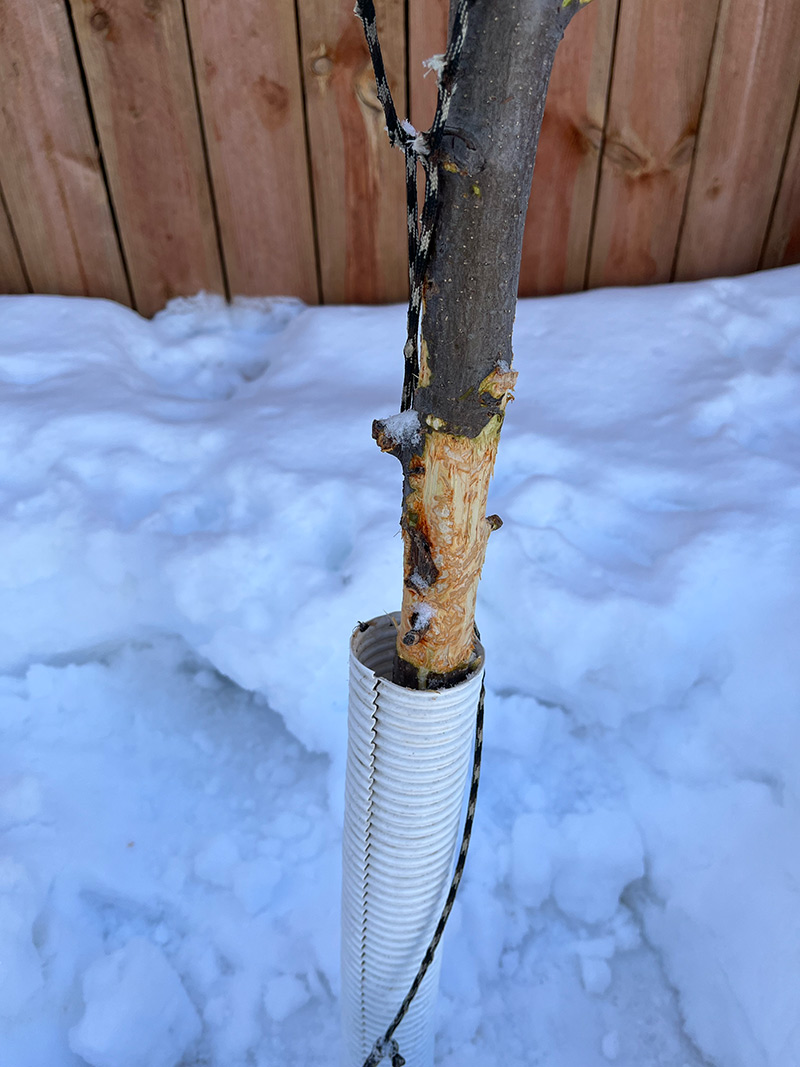
We had quite a bit of snow at the end of December and early January last winter, and rabbits managed to girdle the bark on my honeycrisp apple tree. I have already replaced that tree twice, so this time I decided to just let it live and see what happened. Low and behold, it sprouted new branches below the damage but above the original graft (all apple trees are grafted). I’m still not sure what’s going to happen with this tree; I may try and prune it into more of a bush or espalier form. But I’m going to wait and see.
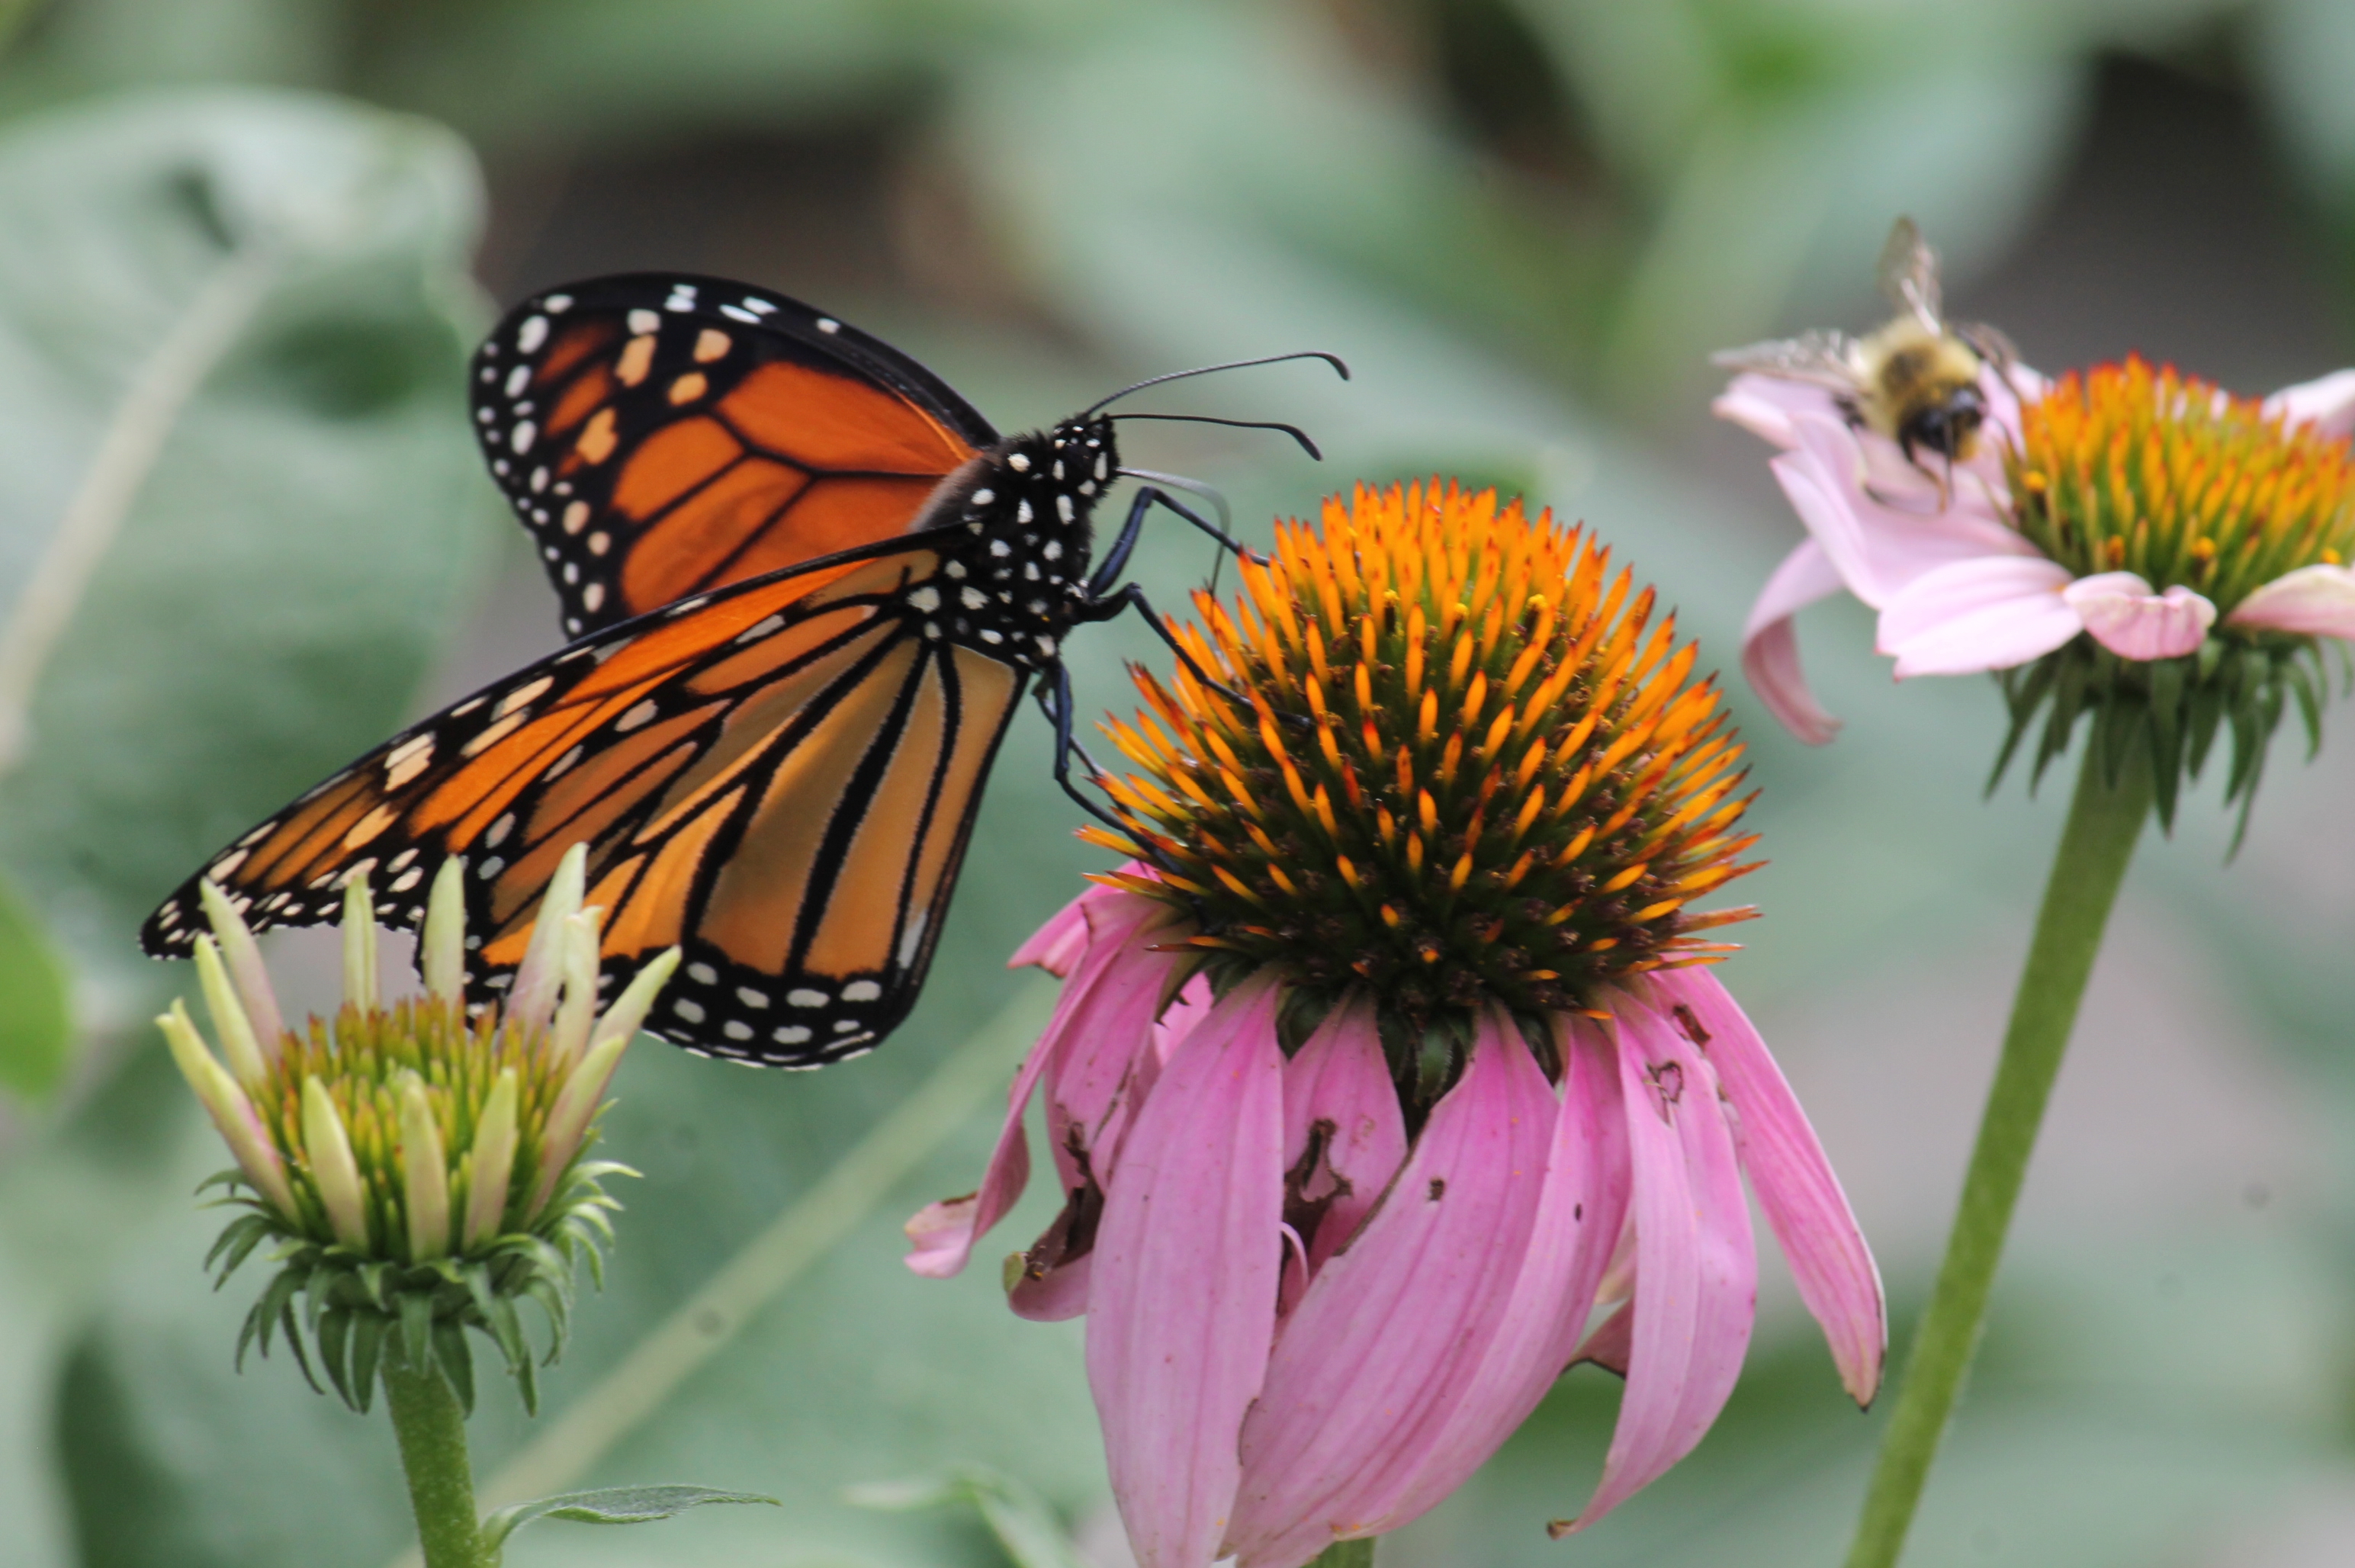
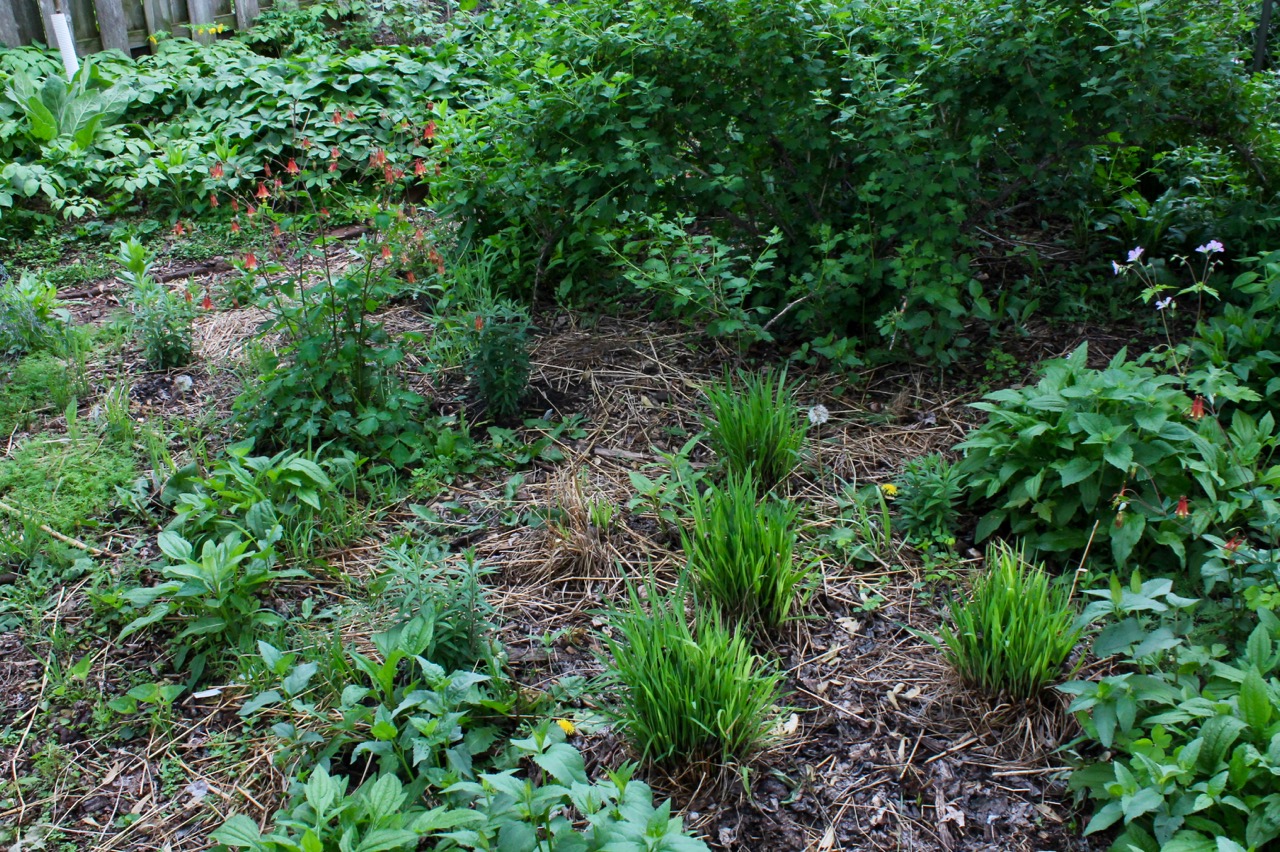
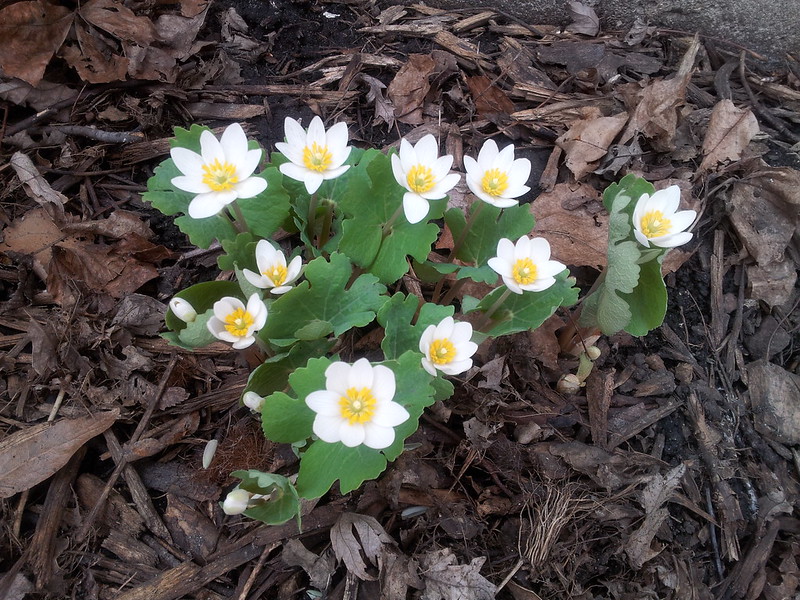
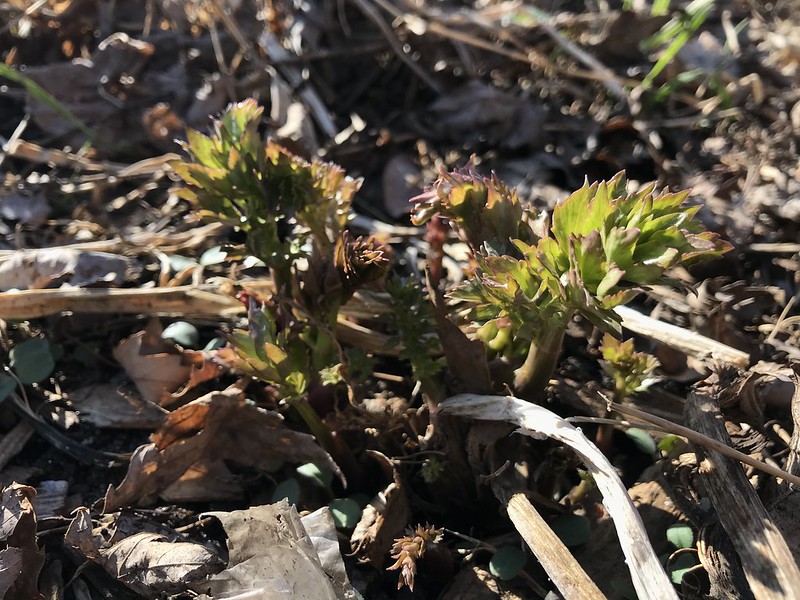
New plant discovery: American spikenard! (Aralia racemosa)
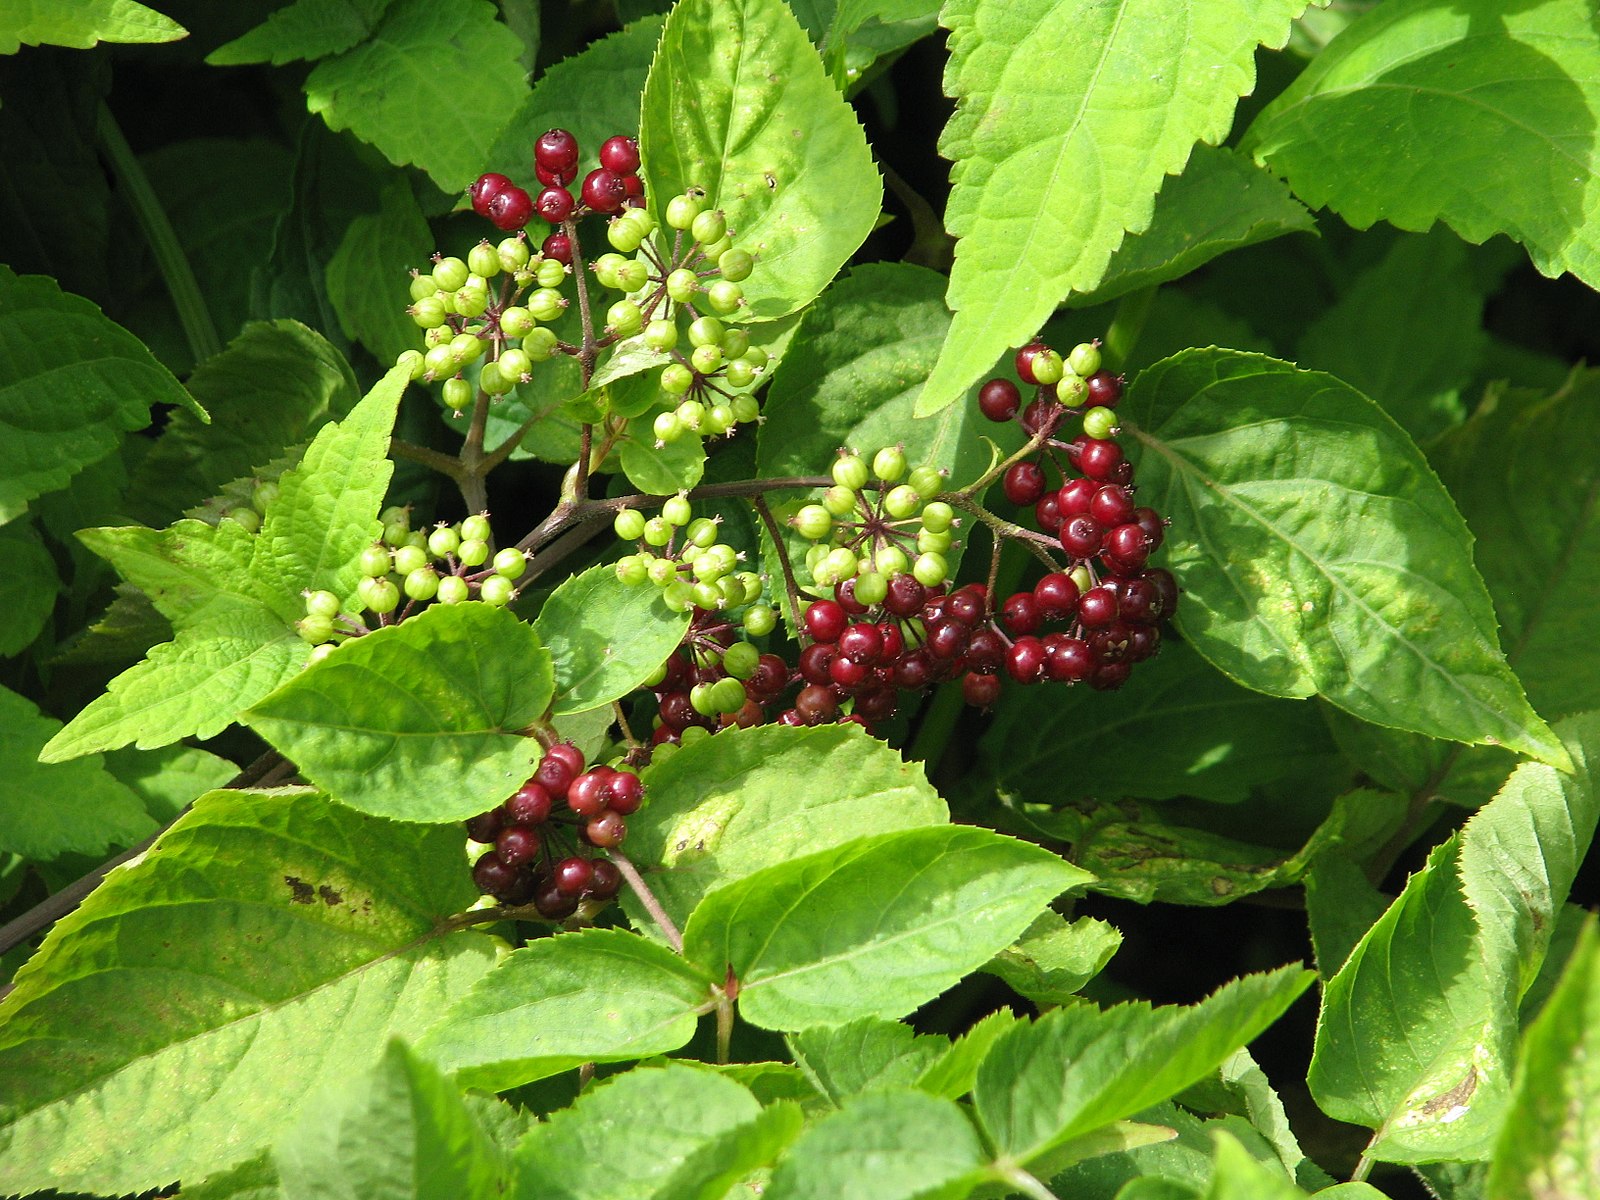
Spotted during a garden tour in August: a new native plant to me, American Spikenard, aka Aralia racemosa. It gets big and bushy even in shade, and has beautiful red berries to boot. Currently scheming where I can put a couple of these in 2024.
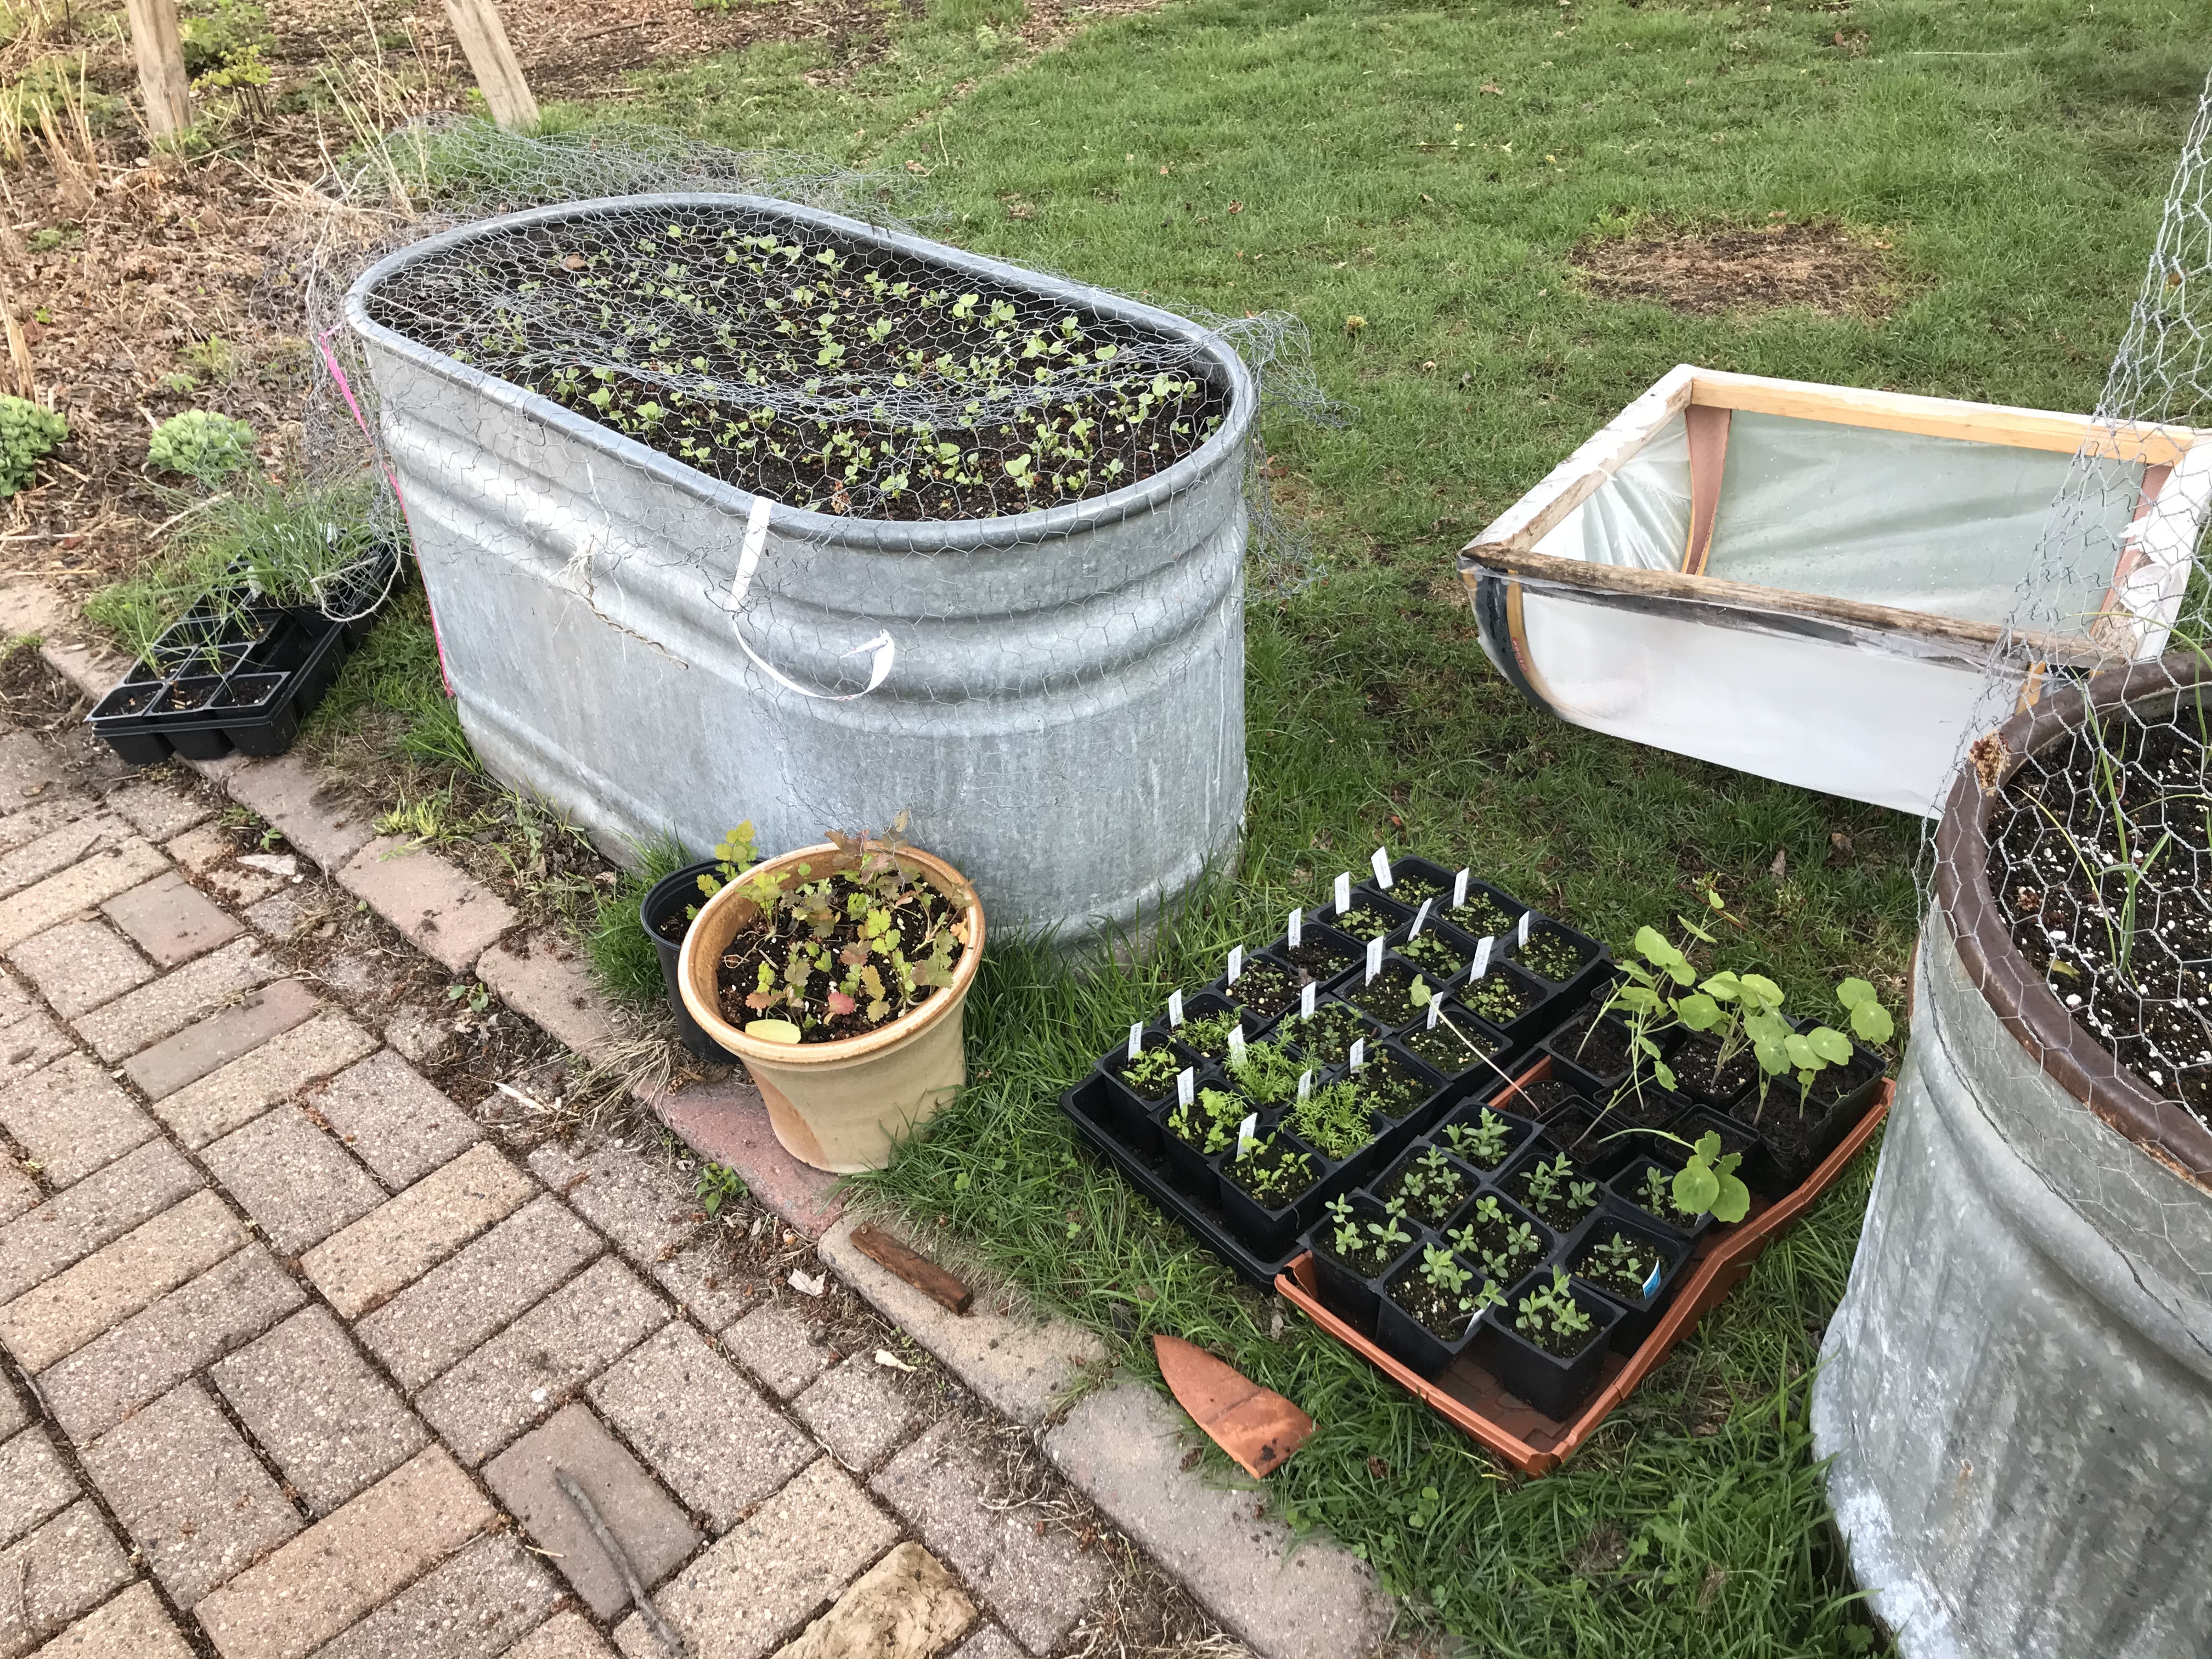
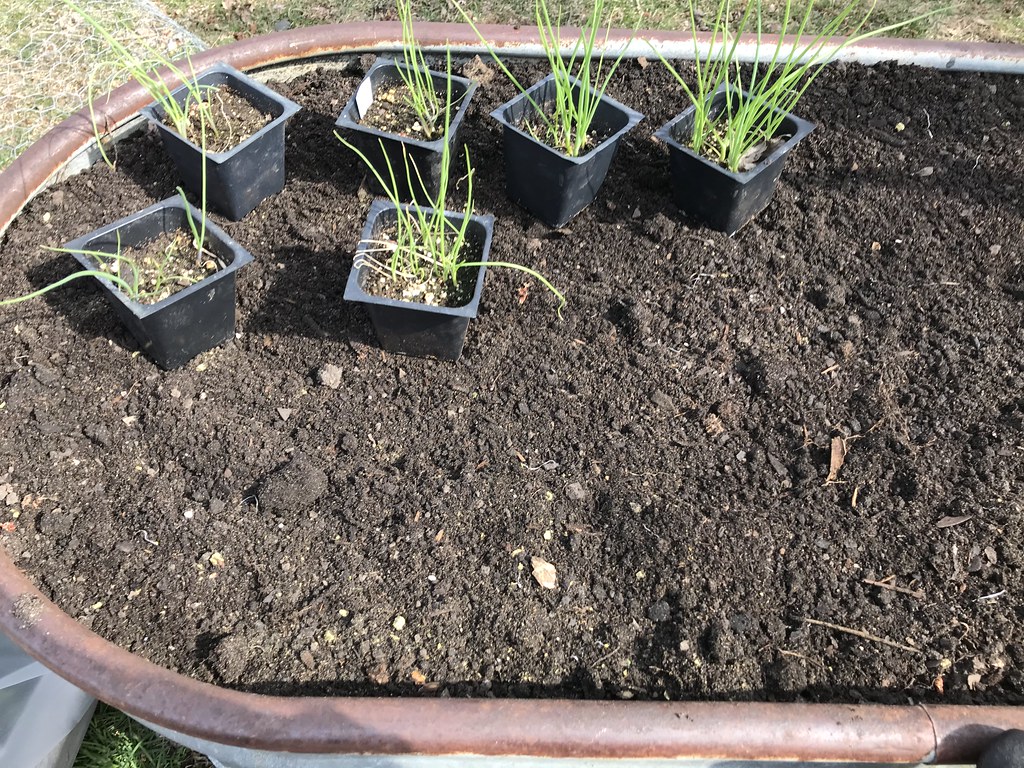
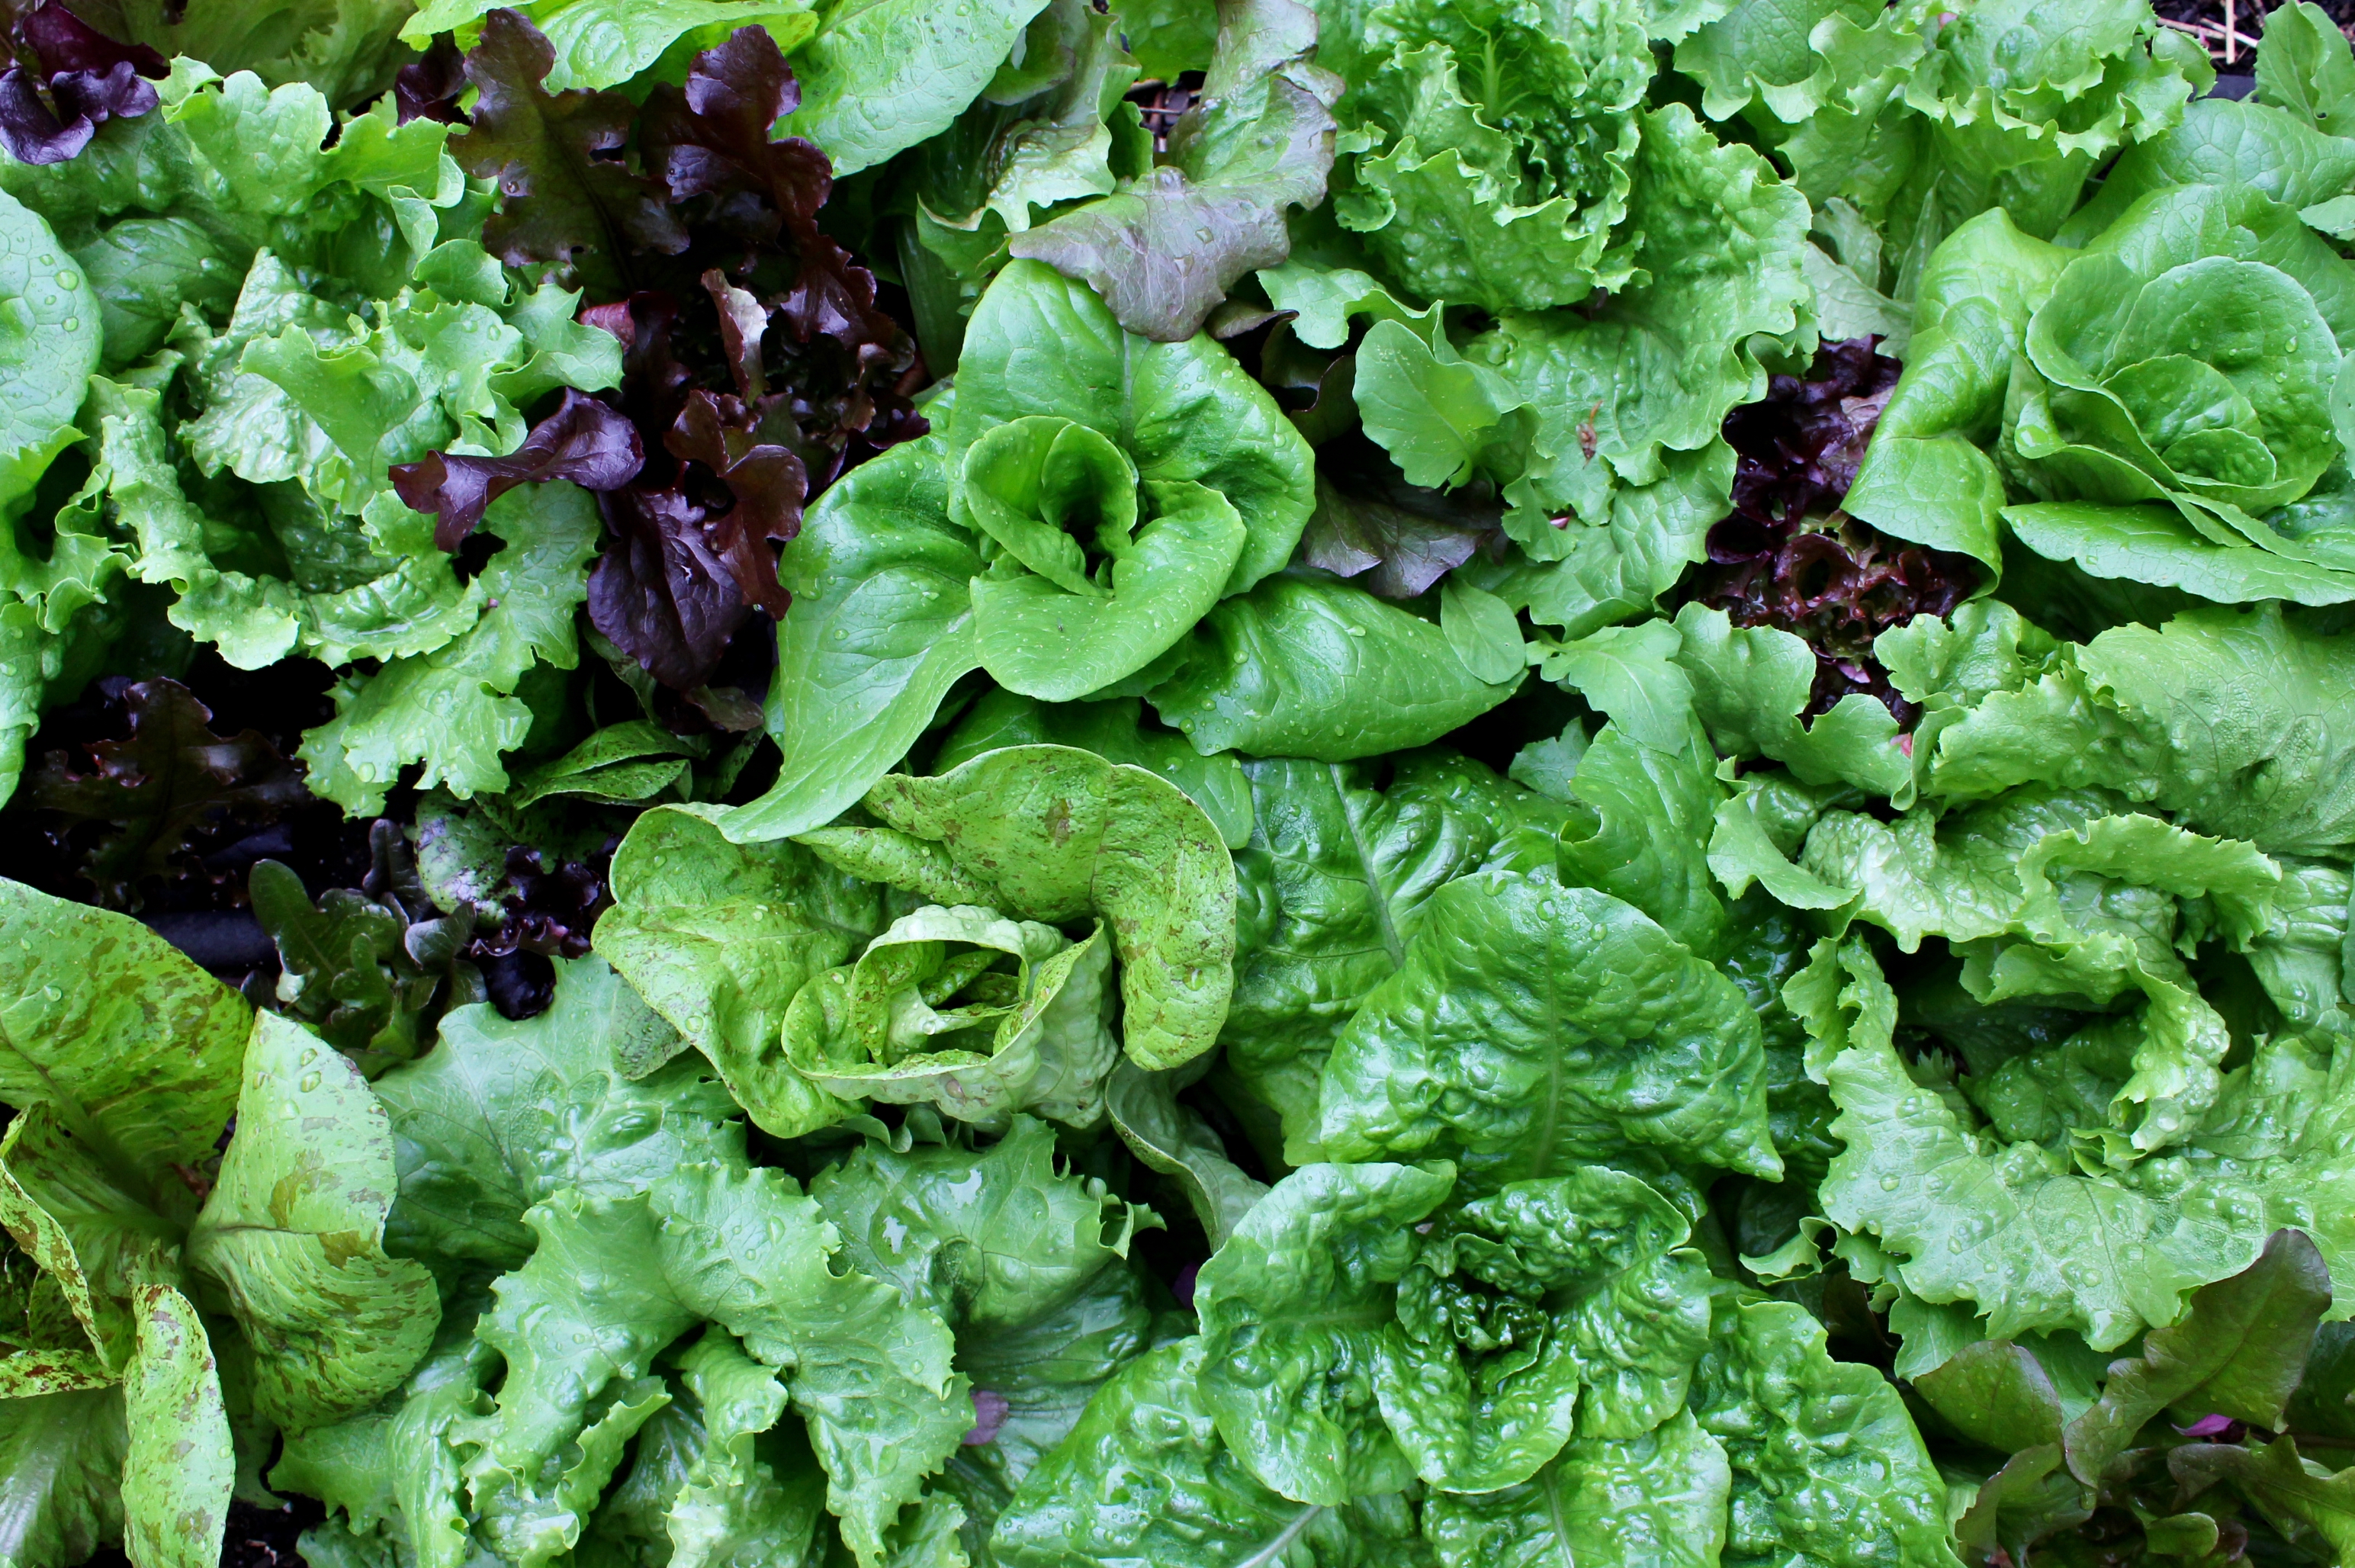
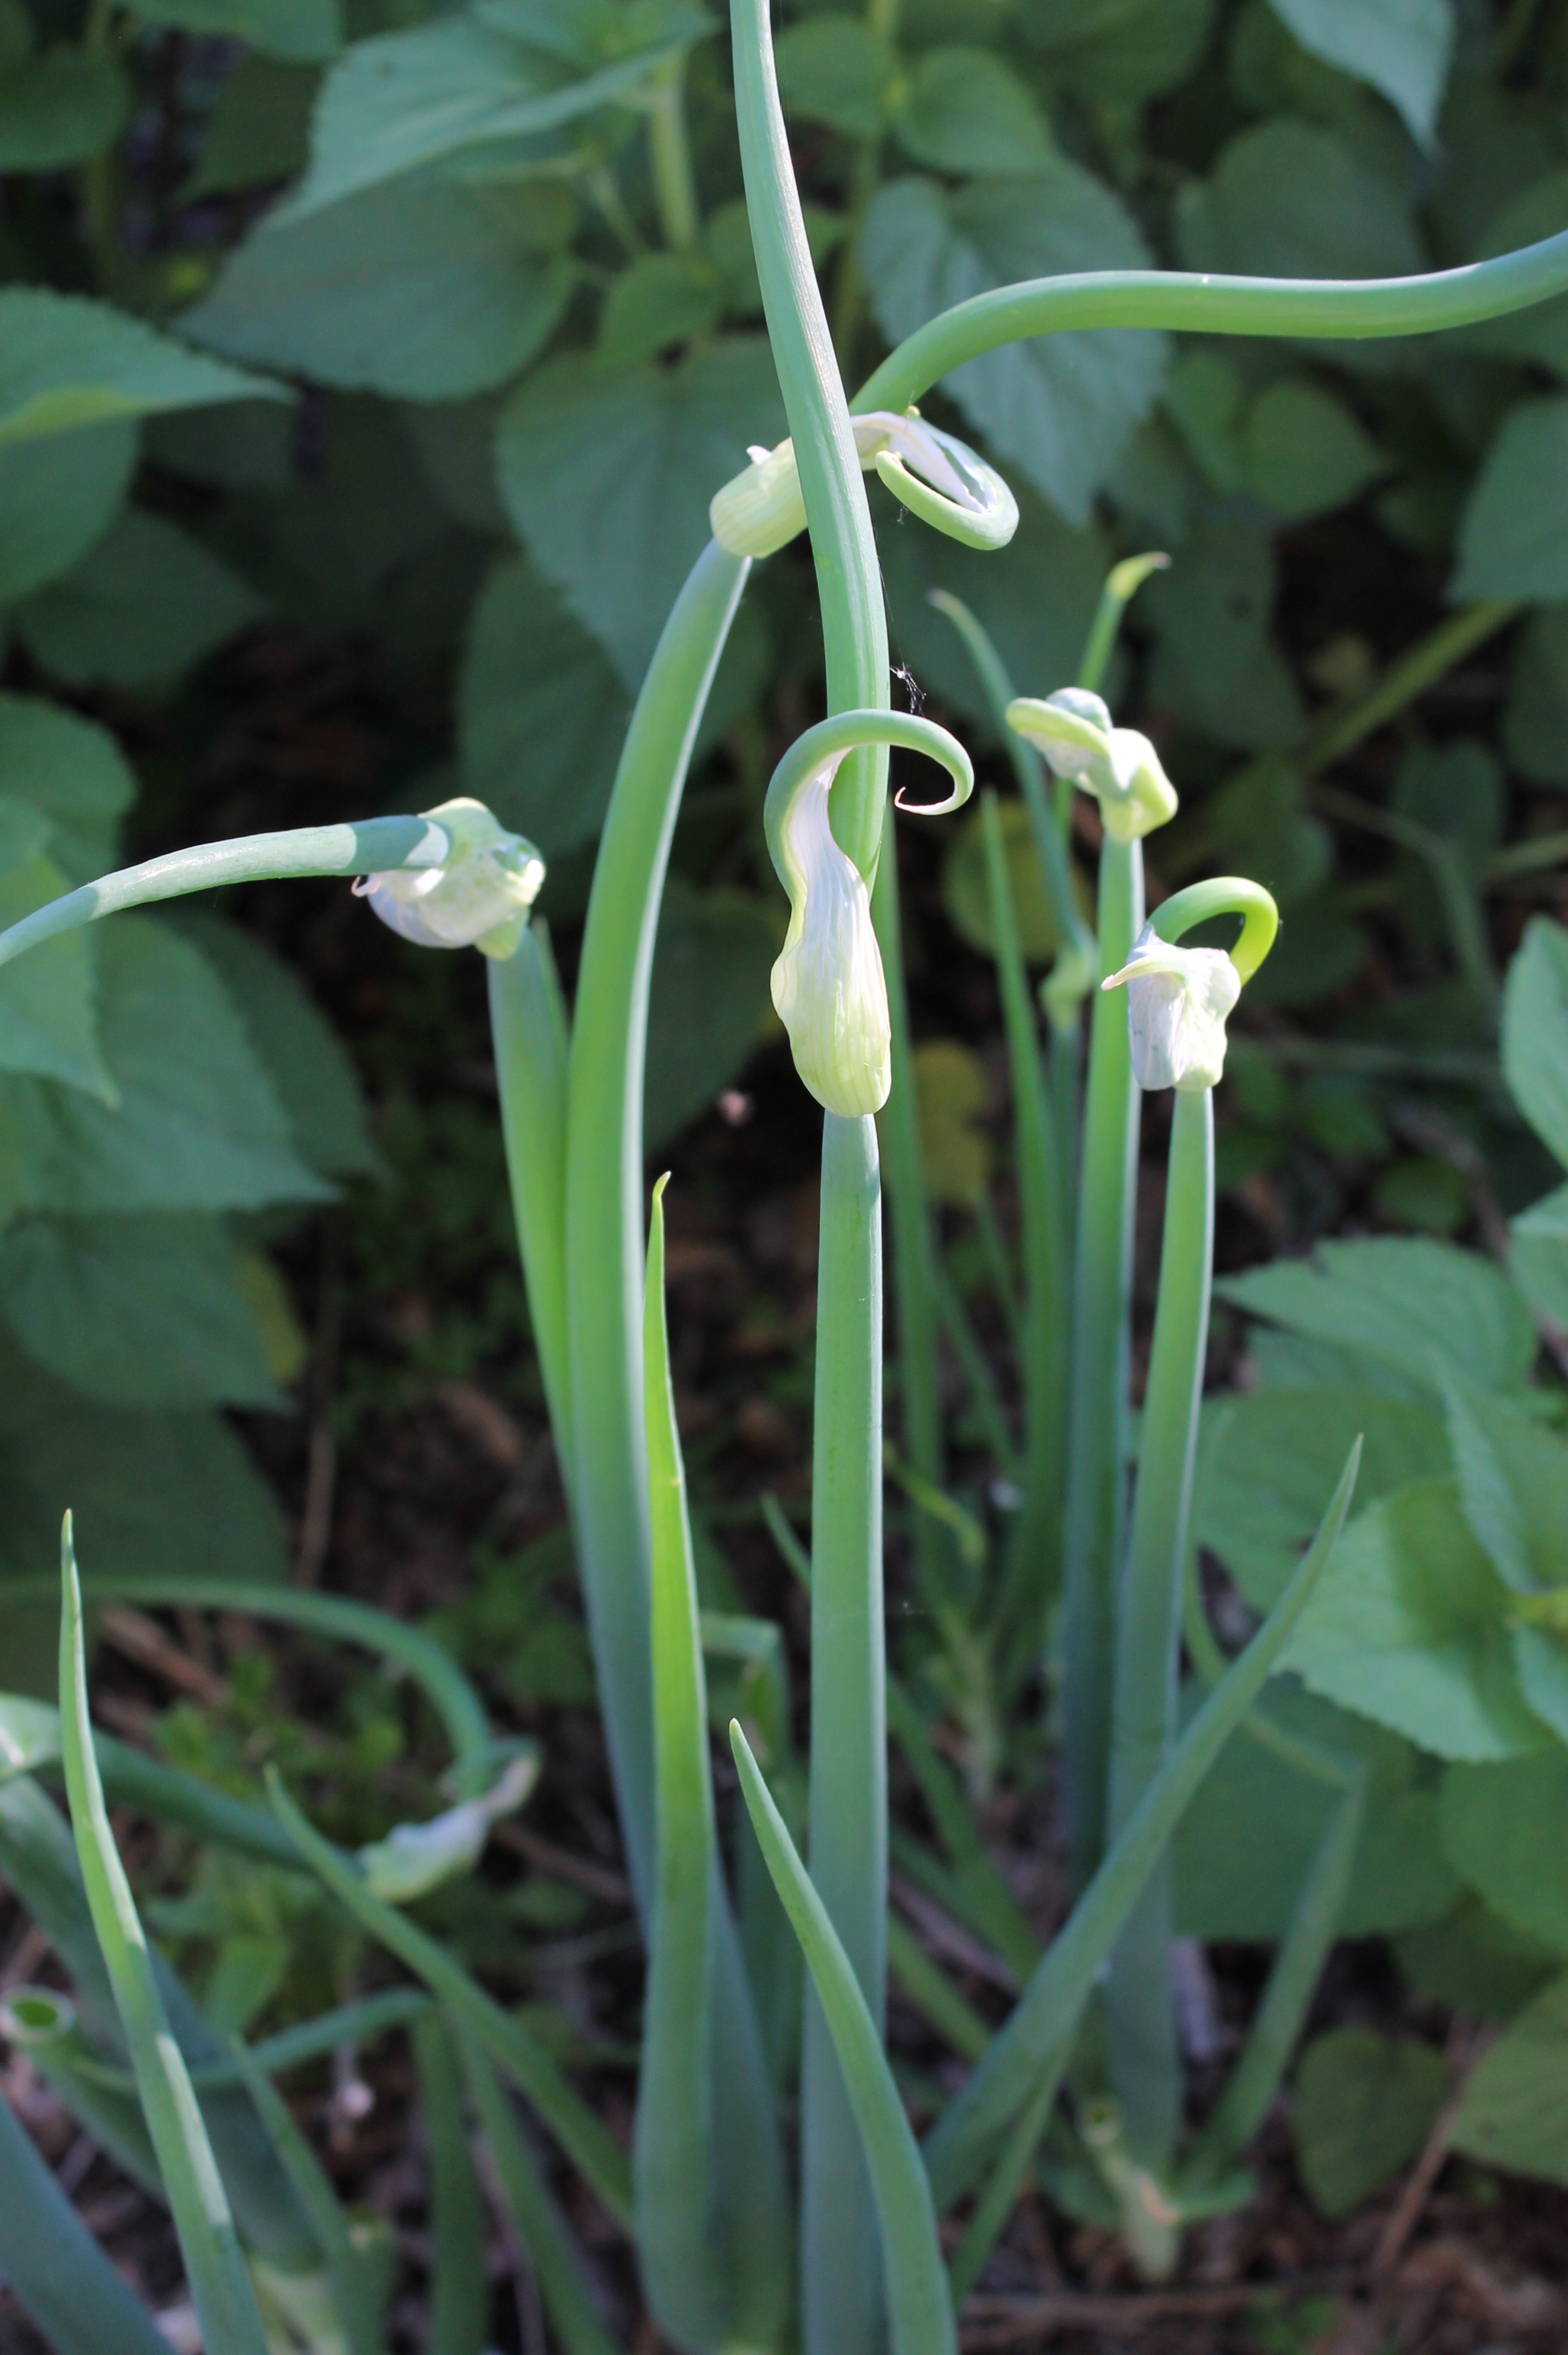
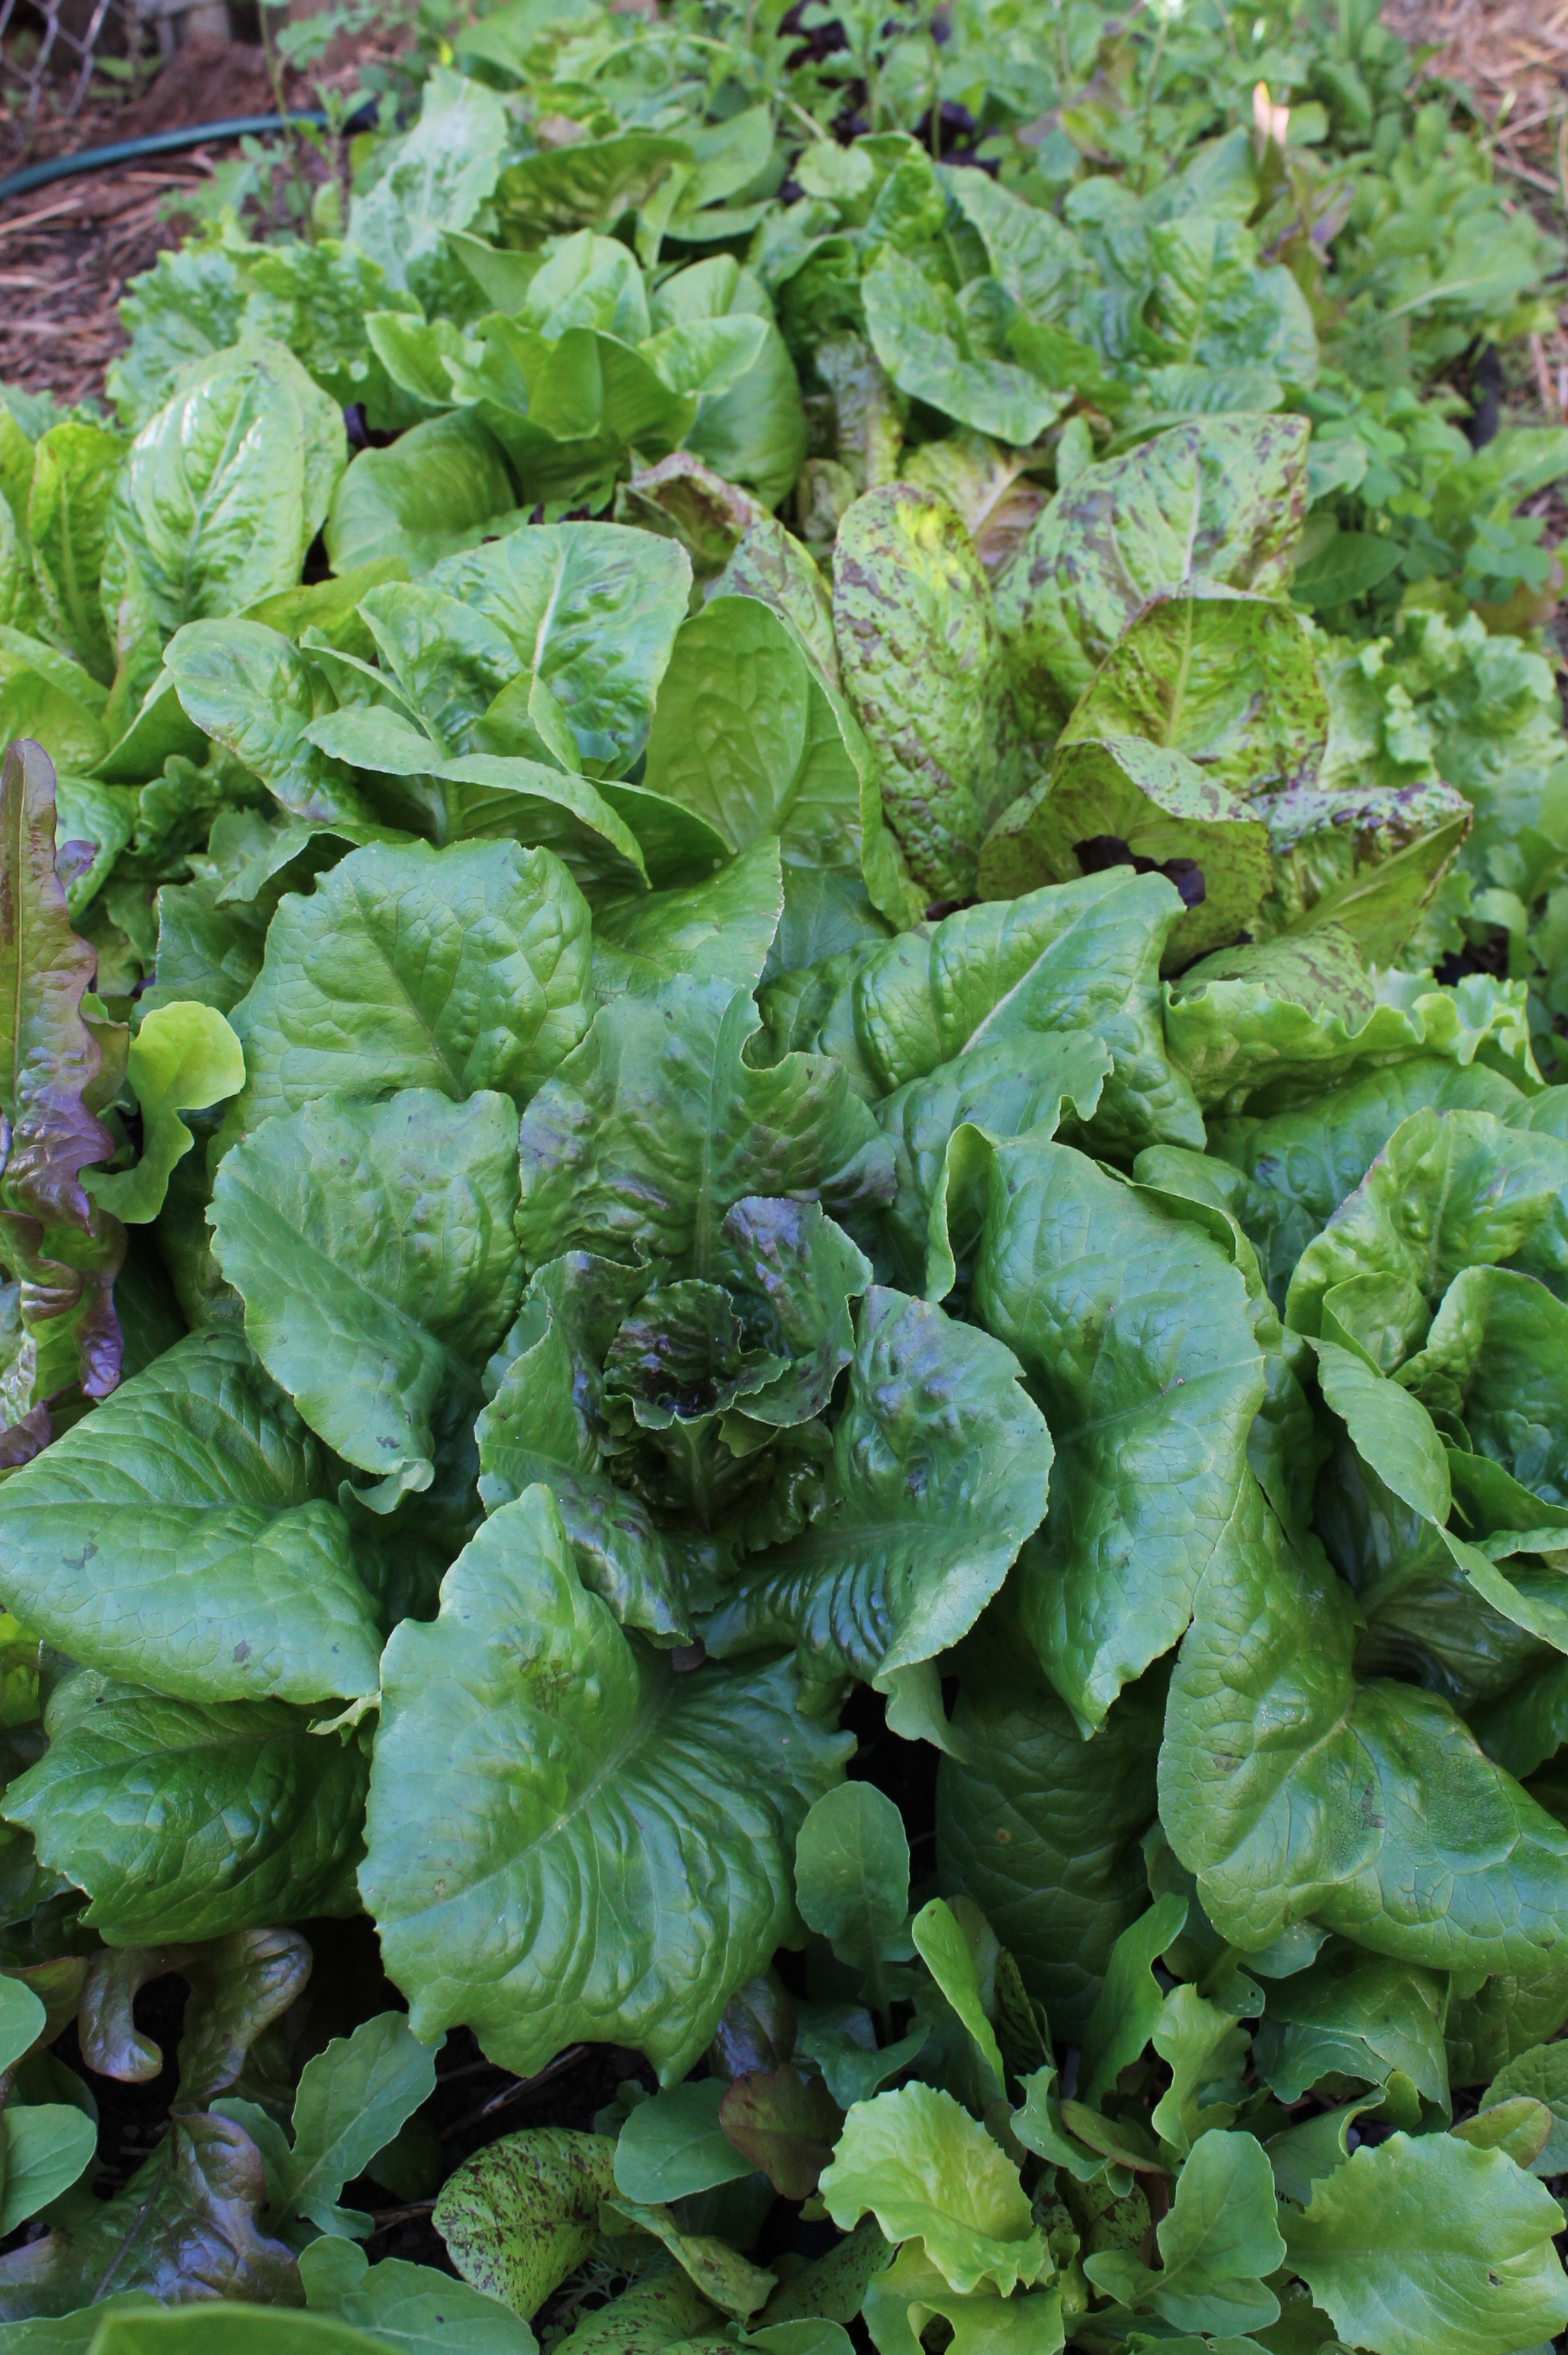
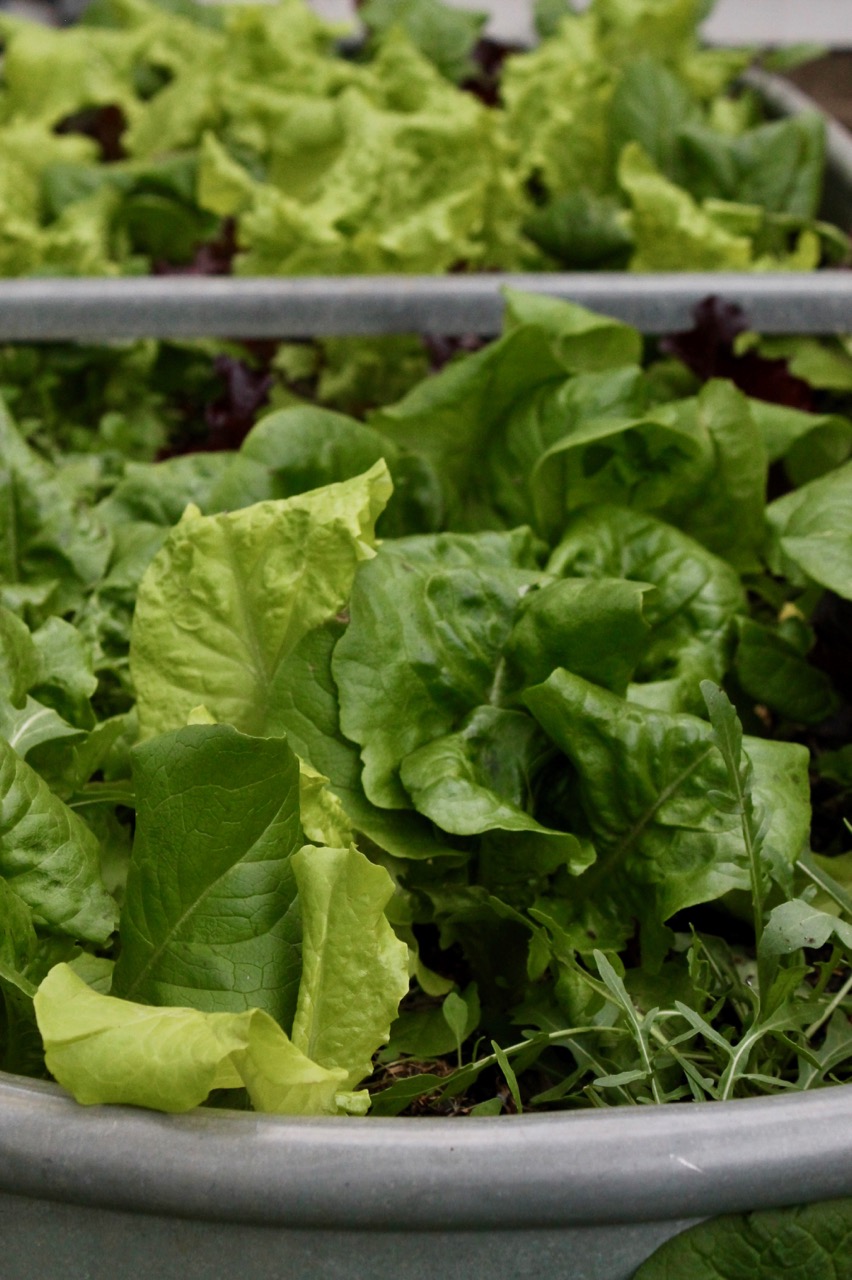
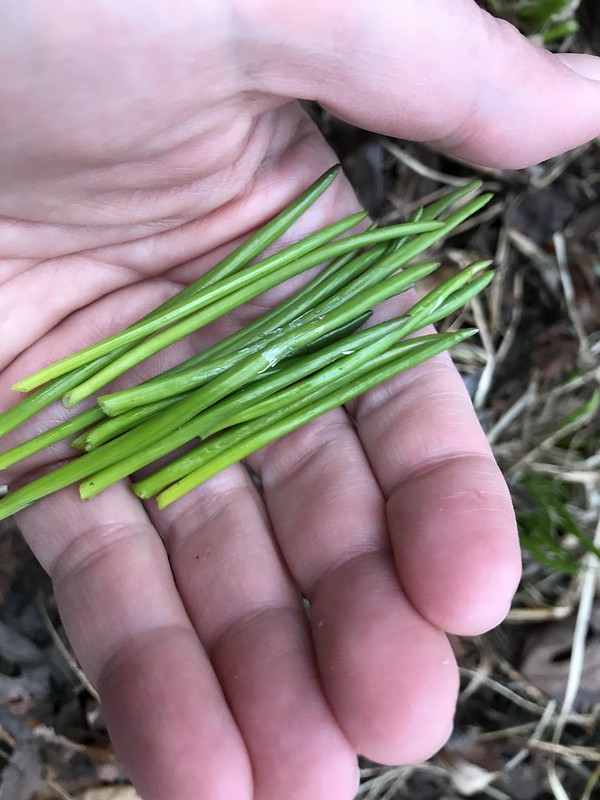
Succession plant the things that you like best
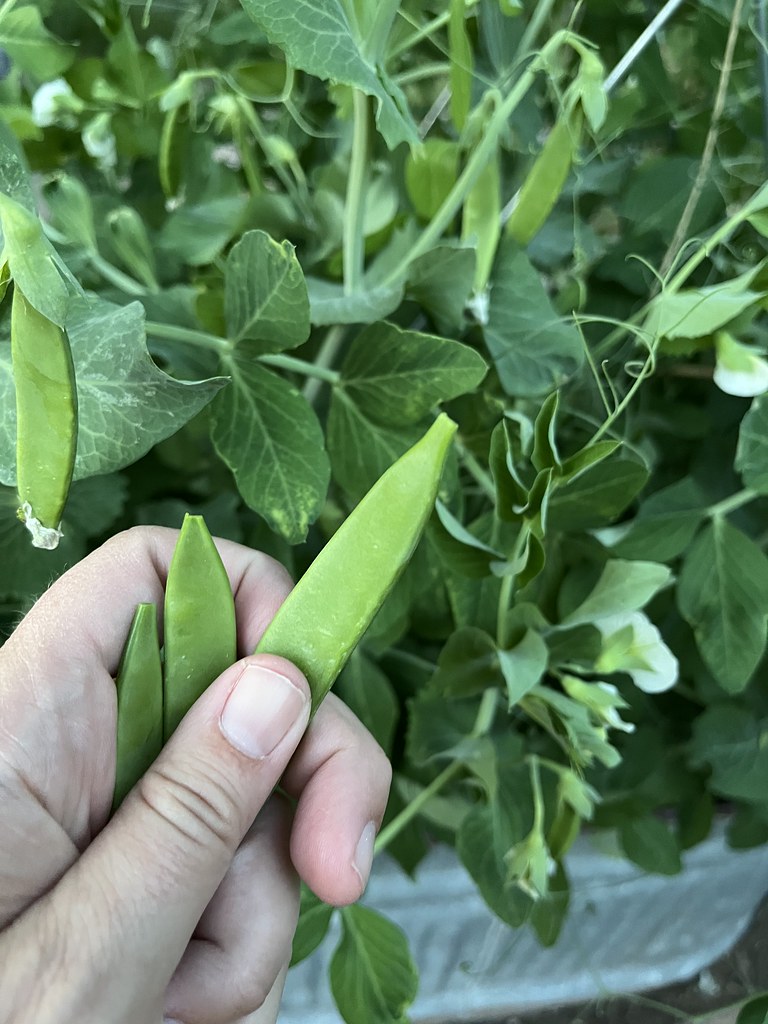
When you have limited space to grow vegetables, think hard about what you like to harvest just a little of, every single day. For me those things are lettuce, snap peas, and green onions. And all three of those happen to also taste significantly better when just picked. I can get a nice large heirloom tomato at the farmers market easily enough, but I want to prioritize these things that are better fresh. So in 2024 I’m succession planting all 3 of these to have both spring and fall harvests of them (all of them happen to be cool-weather veggies).
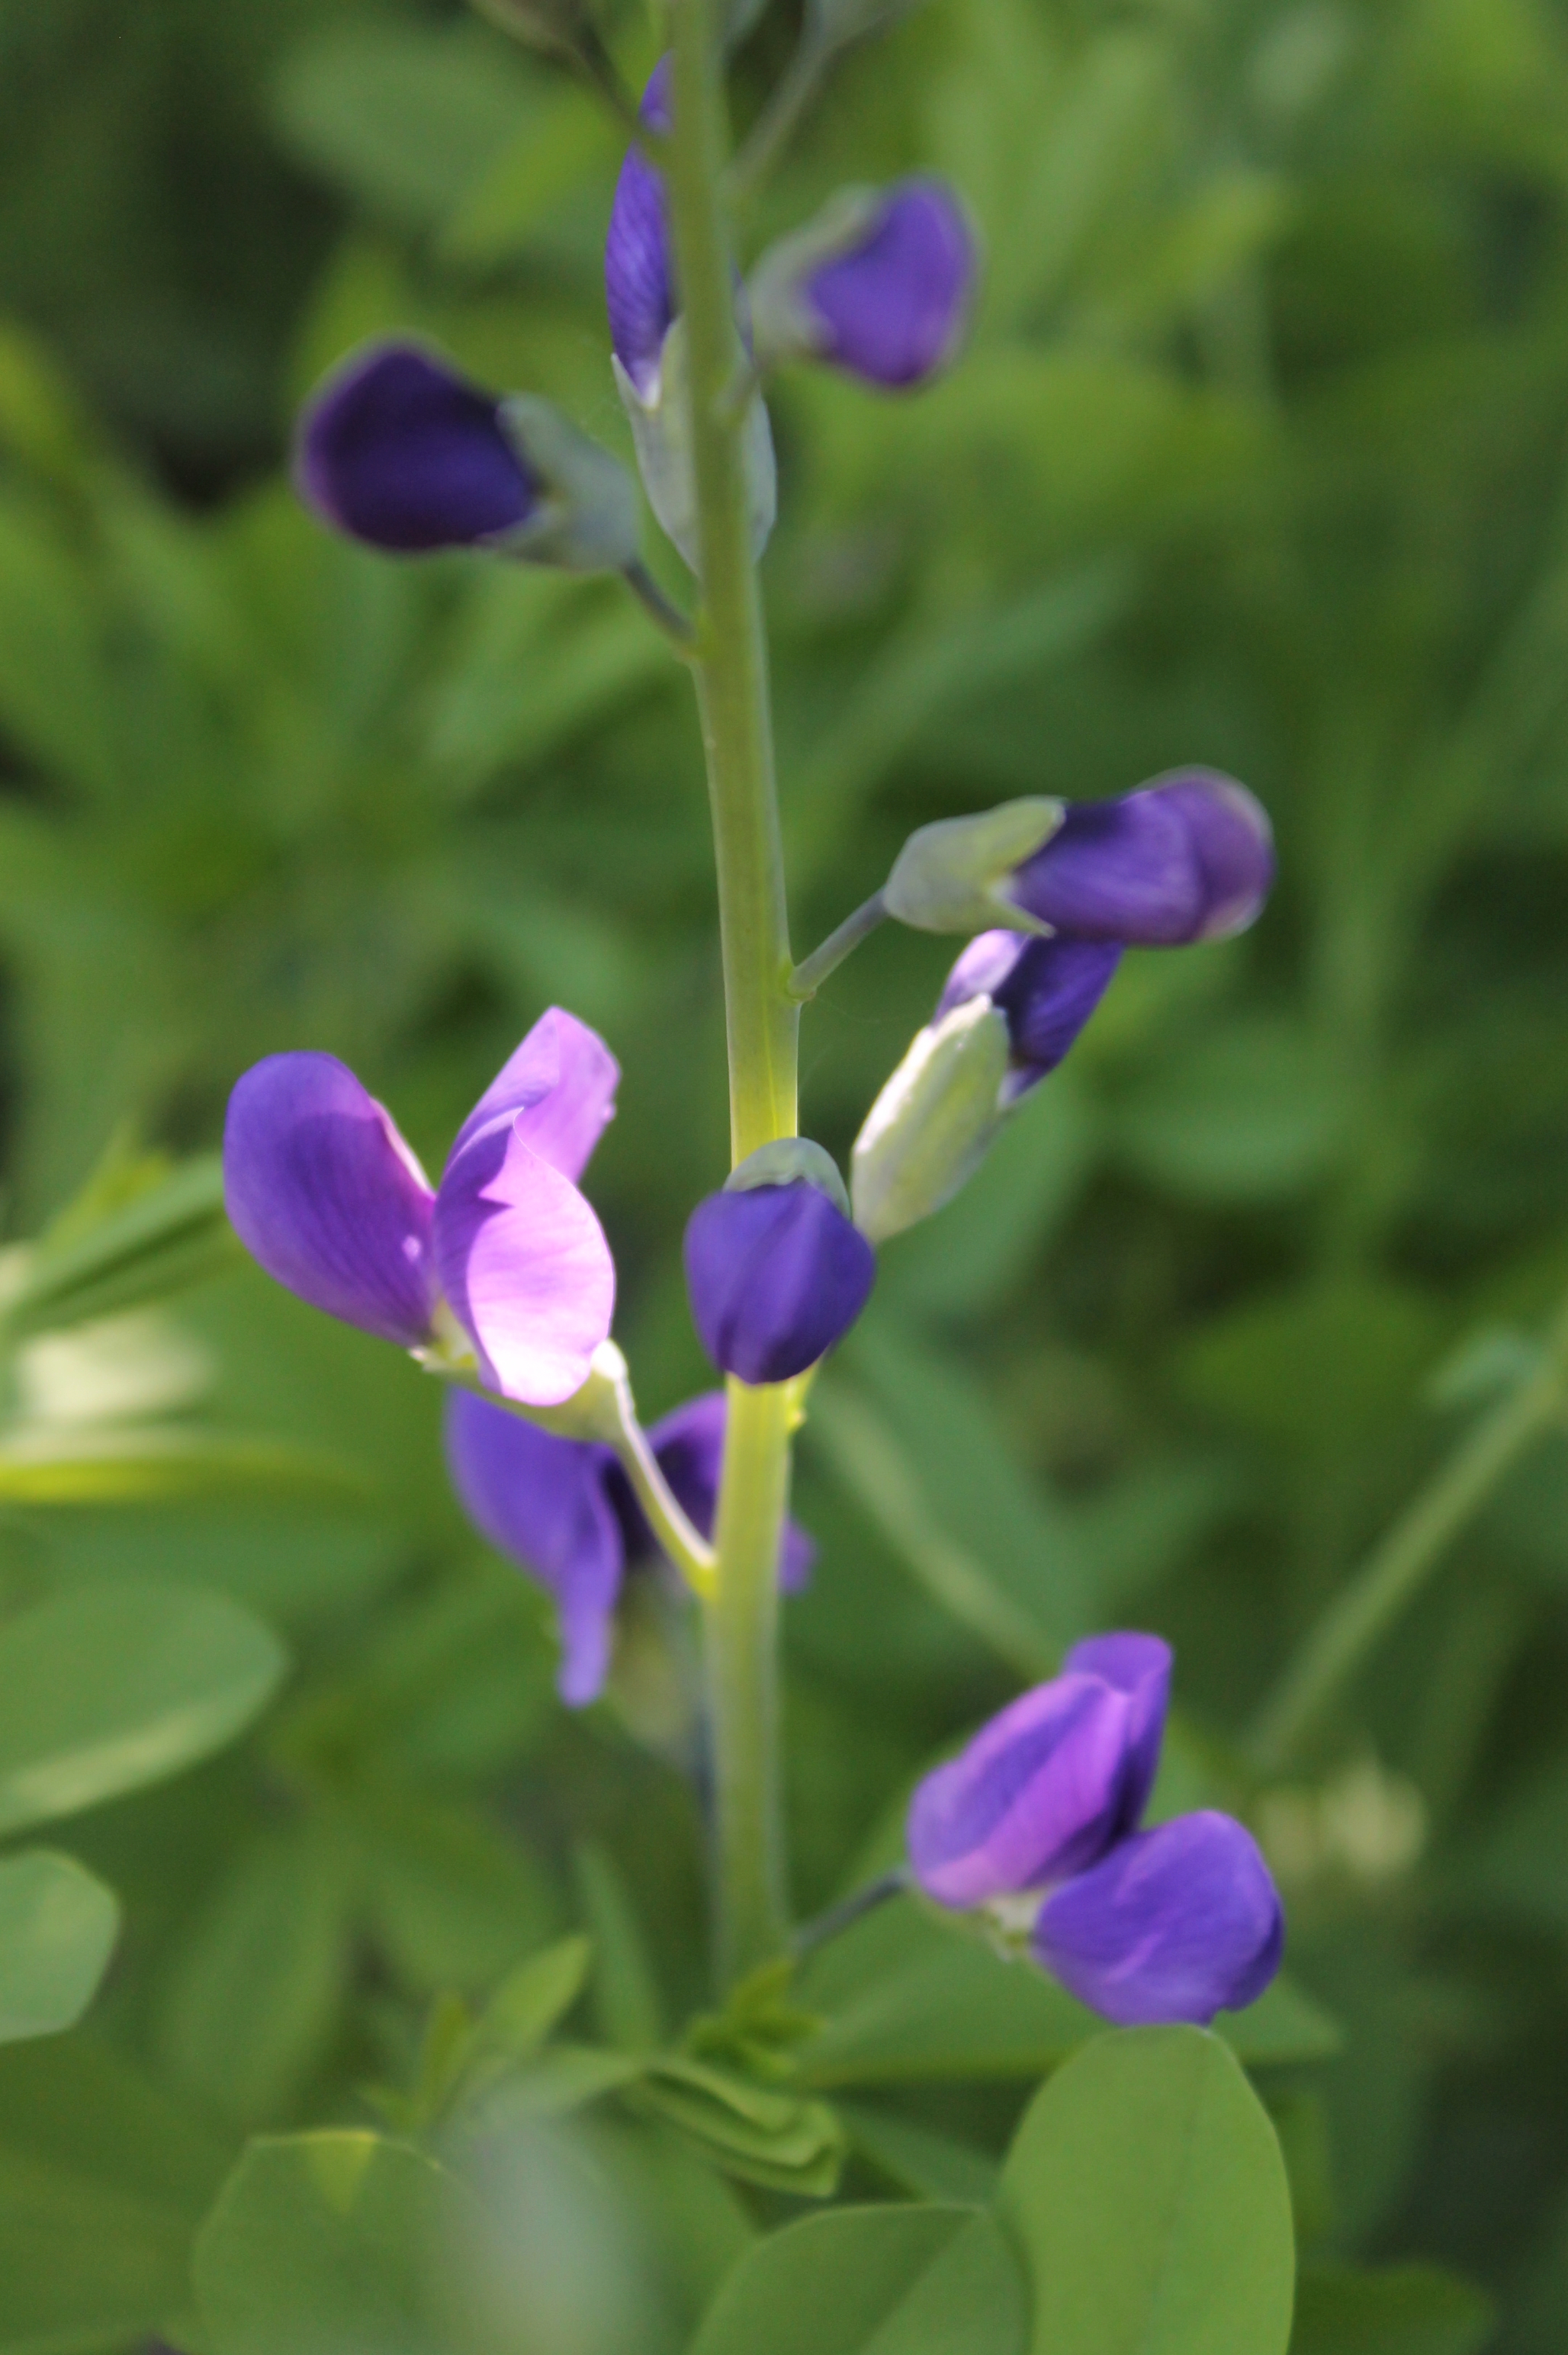
Passionflowers are dang cool
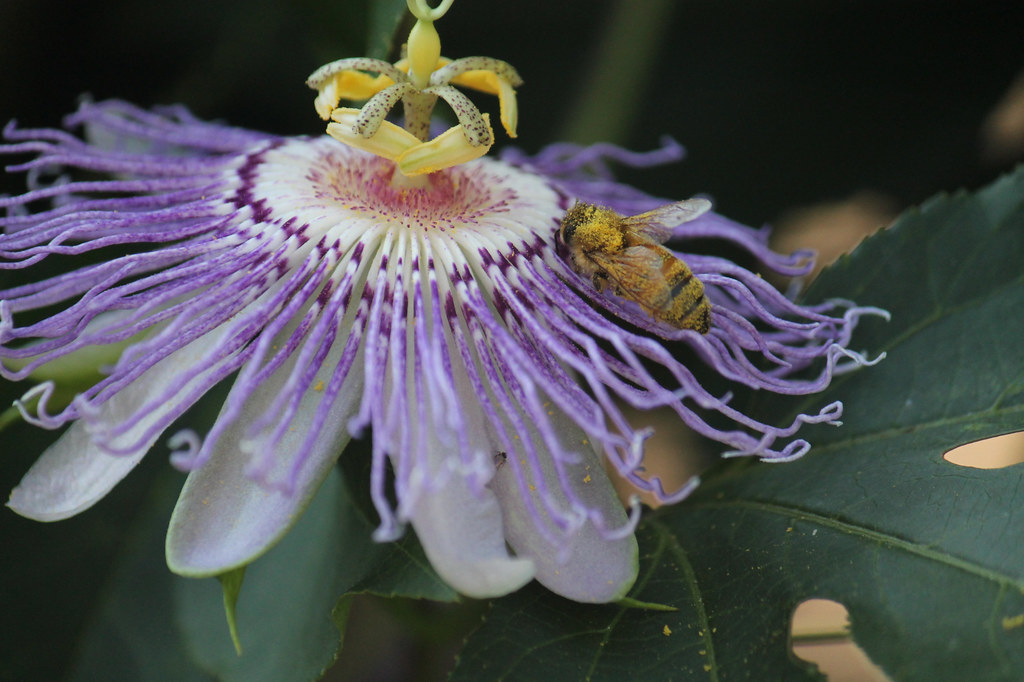
Another new-to-me plant this year, Passion flower (Passiflora incarnata)—a flowering vine native to the southeastern United States that has been traditionally been used medicinally. The flowers are just absolutely spectacular. With the mild winter we are currently having, the one I planted may just survive this time. Usually grown as an annual up here in the north.
Other things to note
The USDA released newer, more detailed hardiness zone maps and the Twin Cities, where I live, is now zone 5 (formerly zone 4). Zone 5!? That’s supposed to be for wimpy Iowans. Minnesotans have been flexing our zones 3 and 4 prowess for so long! My fellow Northern Gardener blog contributor Mary Schier has an excellent breakdown of the news.
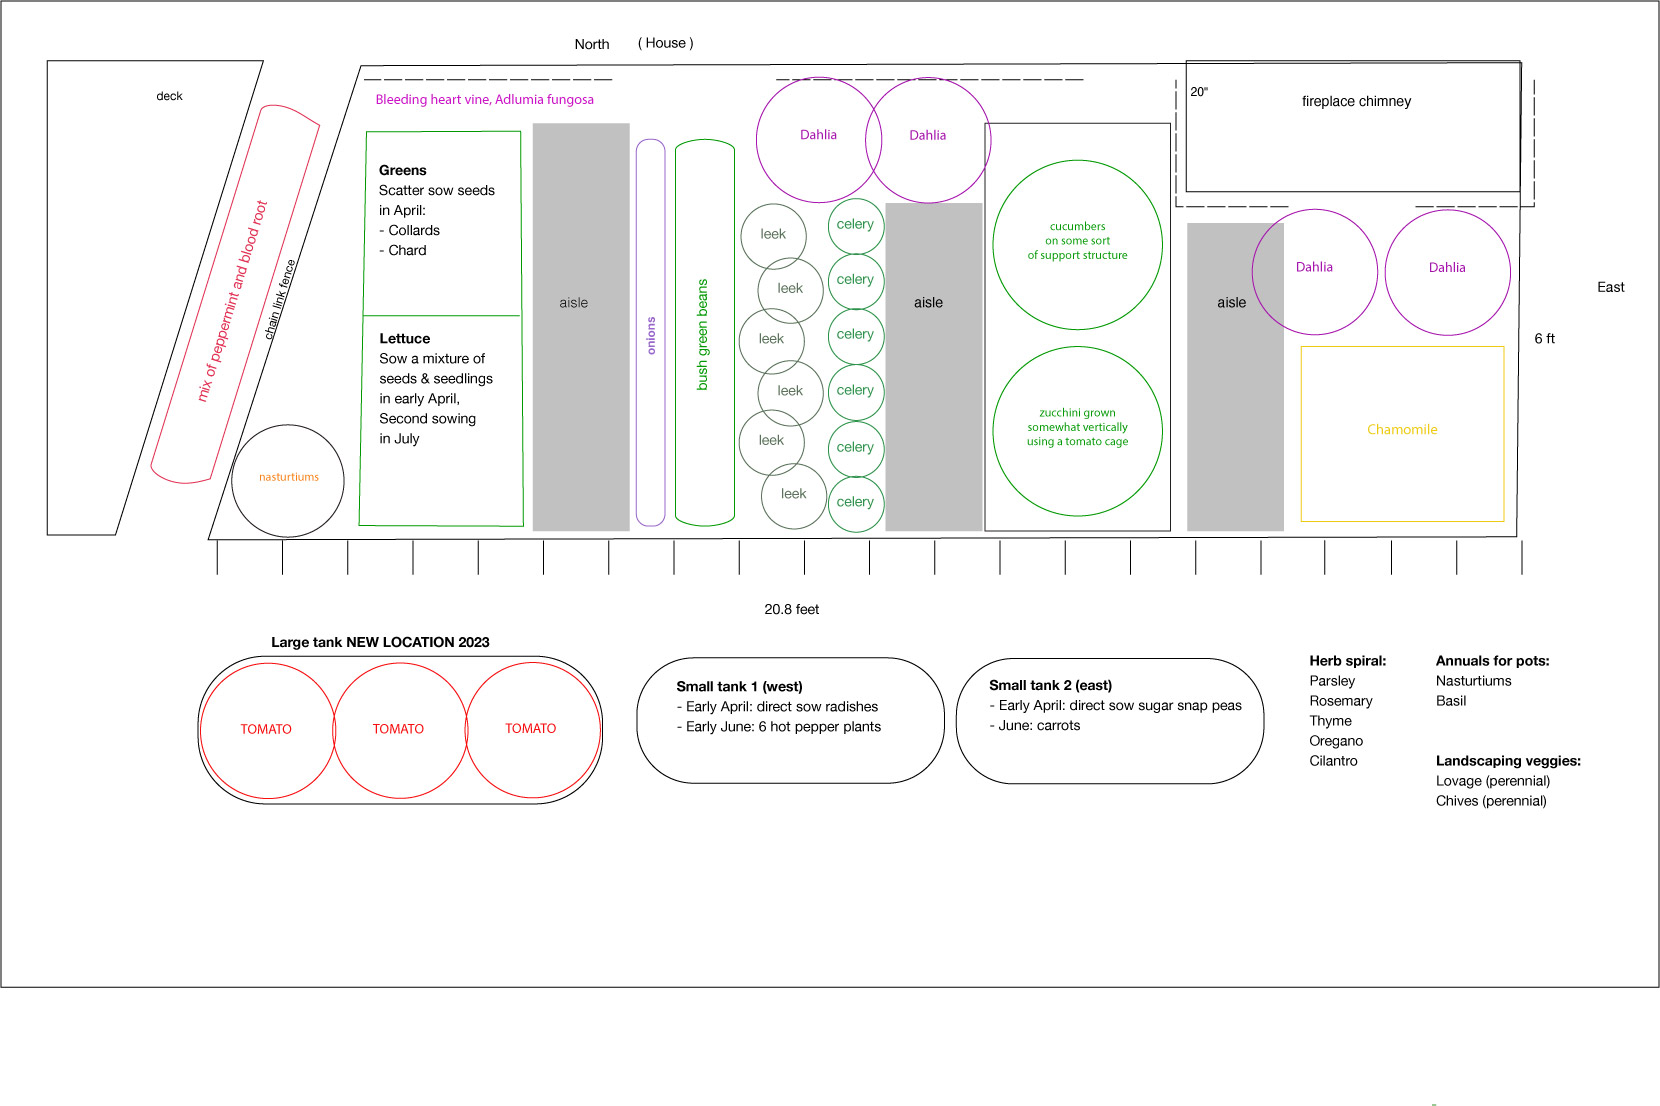
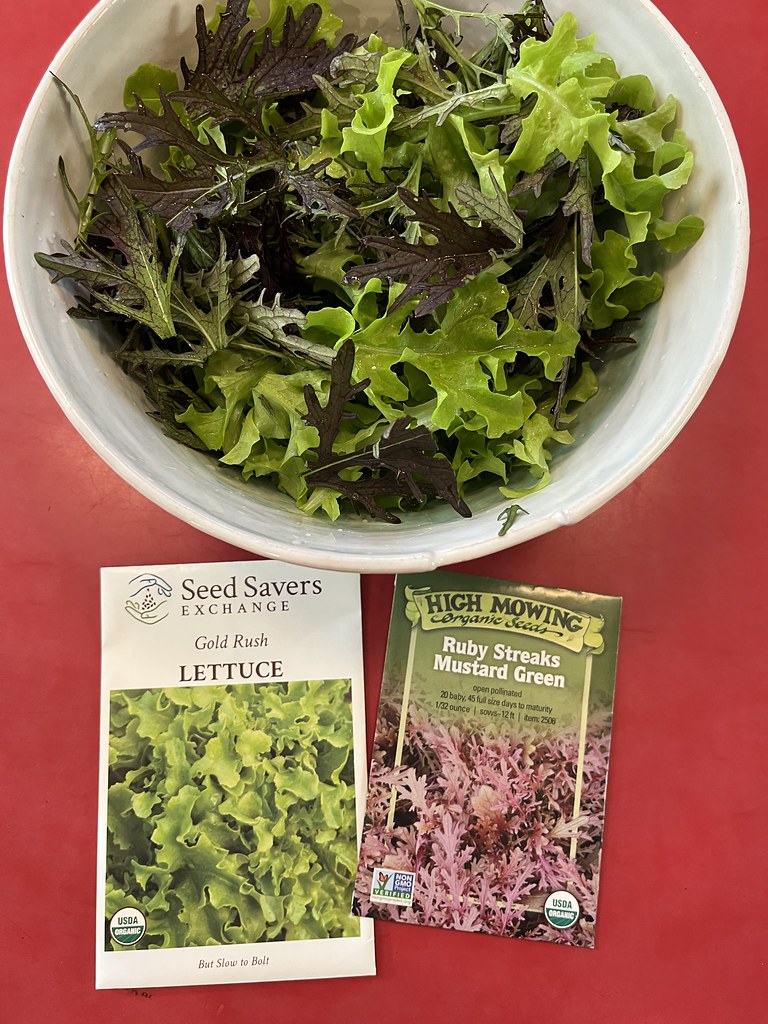
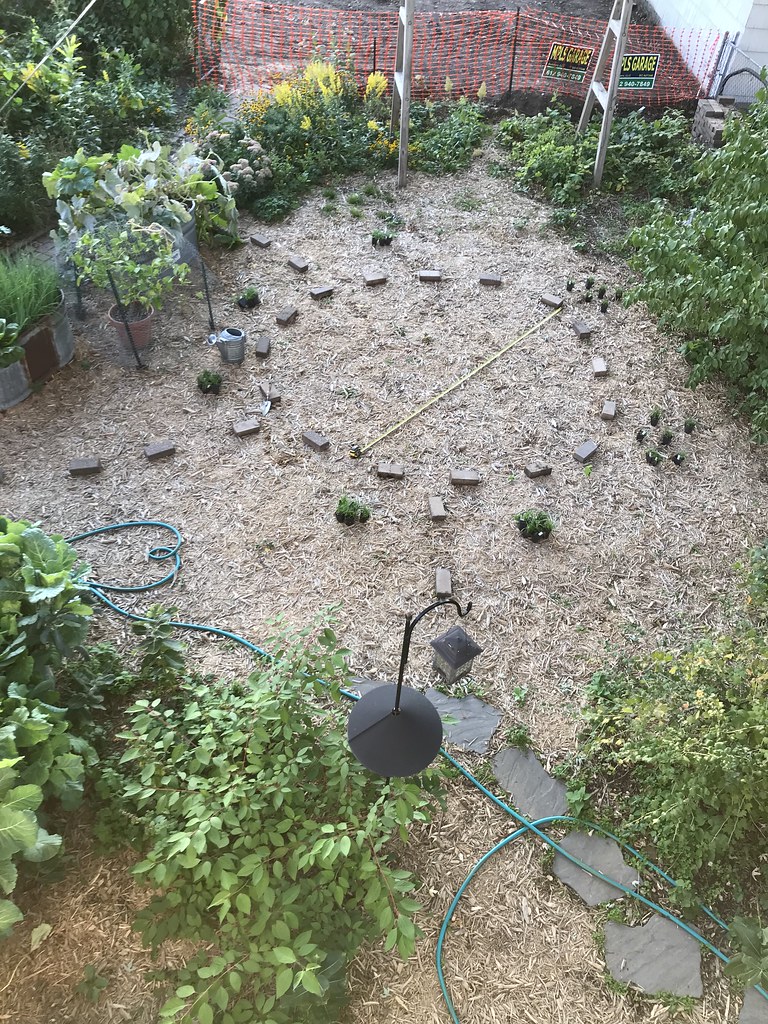
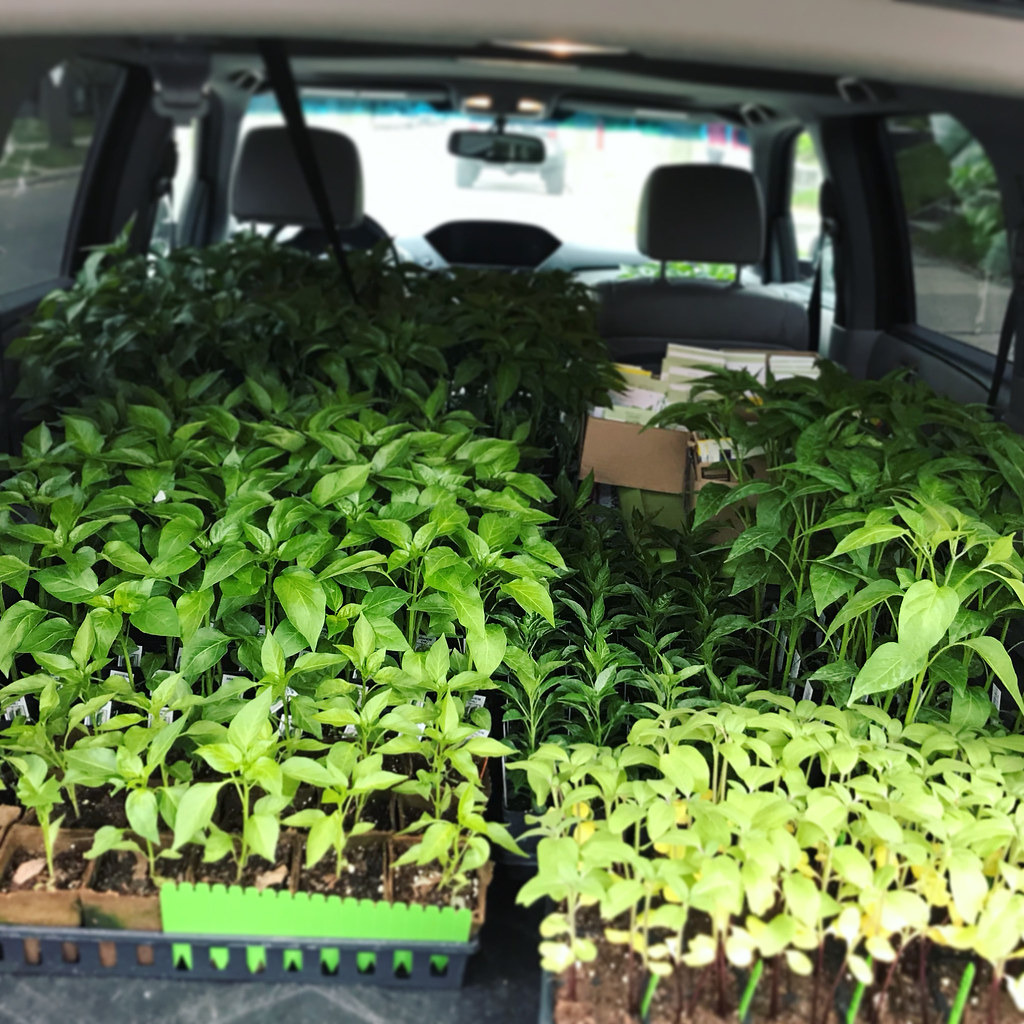
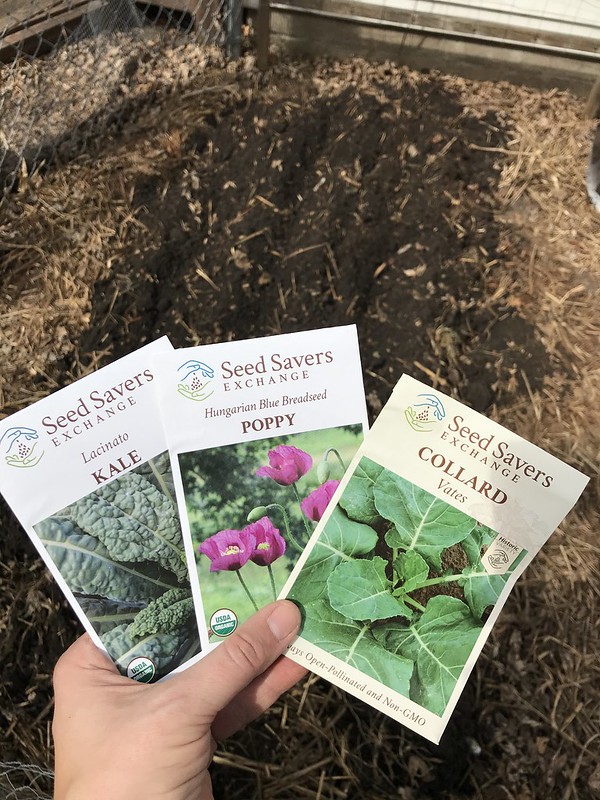
I did plan a vegetable garden for 2024! I have to, so that I know which seeds to order. I’ve already got one order in with Seed Savers Exchange and will order some more if I can ever make up my mind which variety of zinnias I want to try for my alley zinnia garden.
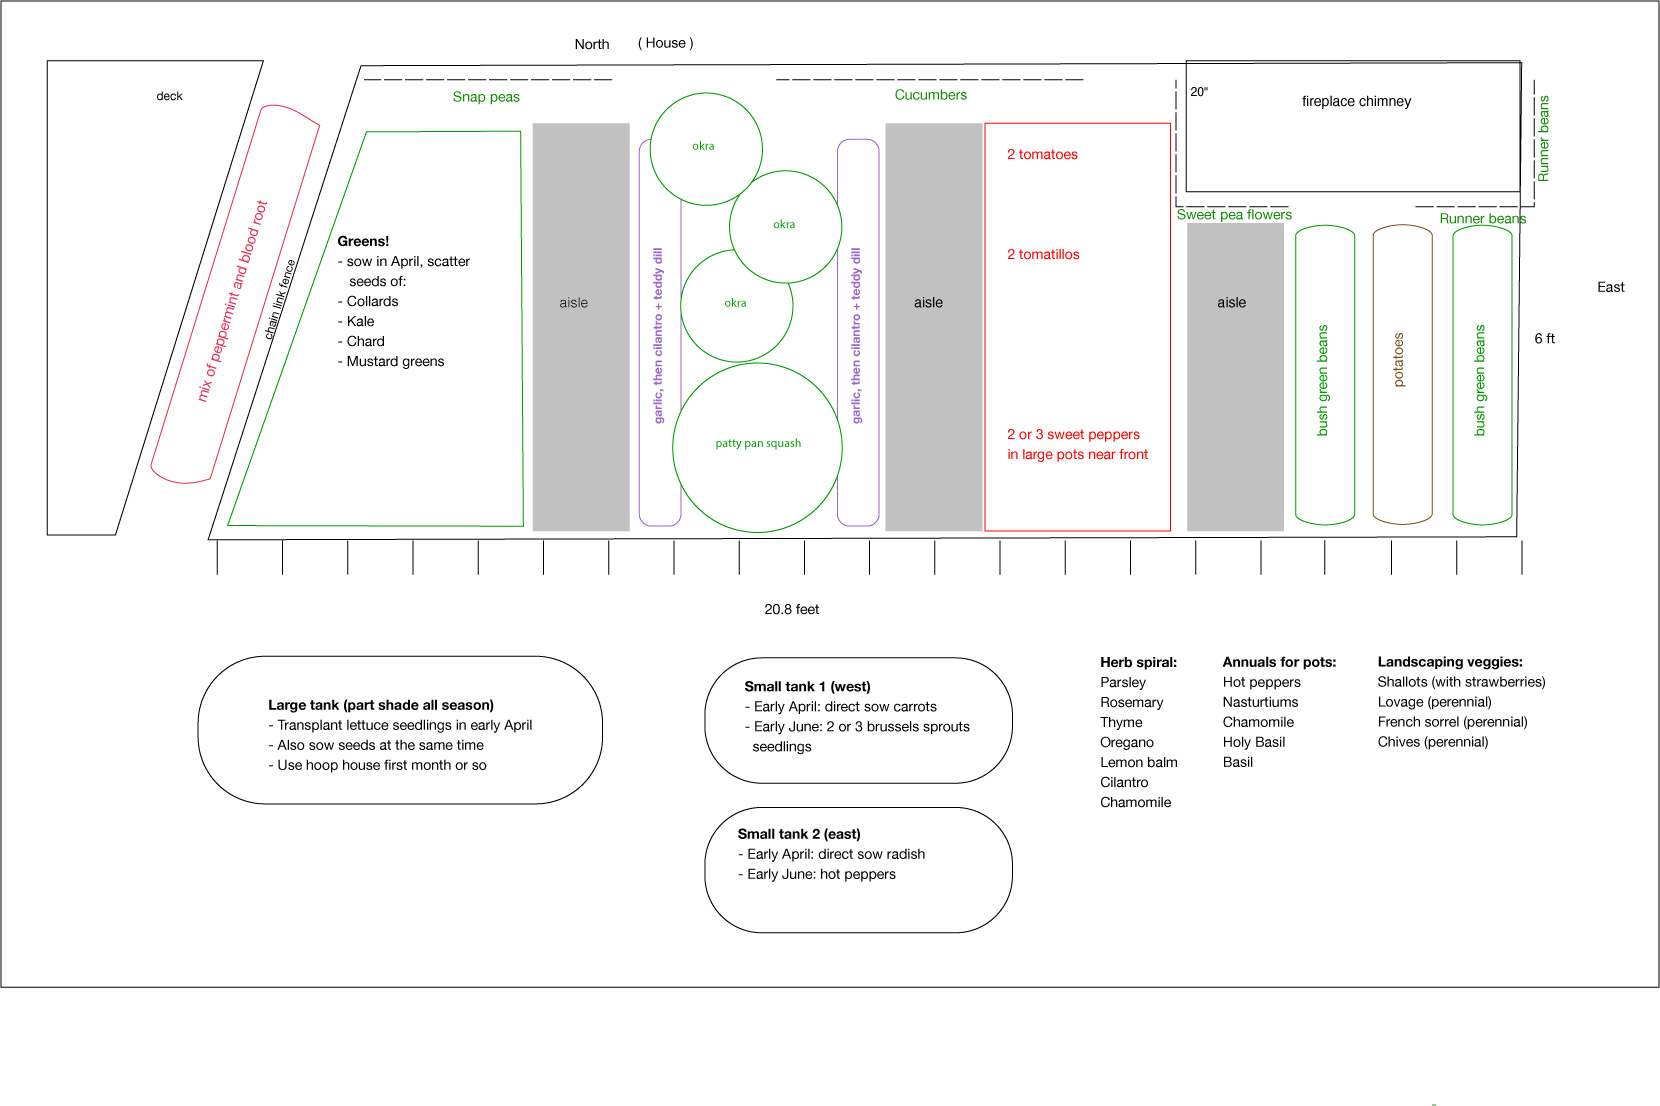
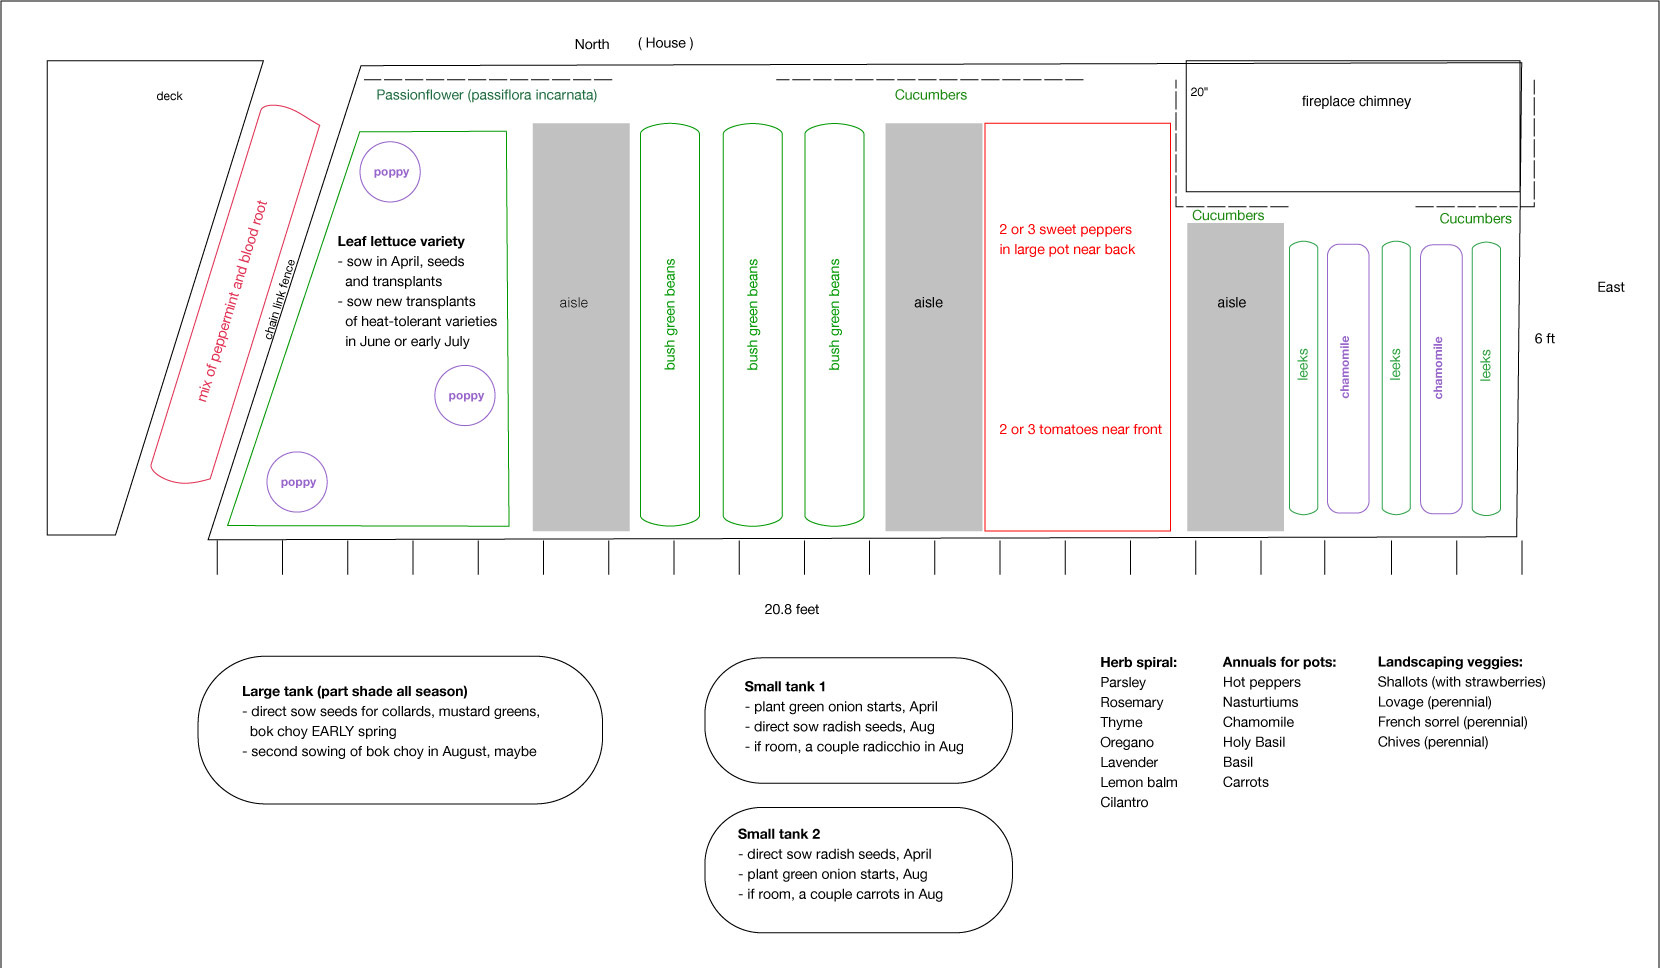
Here’s my vegetable garden basic layout (click to enlarge):
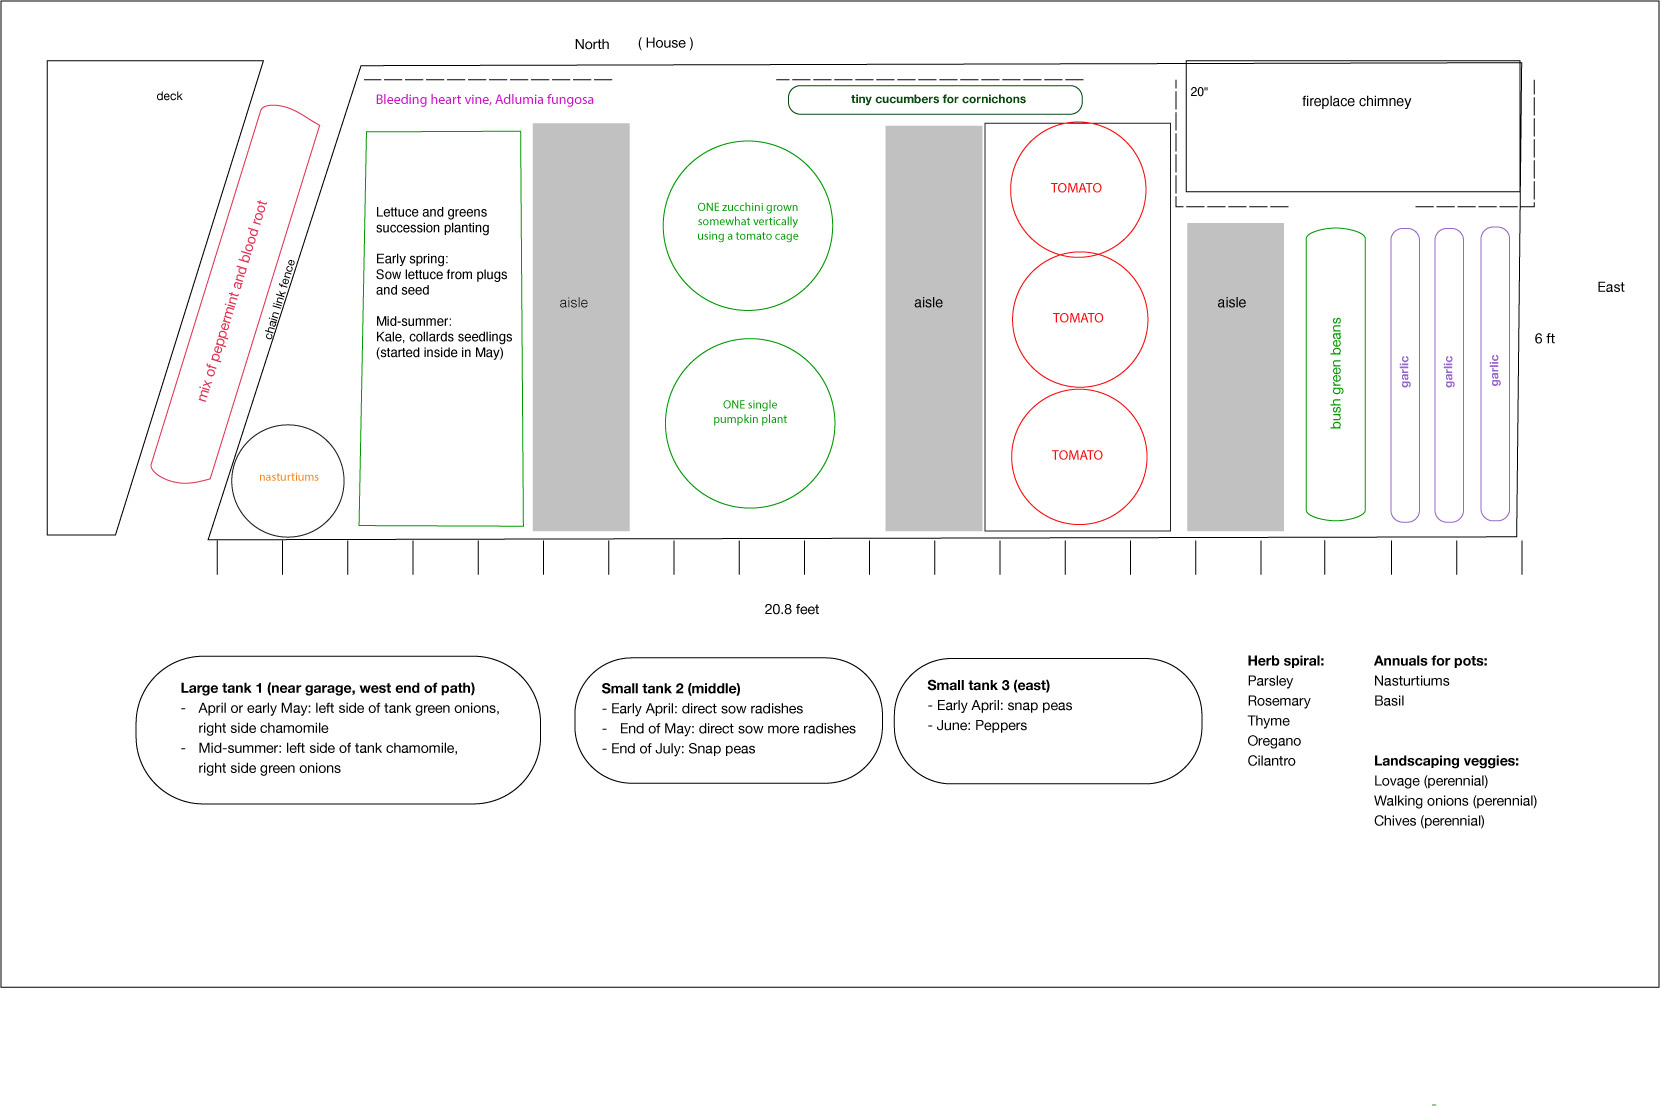
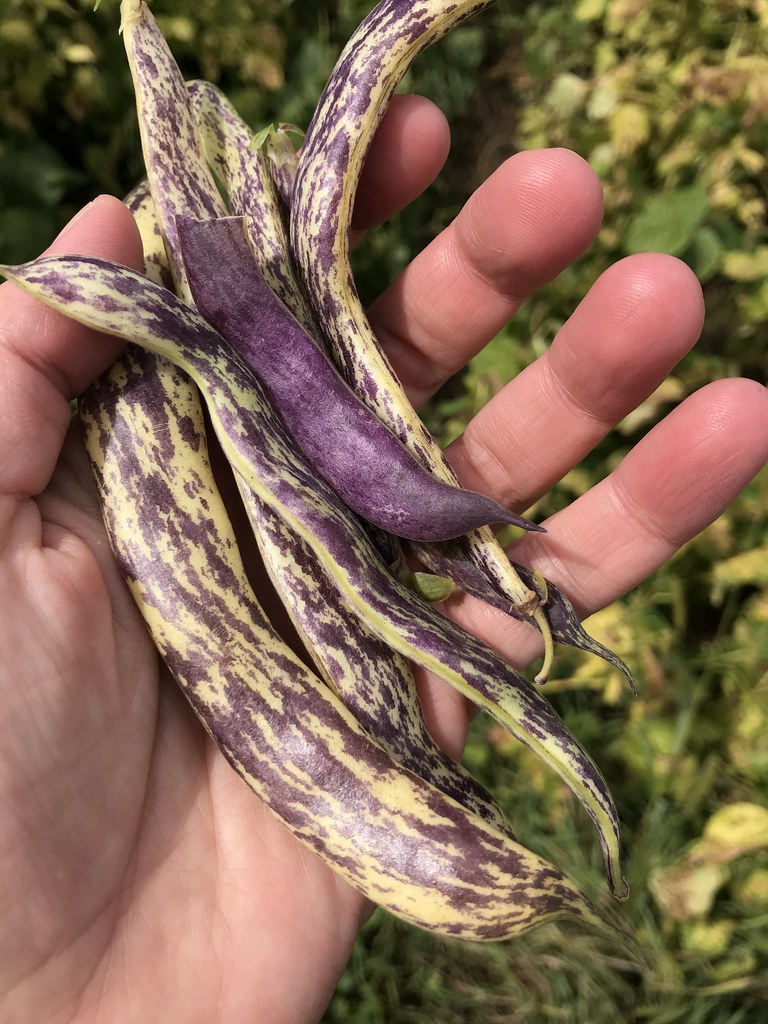
I’m growing one single pumpkin plant this year, for fun. It’s been so long since I’ve grown pumpkins and I miss them. I’m also having some fun with succession planting and companion planting—this book has once again proven very inspirational.
I probably won’t be back here until December 2024, so I wish you a wonderful year and an abundant growing season. In the meantime, you can catch me every month on the Northern Gardener blog from the Minnesota Horticultural Society, and in most issues of Northern Gardener magazine. I’m also on Instagram. Best of luck, and please drop questions, eureka moments, or advice in the comments!